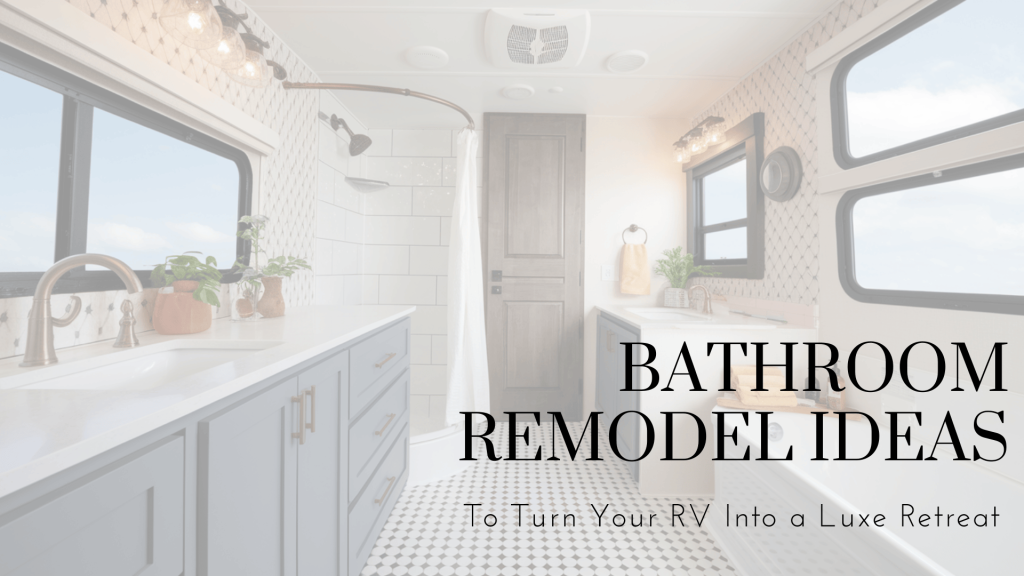
Your RV bathroom doesn’t have to be an afterthought. In fact, this compact space offers remarkable transformation potential with even modest investments of time and resources.
Consider the 1970s camper bathroom, which went from dingy yellow plastic to a modern oasis with simple, waterproof vinyl plank flooring and a fresh vanity.
Or the fifth-wheel, which gained a spa-like atmosphere by simply replacing dated shower walls with contemporary subway tile.
Many owners hesitate because they believe a bathroom upgrade requires complete demolition. The reality is far less intimidating.
Most impressive RV bathroom renovations maintain the original footprint and plumbing locations while updating finishes, fixtures, and storage solutions.
Can You Really Remodel Your RV Bathroom Without a Pro?
Yes, you can absolutely remodel your RV bathroom without professional assistance.
Their compact nature makes them ideal candidates for DIY renovation, particularly when focusing on surface-level improvements that don’t require plumbing or electrical modifications.
Quick Wins That Pack a Punch
Several quick-win strategies can dramatically transform the space with minimal expertise.
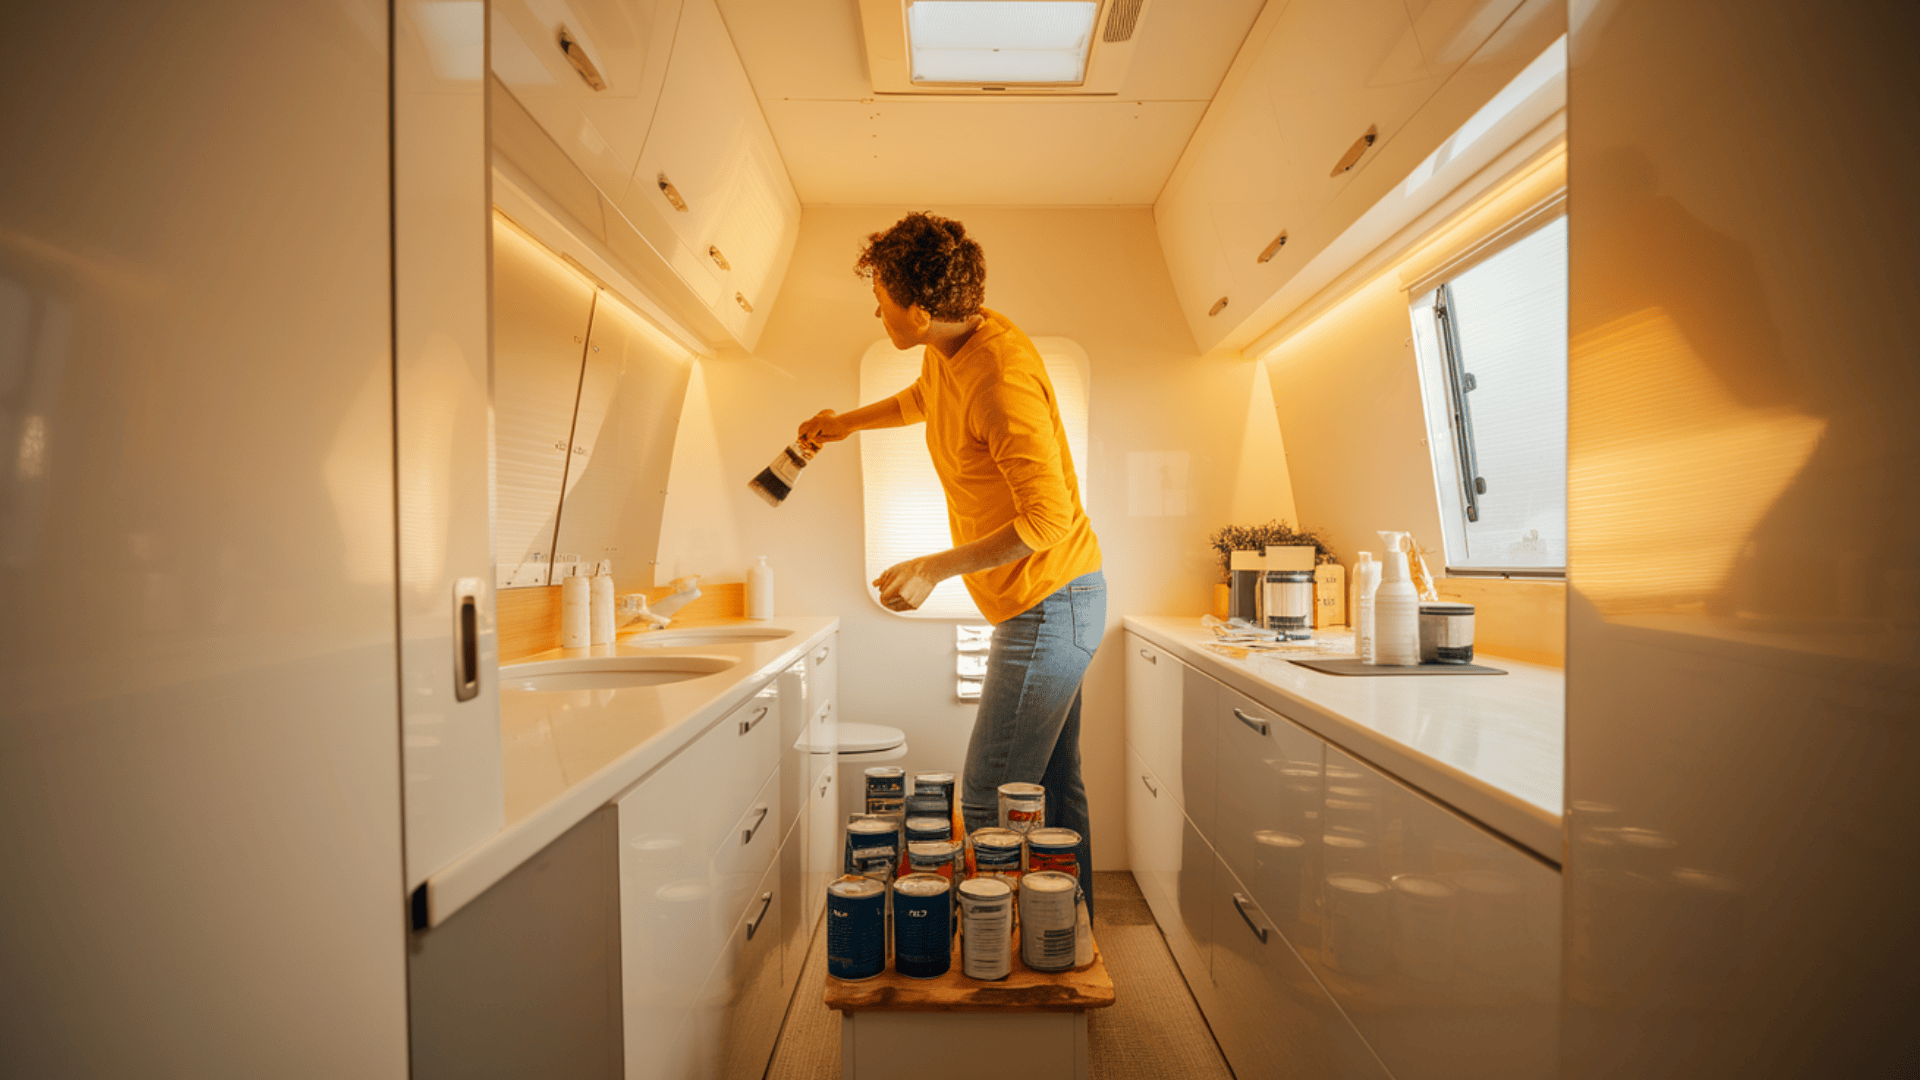
- Applying fresh paint to walls and cabinetry provides immediate visual impact, especially when using moisture-resistant formulations designed for bathroom environments.
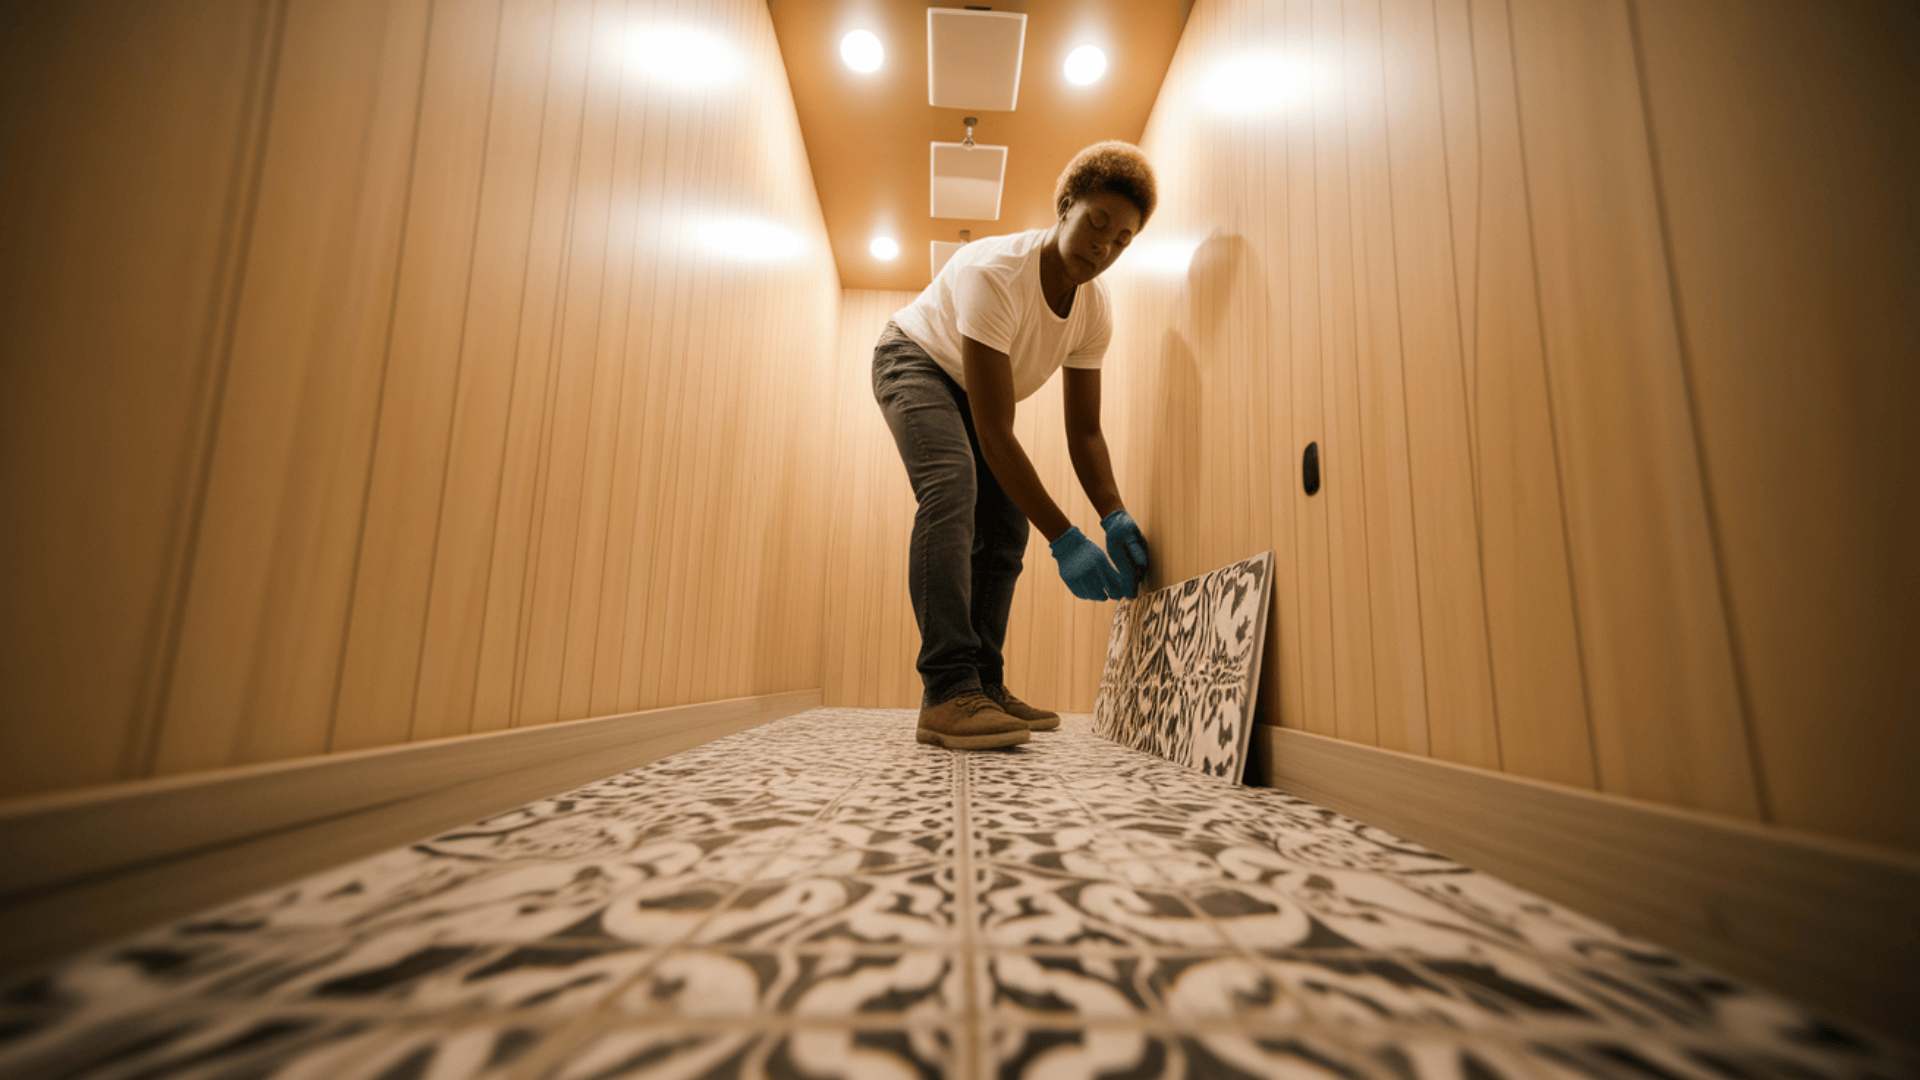
- Peel-and-stick products offer exceptional versatility, from wallpaper that creates a feature wall to vinyl flooring that installs directly over existing surfaces.
- Replacing outdated fixtures—faucets, showerheads, cabinet hardware—delivers significant aesthetic improvement while typically requiring only basic tools and straightforward installation.
Minimalist Remodel Checklist
For those considering a minimalist approach to their renovation, the following checklist outlines essential steps:
- Assessment: Document existing layout and identify elements to keep versus replace
- Surface preparation: Clean thoroughly and repair any damaged areas
- Paint application: Select semi-gloss or satin finishes for moisture resistance
- Fixture replacement: Update faucet, showerhead, and cabinet hardware
- Flooring refresh: Install peel-and-stick vinyl tiles or planks
- Storage optimization: Add towel hooks, magnetic strips for metal items, and shower caddies
- Lighting upgrade: Replace dated fixtures with LED options
- Accessories: Introduce coordinated textiles and containers that reinforce the design theme
Meet the Mood: 5 Design Styles for RV Bathrooms
Cramped RV bathrooms? Not on our watch. These design styles will transform your tiny space into a total vibe – no matter your aesthetic groove.
1. Modern Farmhouse
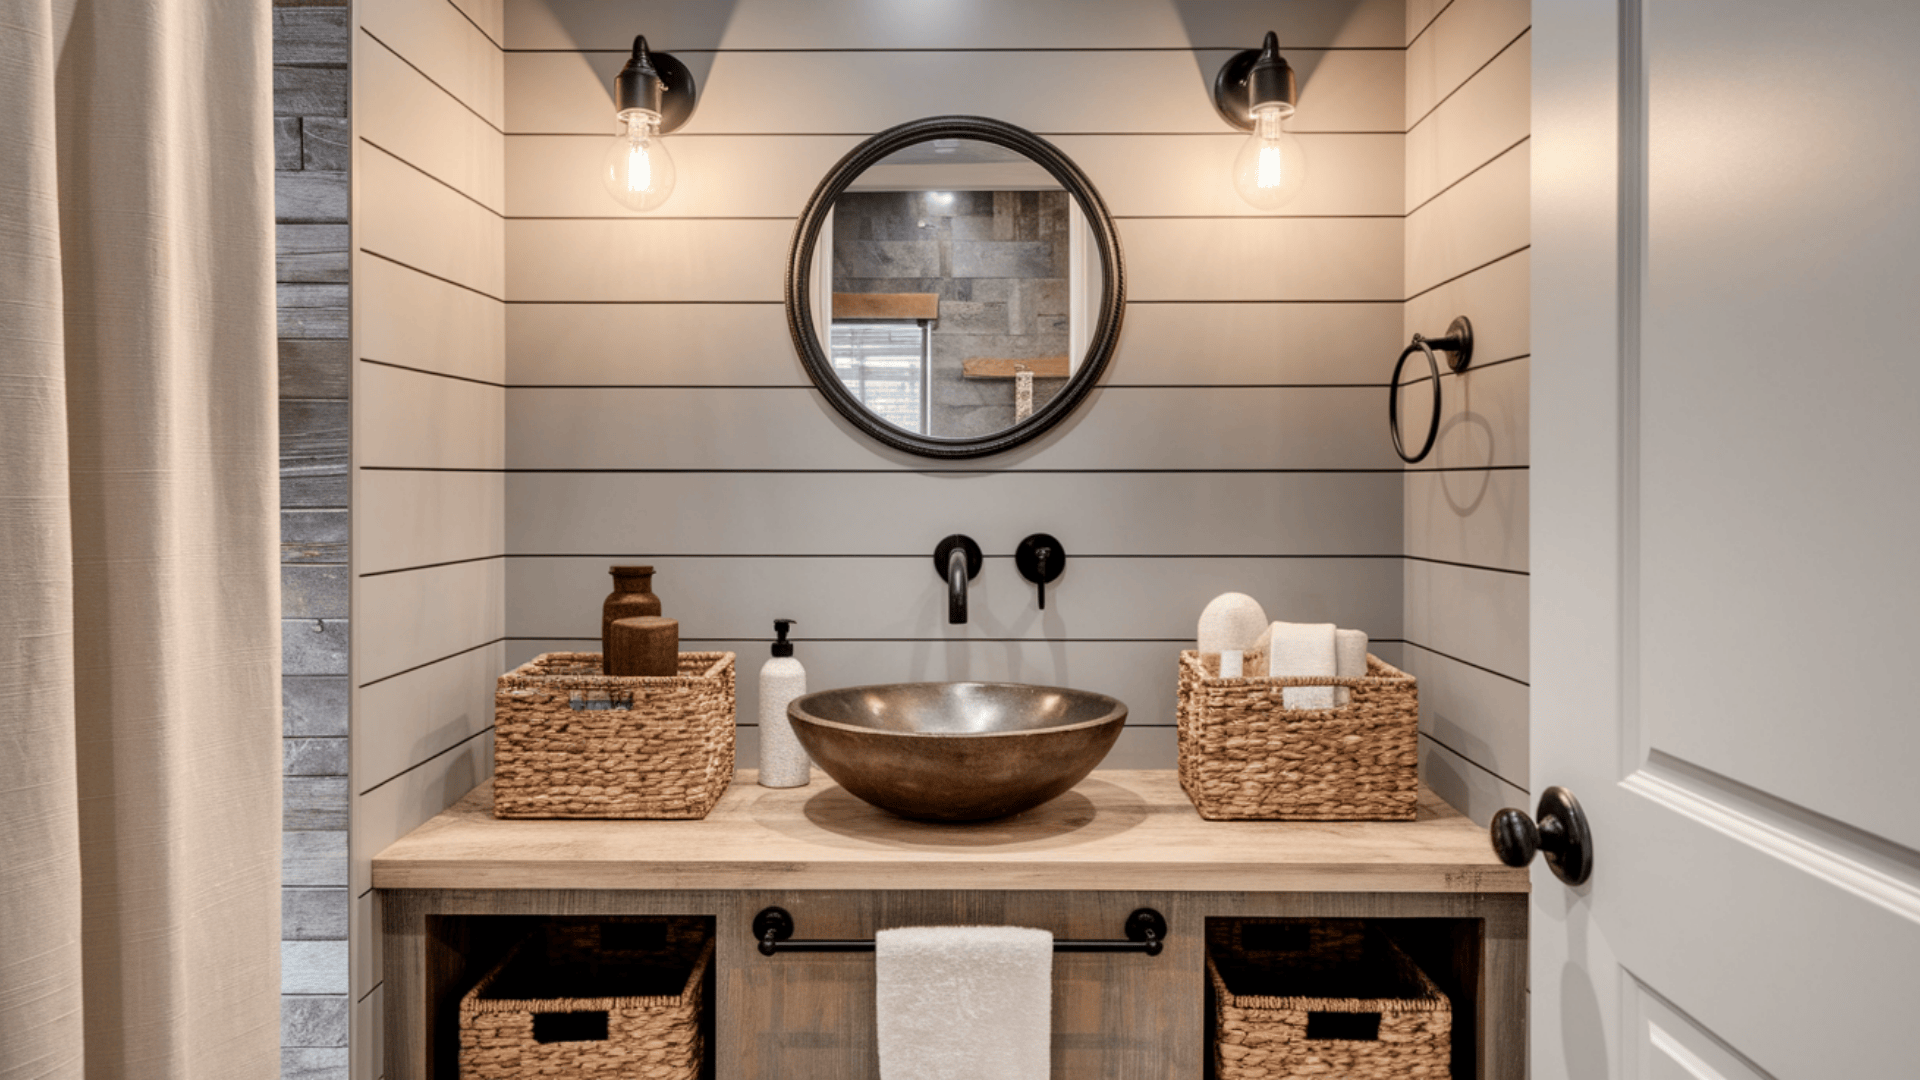
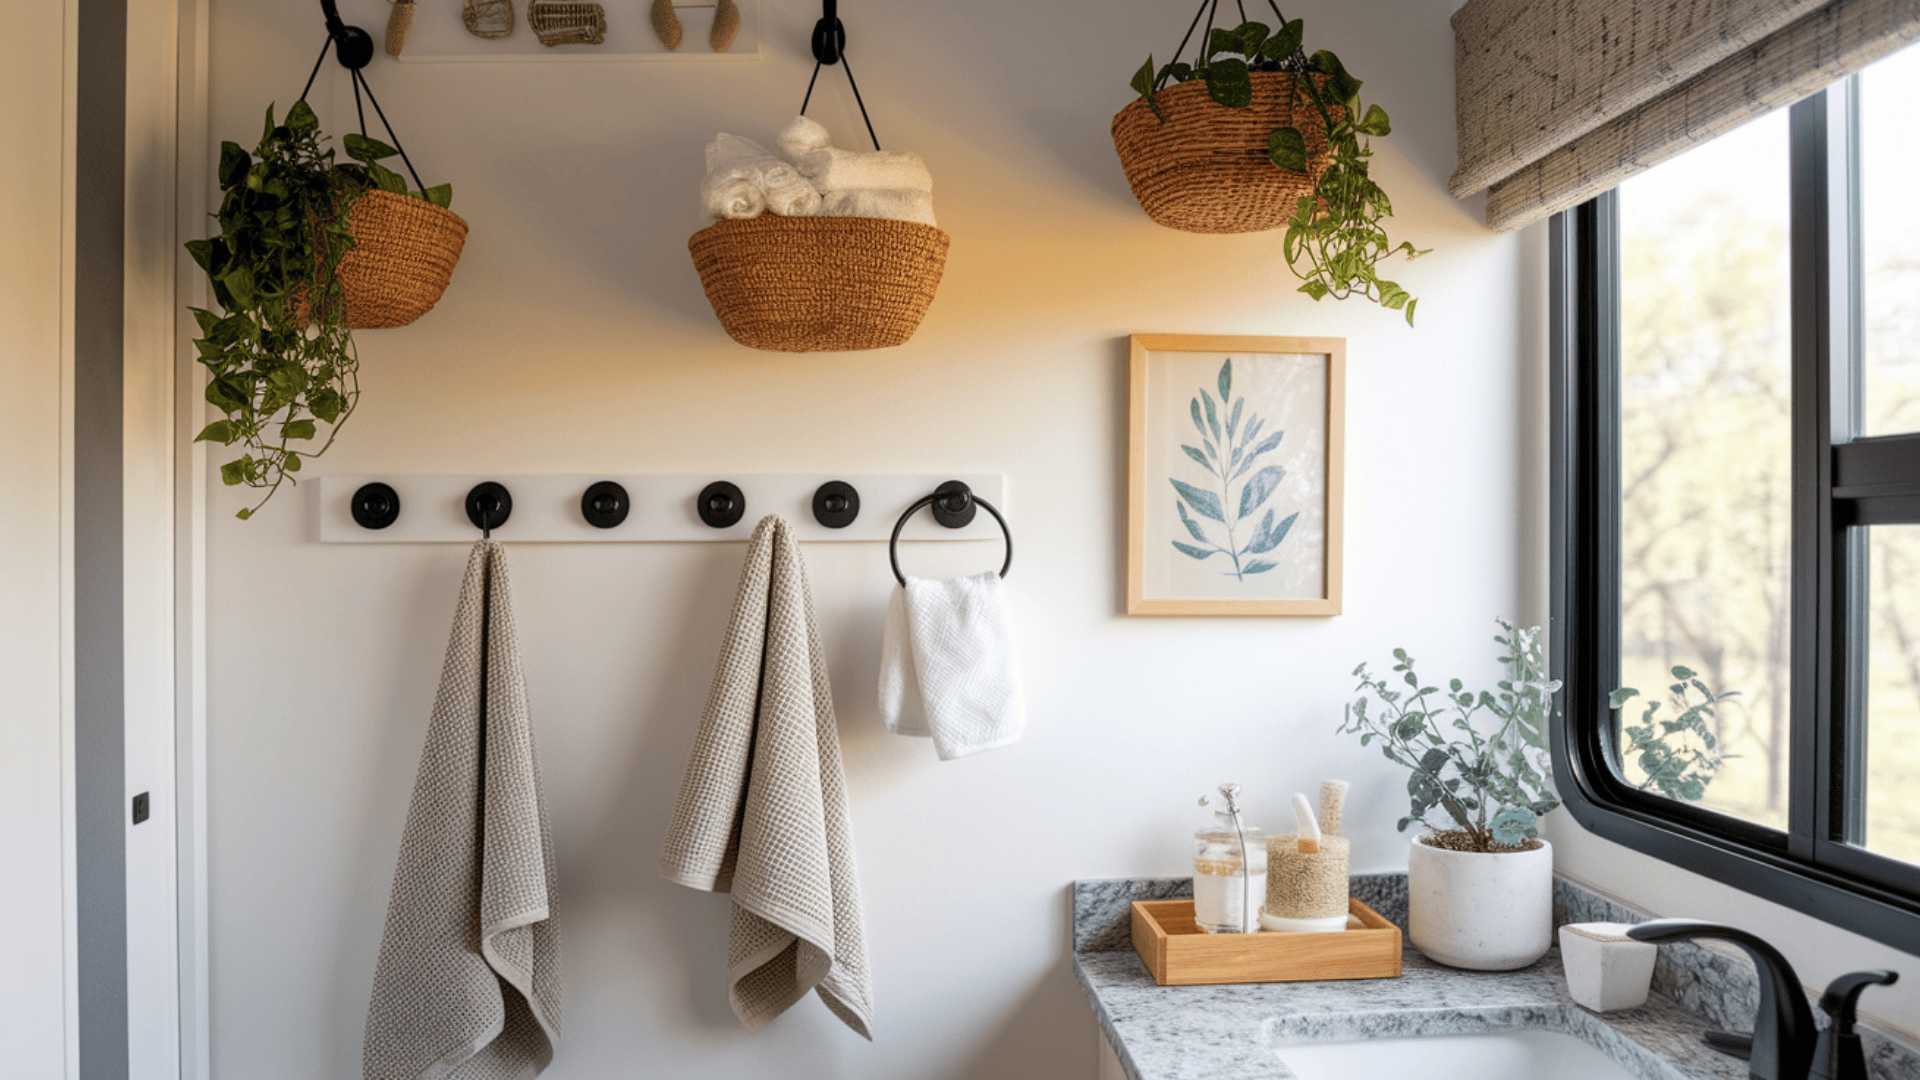
The modern farmhouse design brings warmth and character to compact RV bathrooms.
Incorporate shiplap accent walls in white or soft gray, paired with oil-rubbed bronze fixtures. A vessel sink on a rustic wooden vanity creates a focal point, while woven baskets provide stylish storage.
Complete the look with vintage-inspired lighting and simple black hardware that balances rustic charm with clean lines.
2. Industrial Rustic
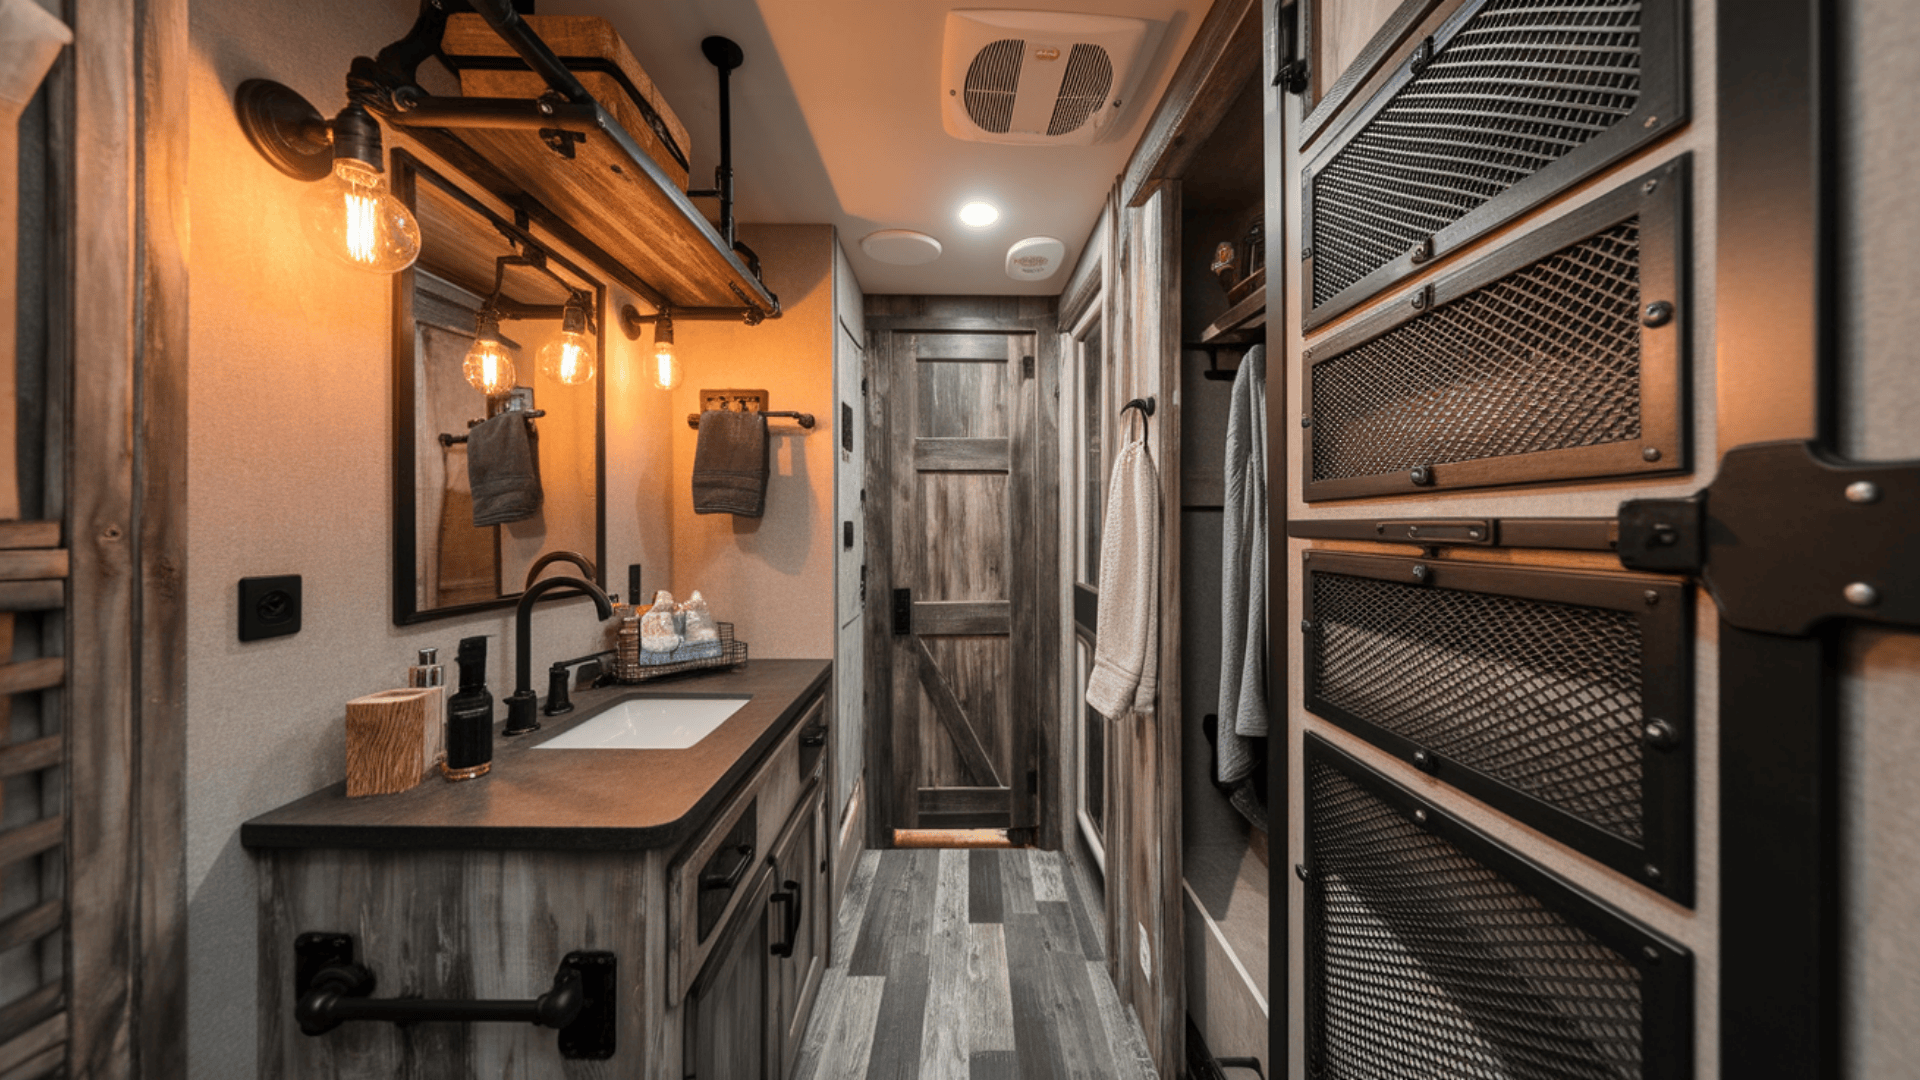
This style combines raw materials with practical functionality.
Utilize galvanized metal accents, exposed hardware, and pipe fixtures for an authentic industrial appeal. Consider wood-look vinyl flooring with darker tones to ground the space, and incorporate metal mesh storage solutions.
Matte black fixtures and weathered wood elements provide contrast, while strategic lighting with Edison bulbs enhances the workshop-inspired atmosphere.
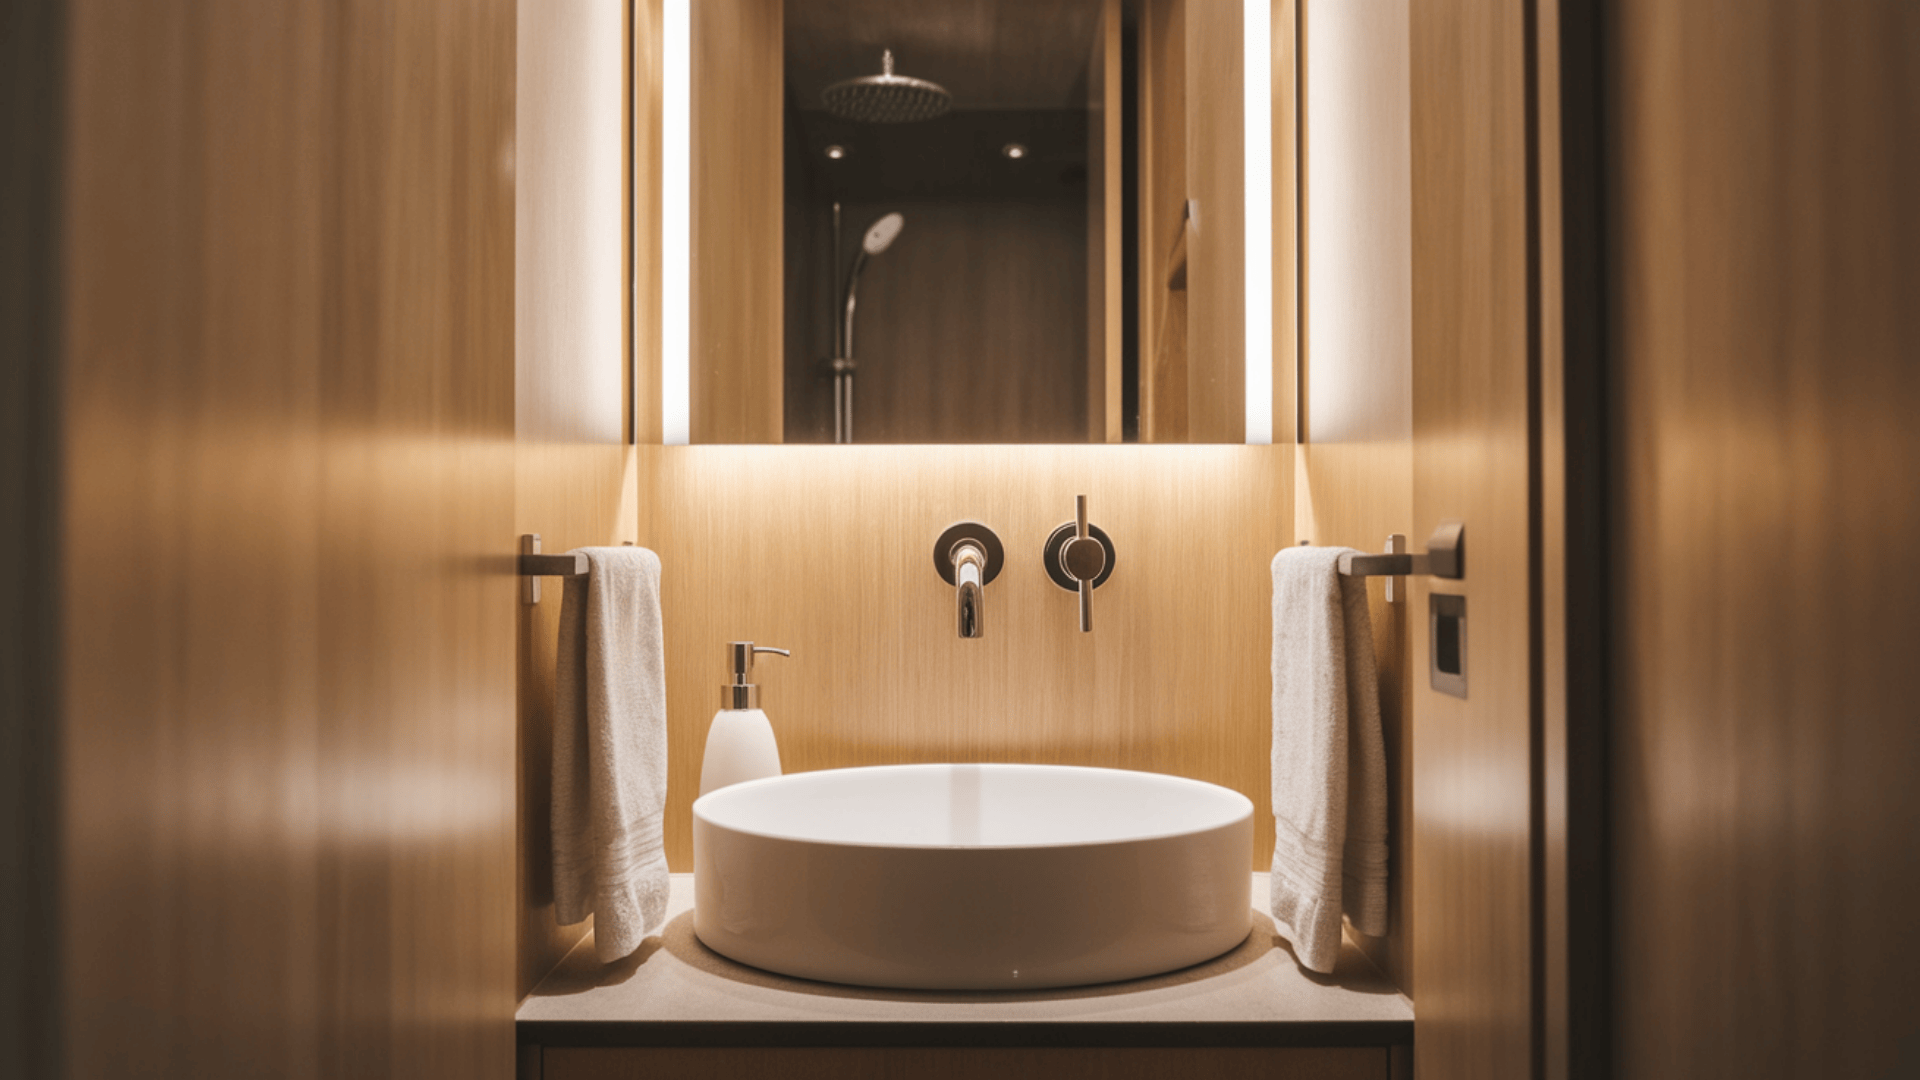
3. Minimalist Monochrome
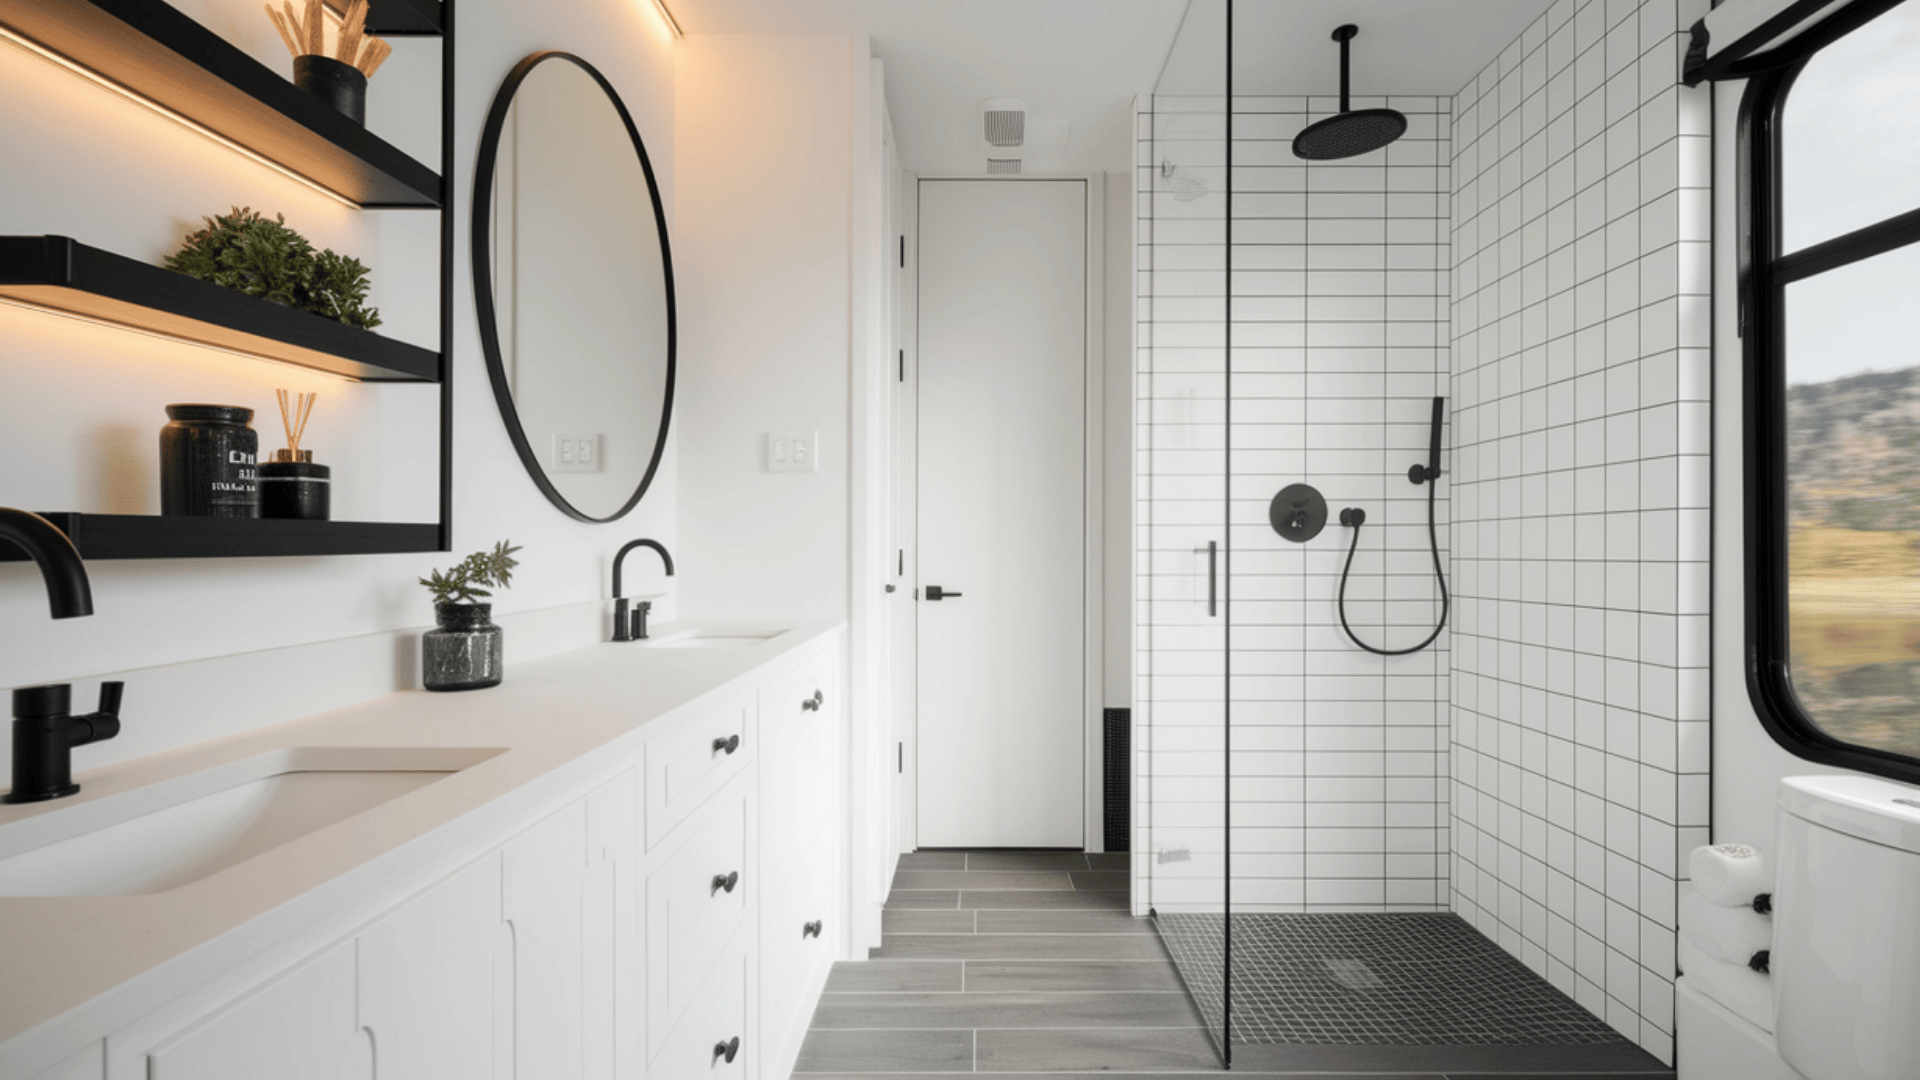
Perfect for creating a sense of spaciousness, this design focuses on clean lines and limited color variation.
Opt for white walls, fixtures, and cabinetry with carefully selected black accents for contrast. Floating shelves maximize vertical storage without visual weight, while hidden hardware maintains the streamlined appearance.
Large-format tiles or seamless shower surrounds reduce visual interruptions and create a cohesive backdrop for the essential elements.
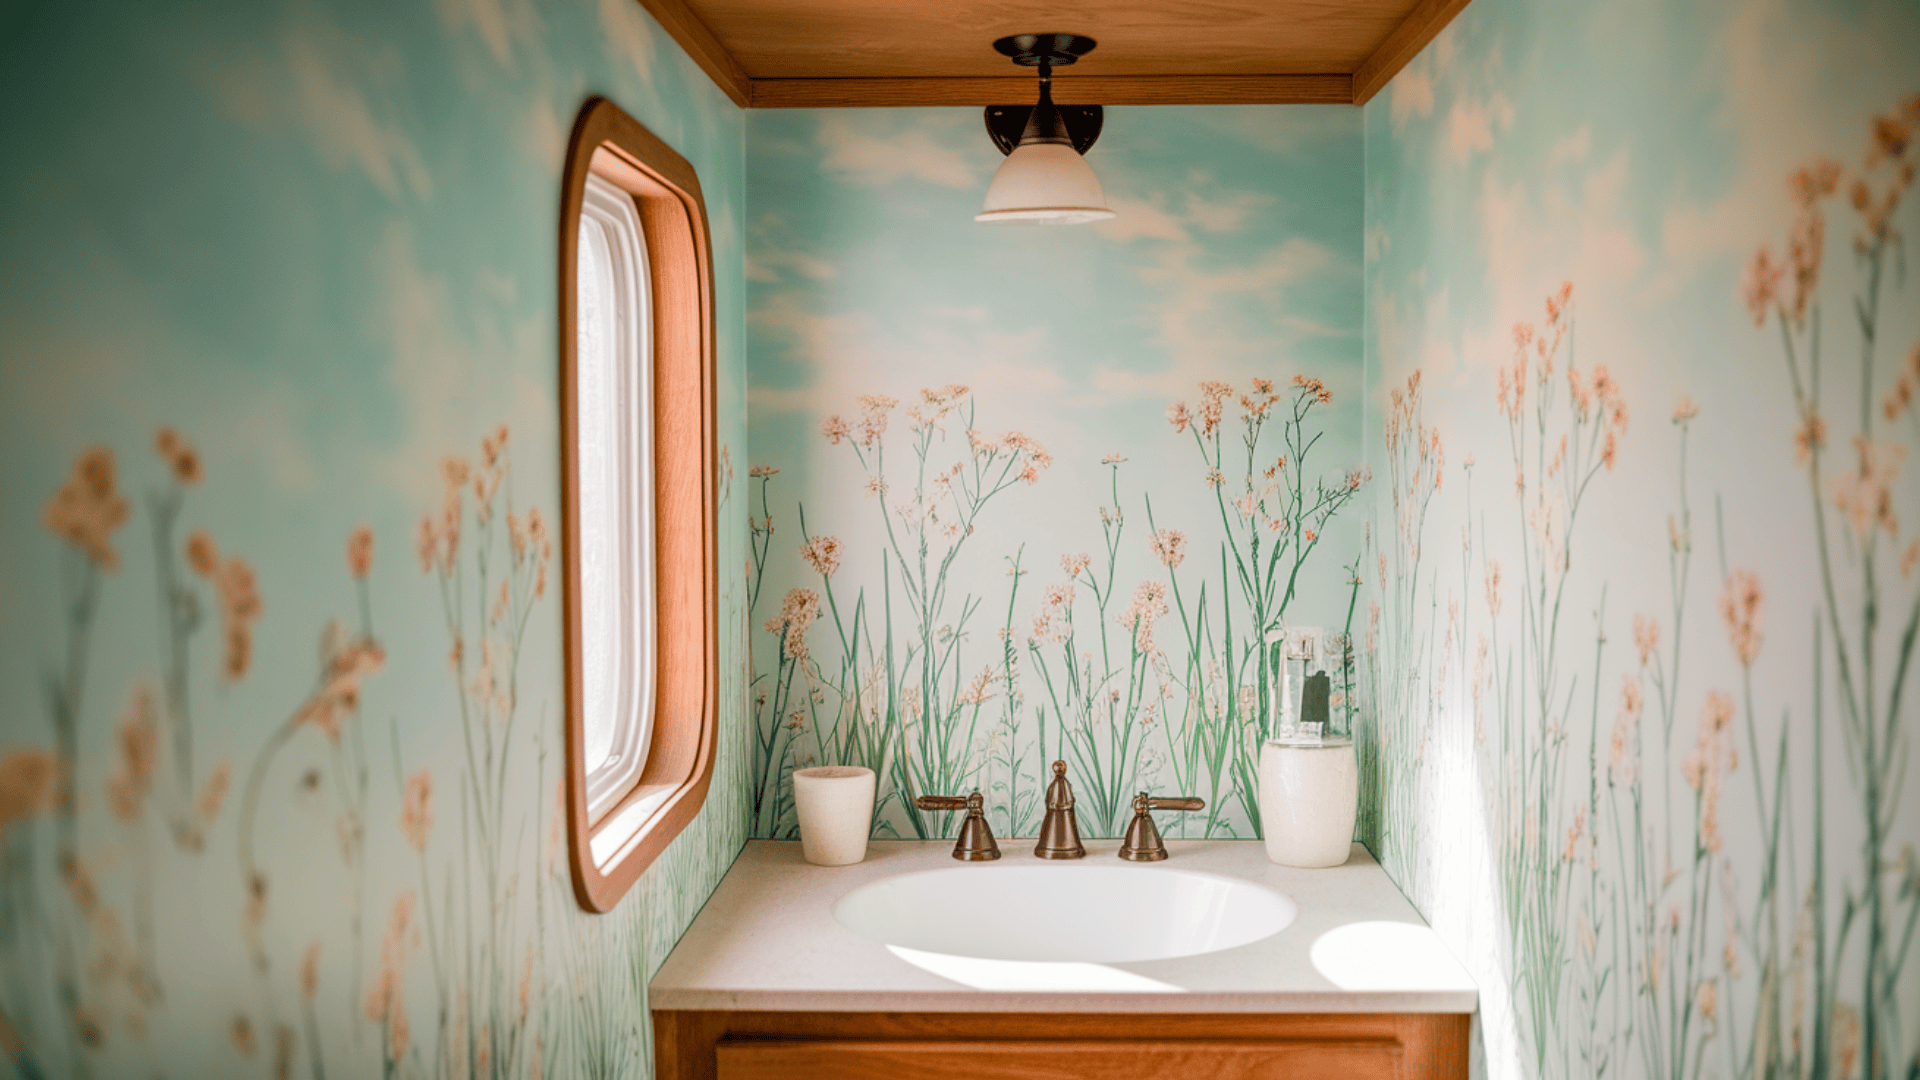
4. Boho Chic
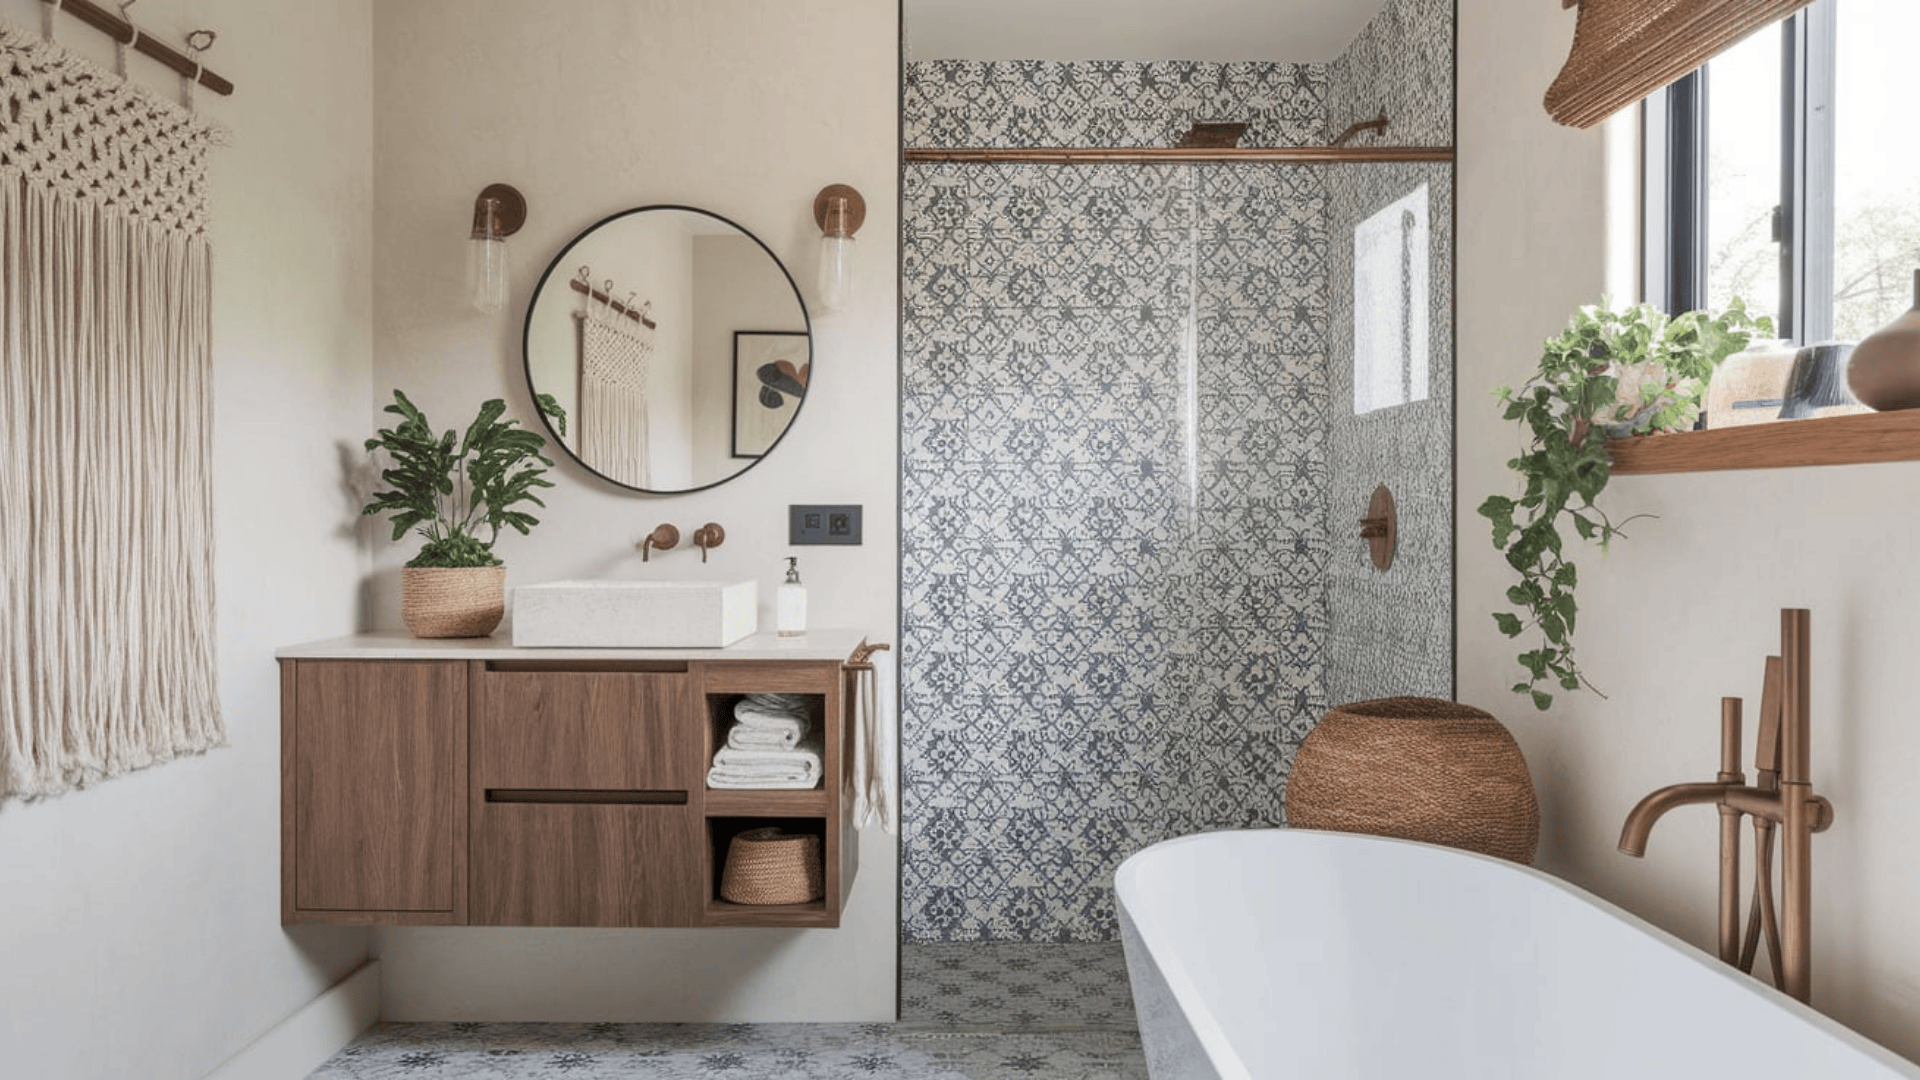
This free-spirited style introduces vibrant personalities through textiles and natural materials.
Start with a neutral base, then incorporate patterned textiles, macramé wall hangings, and plants for organic texture. Consider a statement tile for the shower or as a backsplash.
Woven elements, rattan accessories, and globally inspired accents create visual interest, while warm brass or copper metal fixtures add sophistication.
5. Coastal White + Wood
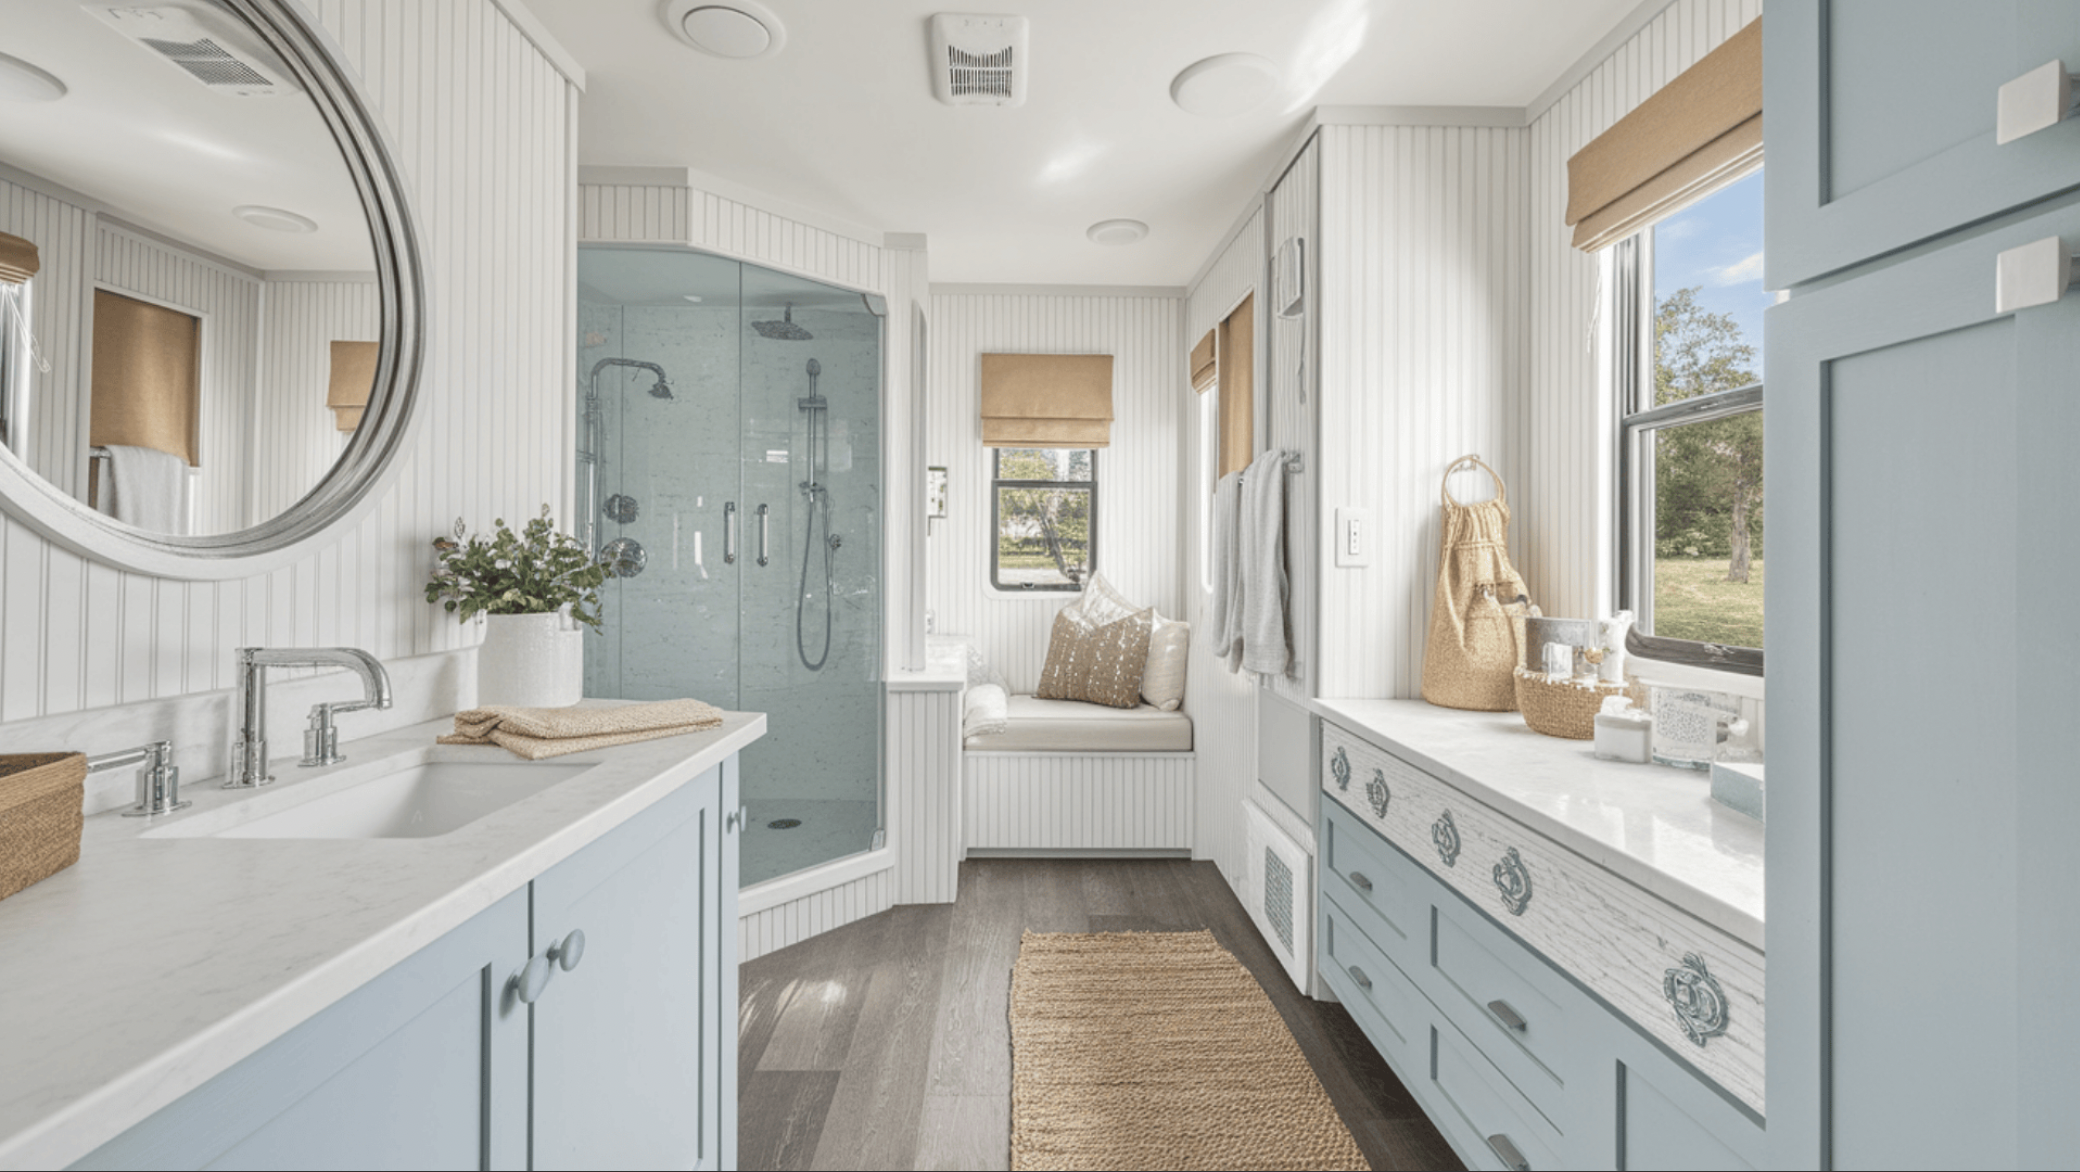
This refreshing design evokes seaside tranquility with a palette of whites, blues, and natural wood tones.
Marine-inspired hardware and fixtures complement whitewashed wood elements and pale blue accents. For walls, consider beadboard or tongue-and-groove paneling paired with natural jute accessories.
Light wood tones introduce warmth while maintaining the airy aesthetic, and glass elements reflect light to enhance the sense of space.
Pro Tip: RV bathrooms are tiny canvases. Pick one statement piece or color scheme and let it shine. You don’t need to go all-in on every single design element. Sometimes, less really is more – especially when you’re working with limited square footage!
Step-by-Step DIY Remodel Breakdown
Ready to transform your RV bathroom? Grab your tools, and let’s launch on this epic makeover expedition. I promise that each step is totally doable.
Step 1: Demo & Prep
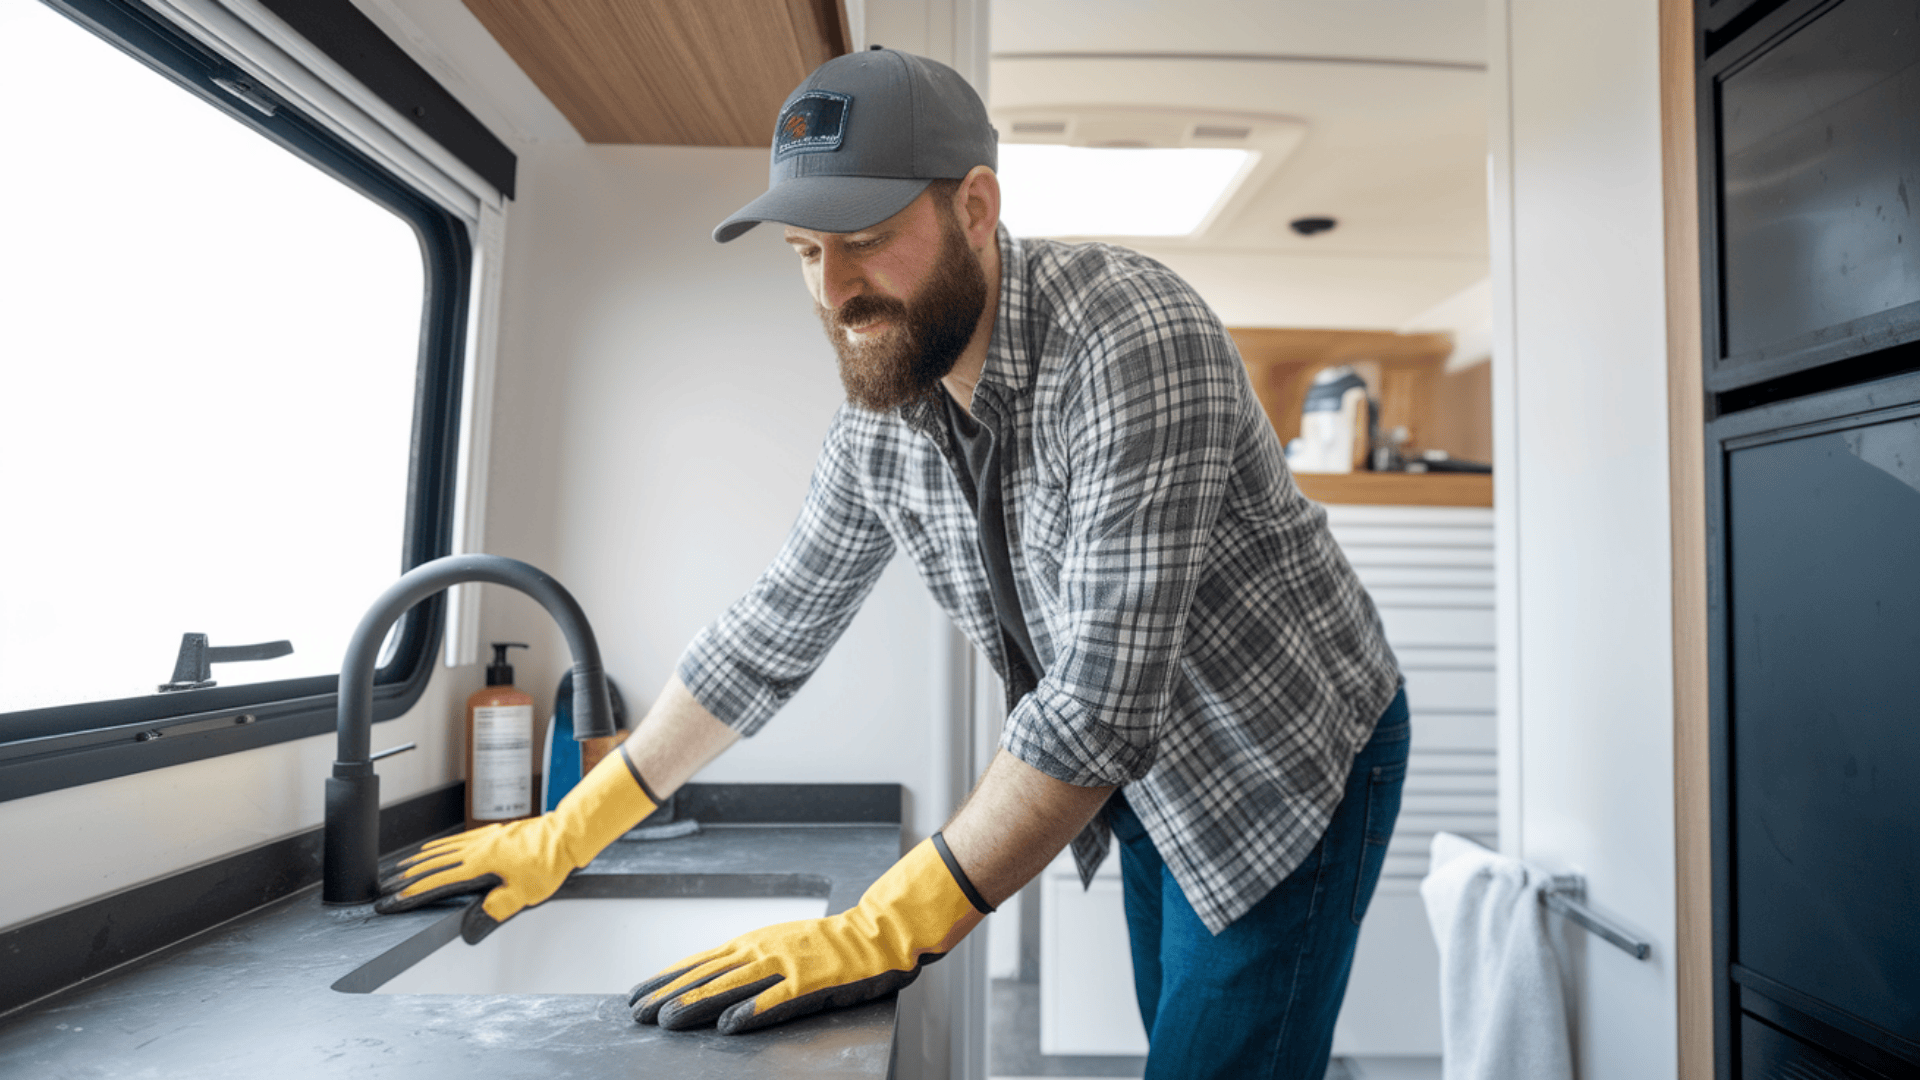
This is where the magic begins – and by magic, I mean controlled destruction.
What to Do:
- Carefully remove old fixtures (hello, goodbye!)
- Take photos before you start (trust me, you’ll want reference points)
- Clean surfaces thoroughly
- Check for any water damage or soft spots
- Tape off areas you don’t want painted
Best Practice: Keep a small container nearby to organize screws and small parts. Nothing’s worse than losing that tiny screw in an RV bathroom.
Step 2: Wall & Floor Upgrades
Time to dress up those walls and floors. This is where your design dreams come to life.
Wall Options:
- Paint (moisture-resistant is key!)
- Peel-and-stick wallpaper
- Lightweight paneling
- Waterproof wall panels
Floor Options:
- Peel-and-stick tiles
- Waterproof vinyl flooring
- Stick-on floor decals
Insider Trick: Always buy 10-15% extra material. Mistakes happen, and RV spaces can be tricky to measure.
Step 3: Install Fixtures
New fixtures can totally change the game. It’s like giving your bathroom a whole new personality.
Fixture Upgrades:
- Compact sink
- Modern faucet
- Lightweight toilet
- Space-saving shower head
- Compact towel bars
Mounting Matters: Use RV-specific mounting hardware. Regular home fixtures might be too heavy or not secure enough.
Step 4: Lighting & Ventilation
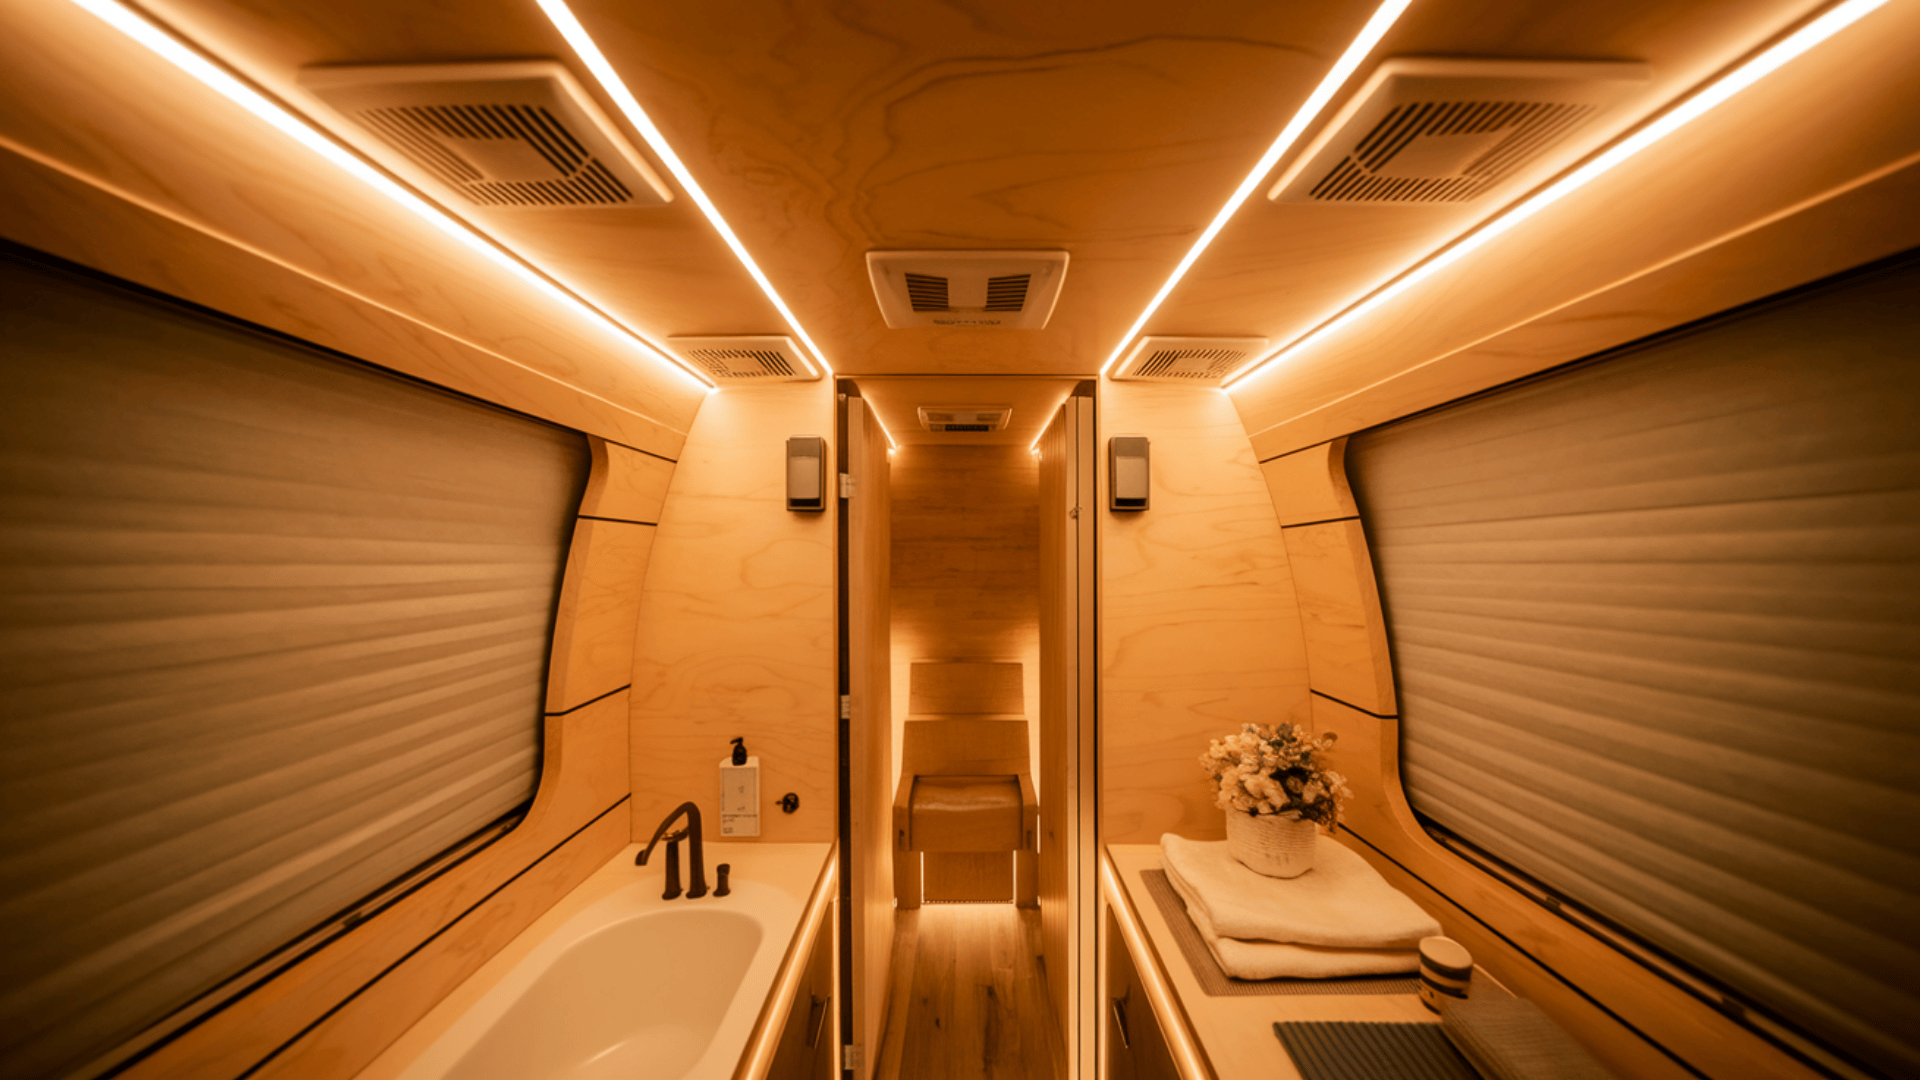
Small changes here make a massive difference in how your bathroom feels and functions.
Lighting Upgrades:
- Skylights to brighten the space
- LED strip lights
- Compact LED fixtures
- Battery-operated motion lights
Ventilation Hacks:
- Replace old exhaust fans
- Add small, efficient fans
- Install vent covers
Step 5: Storage + Decor
The final touch that turns a functional space into YOUR space.
Storage Solutions:
- Hanging baskets
- Magnetic strips for small items
- Wall-mounted shelves
- Over-the-door organizers
- Tension rod storage
Decor Details:
- Lightweight artwork
- Compact plants
- Coordinating towels
- Small mirrors
Helpful Hint: Less is more in an RV bathroom. Every inch counts, so choose multi-functional items that bring both style and practicality.
Tools & Products Worth Having
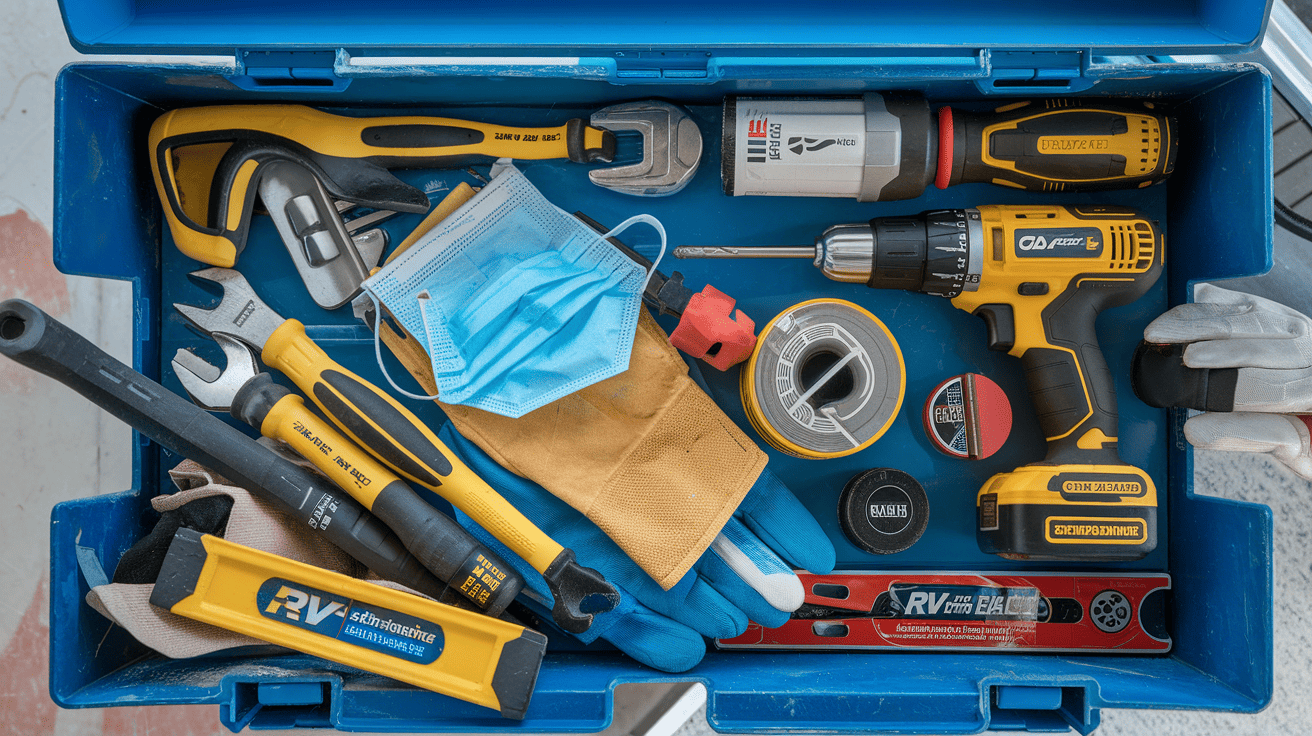
Not all heroes wear capes – some just come prepared with the right tools. Here’s your ultimate RV bathroom remodel arsenal.
Must-Have Tools
- Drill & Bit Set
- Cordless drill (lightweight is key!)
- Multiple drill bit sizes
- Impact driver for tough jobs
- Magnetic bit holder
- Measuring & Marking
- Laser level (game-changer for tight spaces)
- Retractable measuring tape
- Carpenter’s pencil
- Marking chalk
- Cutting & Finishing
- Utility knife with extra blades
- Oscillating multi-tool
- Caulk gun
- Putty knife
- Sandpaper (various grits)
Safety Gear: Non-Negotiable Protection
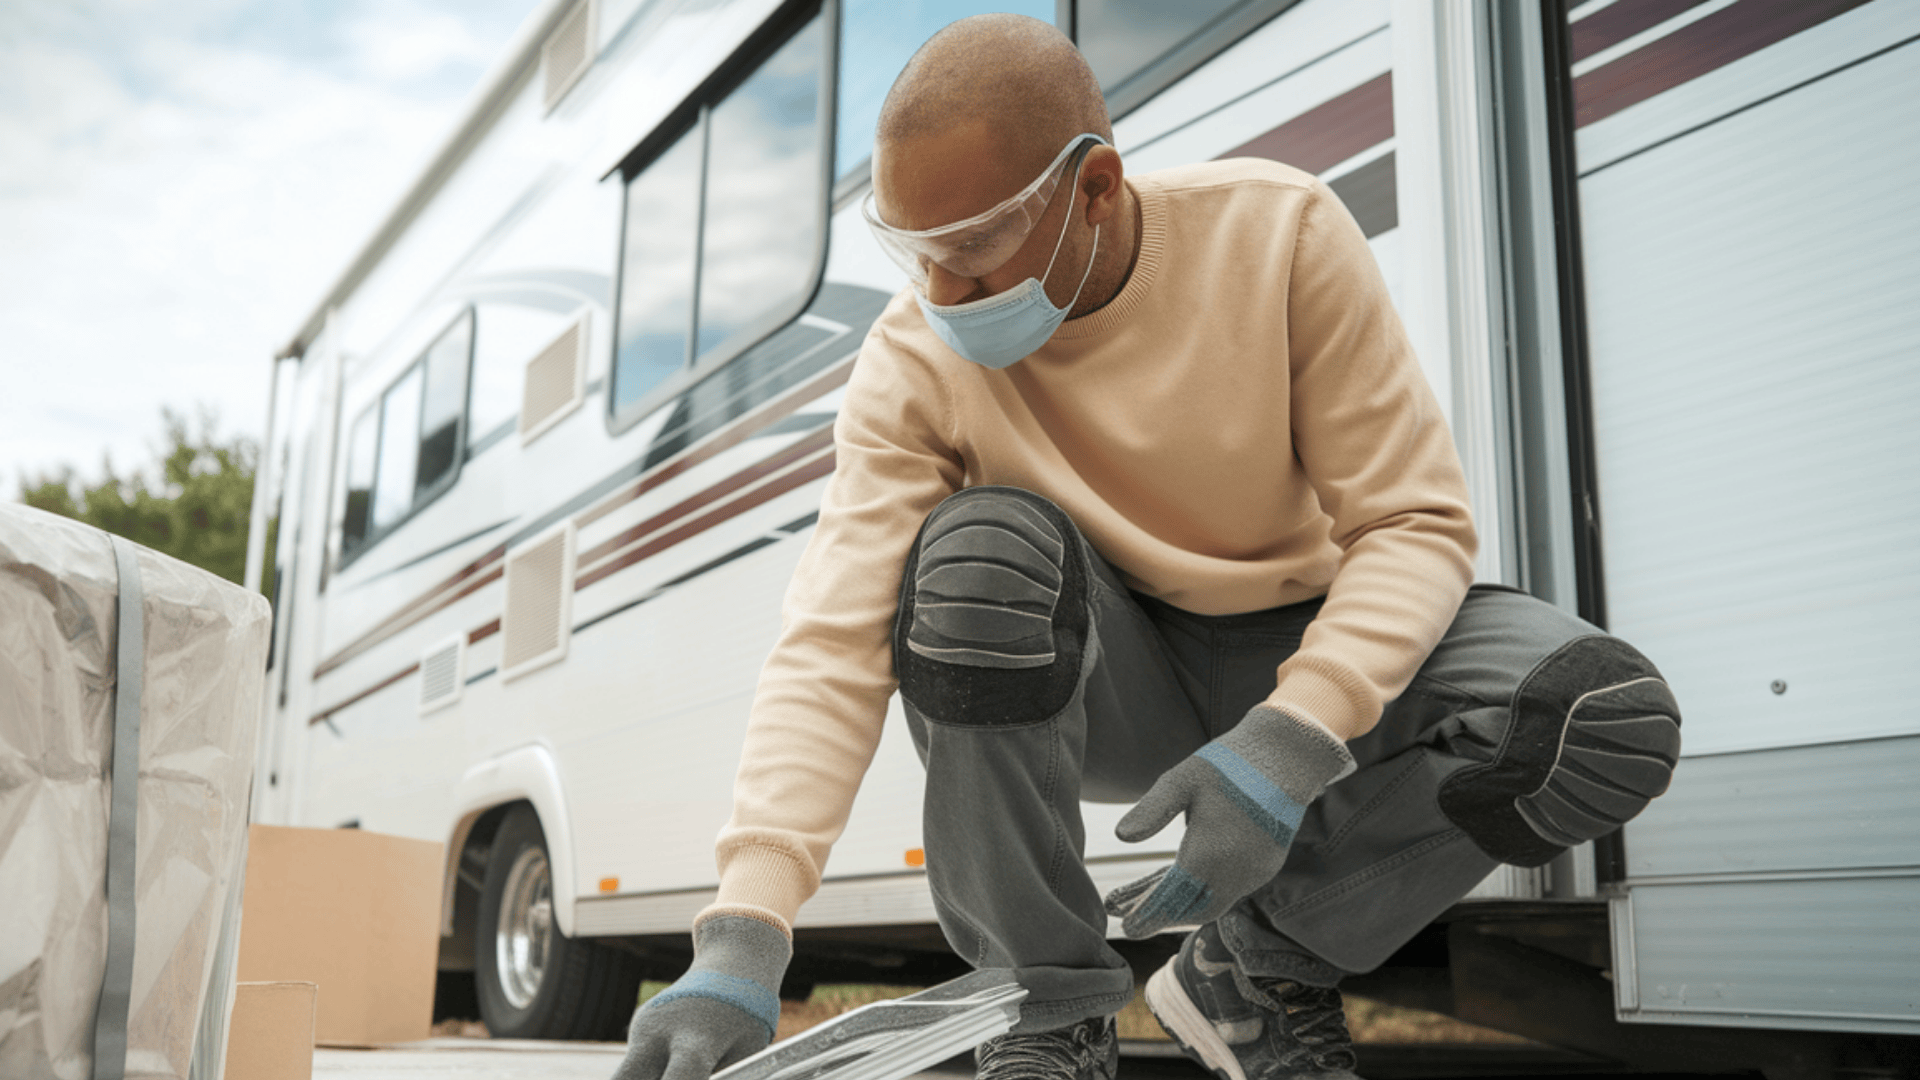
- Eye Protection
- Safety glasses with side shields
- Anti-fog coating recommended
- Hand Protection
- Cut-resistant work gloves
- Disposable latex/nitrile gloves for messy jobs
- Respiratory Protection
- Dust masks
- Respirator for paint and adhesive work
- Additional Safety
- Knee pads (RV bathrooms are tiny = lot of crouching)
- Slip-resistant work shoes
- First aid kit
RV-Specific Adhesives & Plumbing Parts
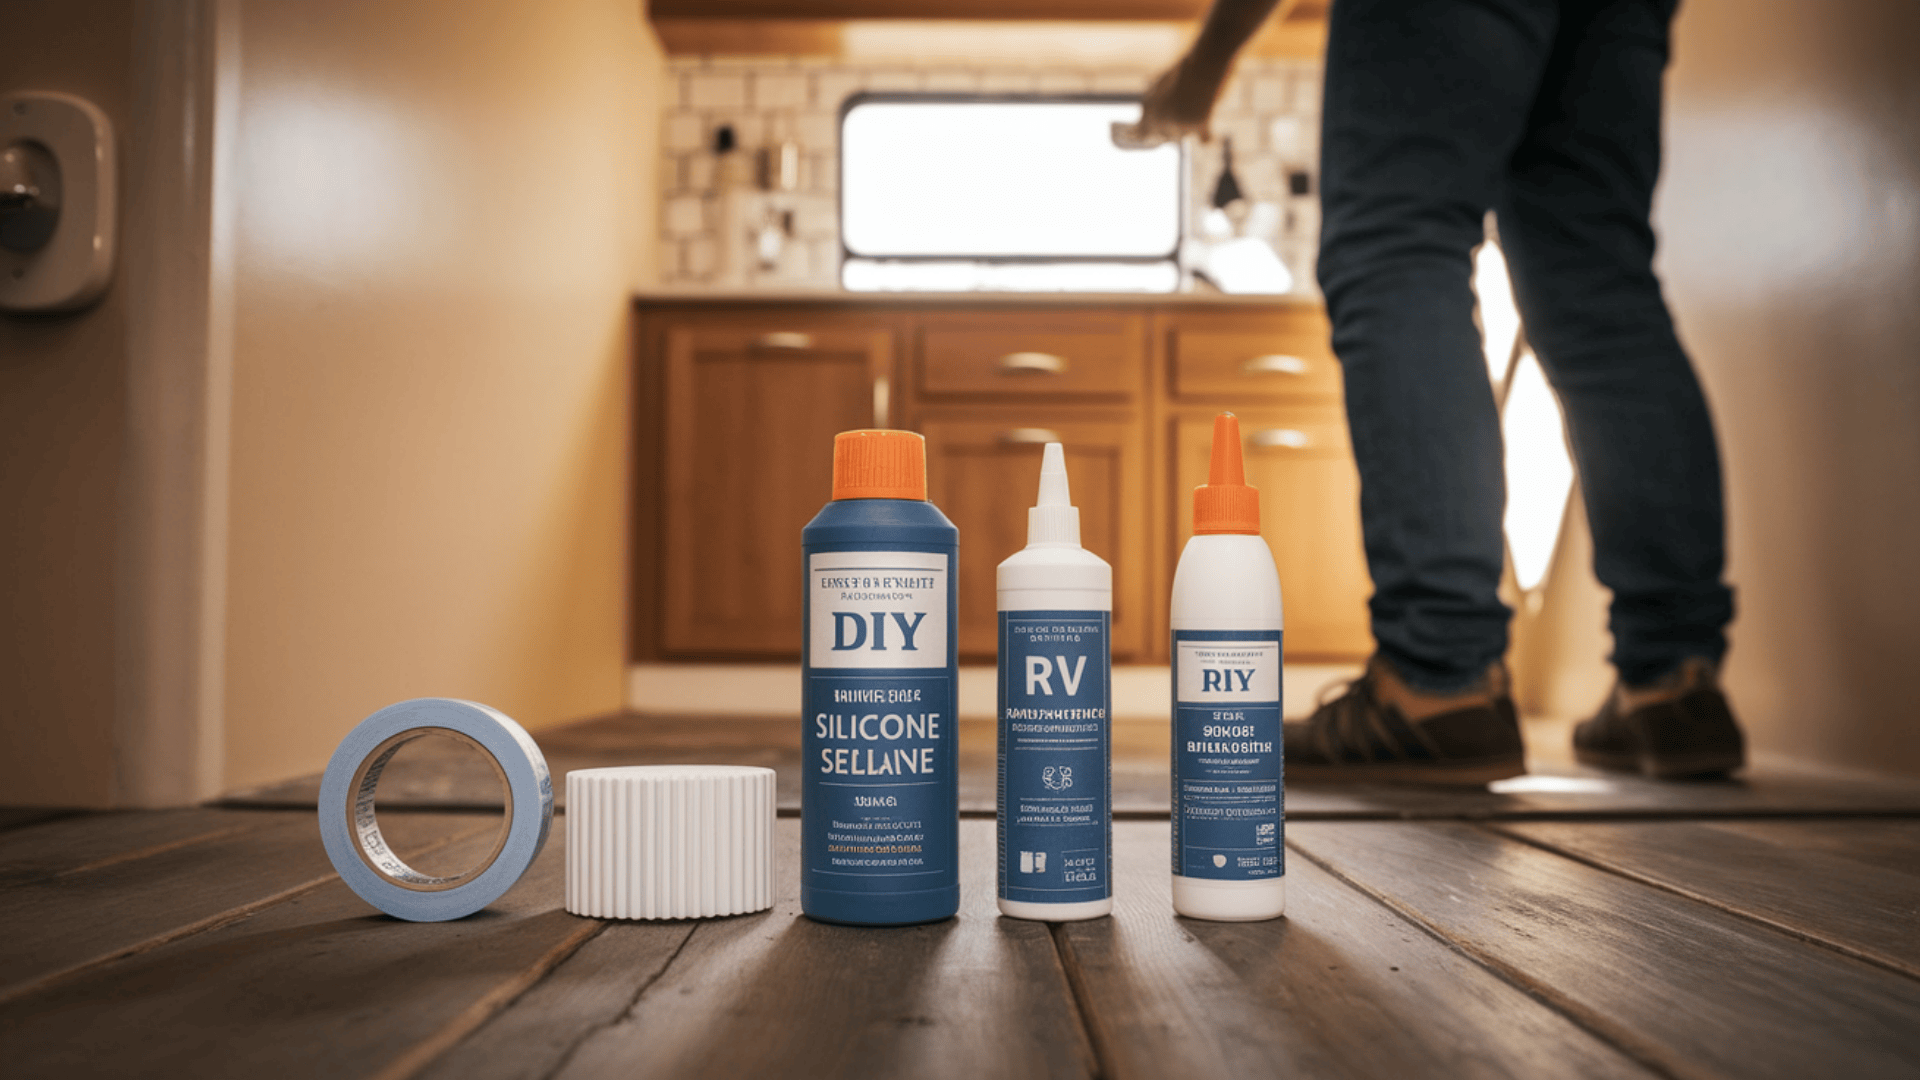
Adhesives & Sealants
- Silicone sealant (marine grade)
- RV-specific construction adhesive
- Waterproof mounting tape
- Flexible caulk for temperature changes
Plumbing Essentials
- Flexible water line connectors
- Plastic pipe thread sealant
- RV-specific toilet seal
- Water pump compatible parts
- Compression fittings
Avoid These Common DIY Mistakes!
Let’s be real – RV bathroom remodels can go south fast if you’re not careful. These pitfalls have crushed more DIY dreams than you’d believe.
Moisture Mistakes
Water is the ultimate villain in RV bathrooms. One wrong move can cause expensive damage. Skipping proper waterproofing is like inviting a slow-motion disaster into your tiny mobile home. The key is obsessive sealing—and I mean obsessive.
Apply 100% silicone sealant to every gap around fixtures, apply multiple layers of waterproofing, and get your hands-on moisture-resistant materials.
Weight Woes
RVs are basically homes on a diet. Every ounce matters, which means those heavy ceramic tiles and chunky home improvement store fixtures are absolute no-gos. Think lightweight; think smart.
Plastic trumps ceramic, peel-and-stick beats traditional tiling, and always – always – check the weight specifications.
Ventilation
Those little RV fans aren’t just decorative accessories – they’re your first line of defense against mold, mildew, and that musty smell that can haunt your travels.
Upgrade to high-efficiency fans, install moisture-blocking vent covers, and create multiple air circulation points. Your bathroom (and your lungs) will breathe a sigh of relief.
Wrapping It Up!
The path to transforming your RV bathroom is more accessible and affordable than most travelers realize.
With strategic planning, creative problem-solving, and a willingness to invest modest resources, even the most challenging small spaces can be reimagined.
The key lies in understanding that renovation is not about perfection but personal expression and functional improvement.
By approaching the project with careful consideration and creative vision, you can craft a bathroom that not only meets practical needs but also enhances your overall travel experience.