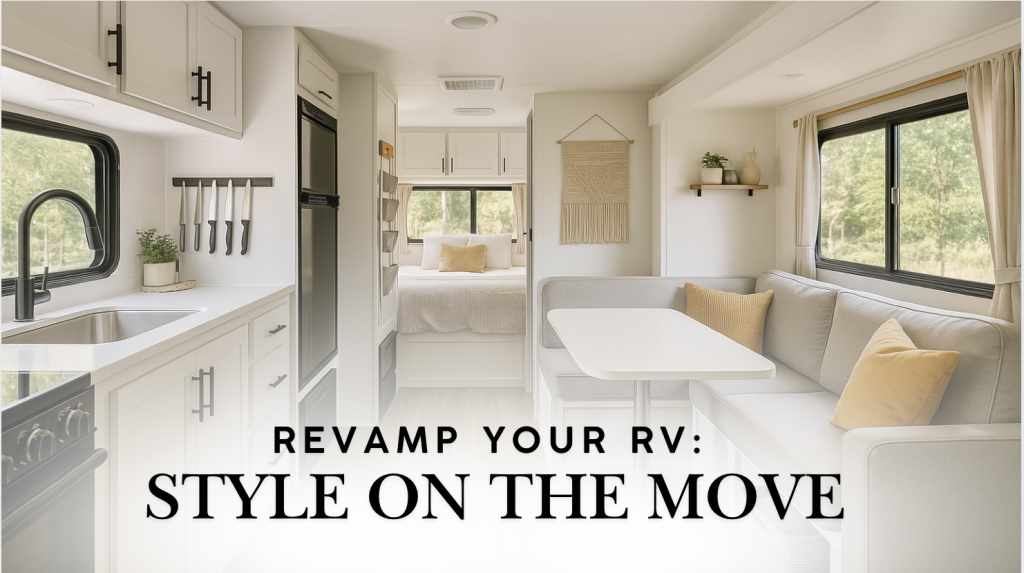
Ready to breathe new life into your home on wheels? An RV remodel transforms outdated, worn interiors into personalized, functional spaces that make every journey more enjoyable.
From minor cosmetic updates to complete overhauls, refreshing your camper or motorhome creates a space that reflects your style while improving comfort and usability.
Today’s RV renovations blend smart storage solutions with modern aesthetics, turning standard manufacturer designs into custom havens.
Many travelers discover that strategic upgrades increase both satisfaction and vehicle value. Get ready to reimagine your mobile sanctuary with these expert insights on creating the perfect home away from home.
Your Quick-Start RV Remodeling Checklist
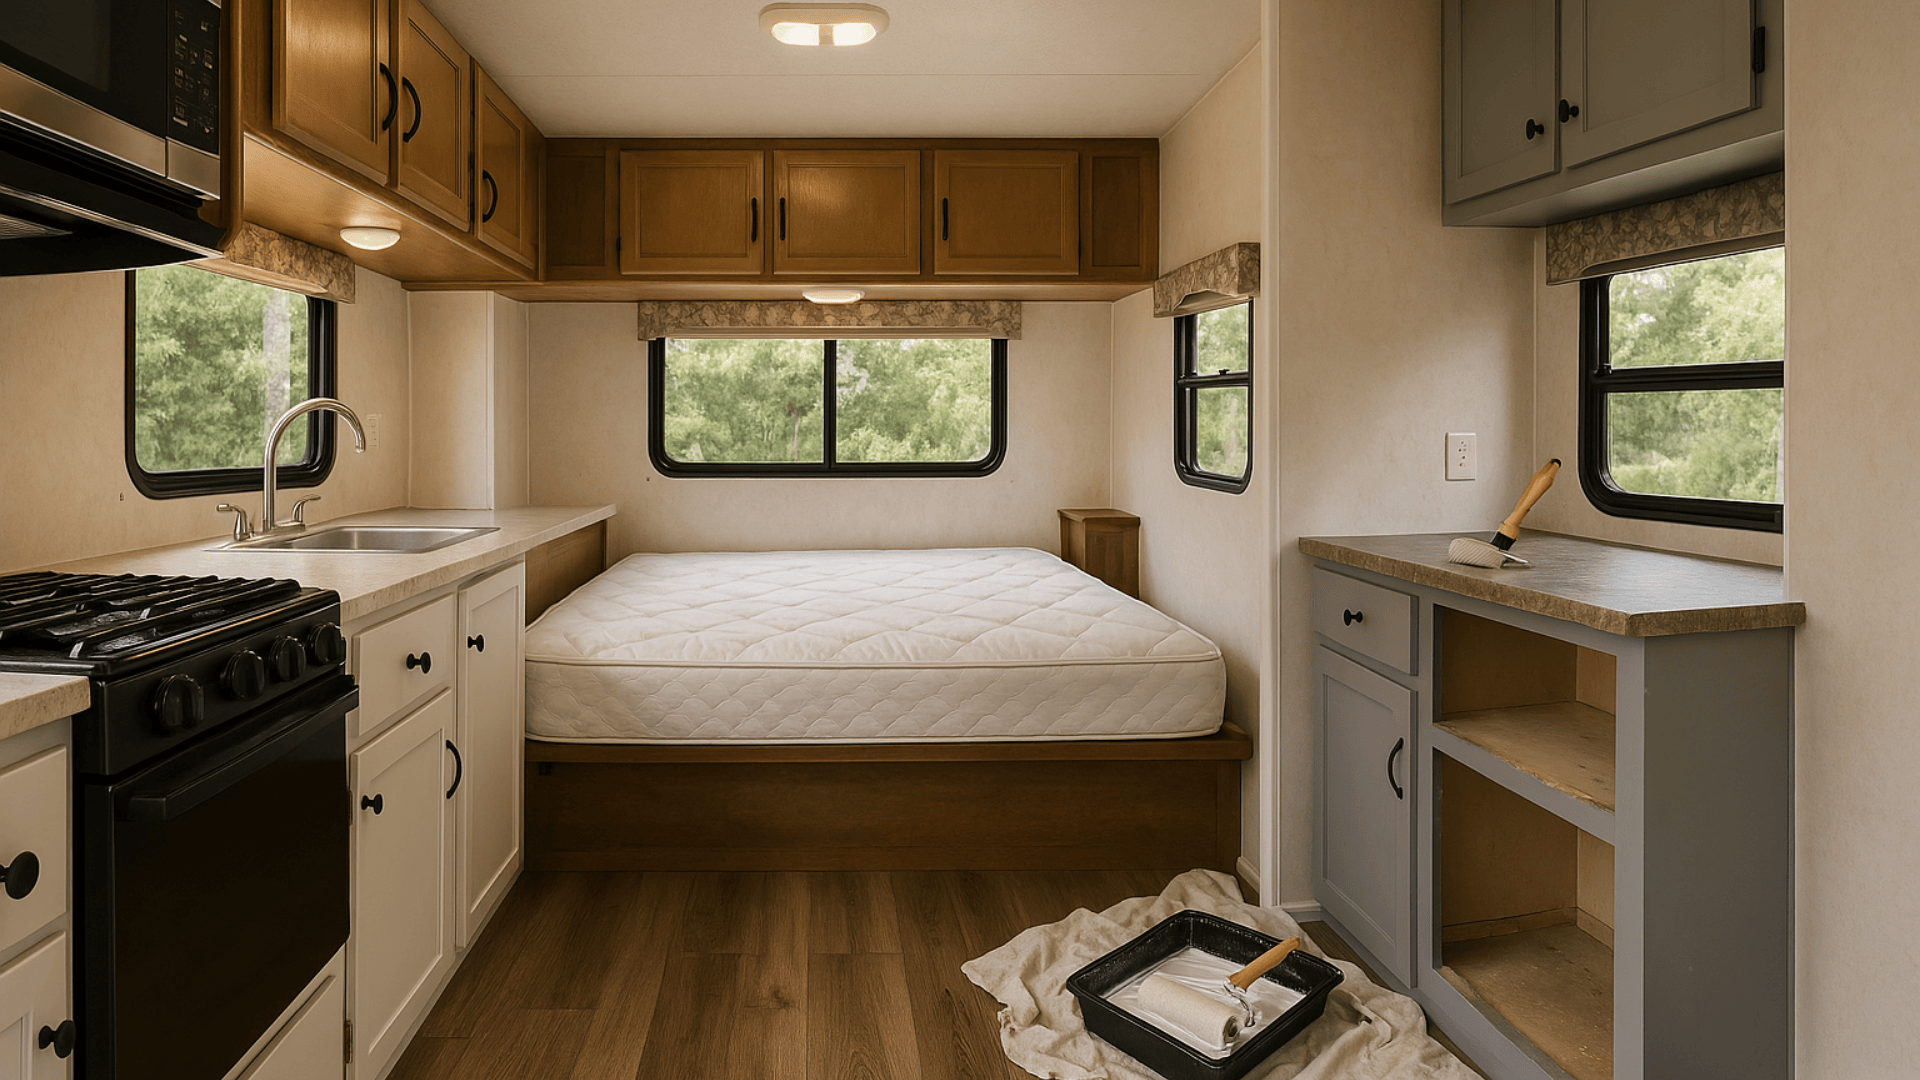
Got an old camper waiting for a makeover? Let’s turn that dated space into your dream home on wheels! Before grabbing your tools, take the time to plan your project carefully.
Start by checking for structural issues like water damage, test all systems (electrical, plumbing, propane), and honestly assess your skills and budget.
Most small updates cost $500-2,000, while full renovations can range from $5,000-15,000+.
Be realistic about your timeline—weekend projects work for cosmetic updates, but complete overhauls typically take 1-3 months of consistent work.
Three Must-Do Steps Before Starting:
- Inspect thoroughly for hidden damage (especially roof, windows, and floor)
- Set a clear budget with 20% extra for surprises
- Create a detailed plan with specific goals and priorities
Ready to start your RV transformation? Let’s make that tired camper shine again!
Budget Smarter: What an RV Remodel Really Costs
RV makeovers can cost anywhere from a few hundred dollars to over $20,000, depending on what you’re changing.
Many people forget about buying tools, fixing surprise problems, and paying for waste removal. These hidden costs often add 15-30% to your total budget.
Shop during off-season sales (fall/winter), check online marketplaces, and visit discount stores to find materials at lower prices.
Where to Spend vs. Save:
Let’s break down where your money is best allocated for maximum impact:
- Worth the investment: Quality mattress, reliable appliances, good flooring
- Save your money: Decorative items, cabinet hardware, and paint (budget options work fine!)
- DIY when possible: Painting, basic demolition, and simple installations
These guidelines will help you allocate your budget where it matters most for comfort and durability.
Cost Breakdown by Project:
Here’s a helpful reference for planning your budget by specific project type:
| PROJECT | DIY COST | PROFESSIONAL COST | NOTES |
|---|---|---|---|
| Paint interior | $100-300 | $500-1,200 | Biggest visual impact for the least money |
| Replace flooring | $300-1,000 | $1,000-2,500 | Consider vinyl planks for durability |
| New countertops | $200-800 | $600-2,000 | Laminate is budget-friendly and lightweight |
| Bathroom update | $400-1,200 | $1,500-3,500 | Composting toilets save on plumbing costs |
| Solar setup | $800-3,000 | $2,500-6,000 | Start small and add panels as needed |
This breakdown can help you prioritize which projects to tackle first based on your available budget and skills.
Remember: smart planning beats spending more money every time!
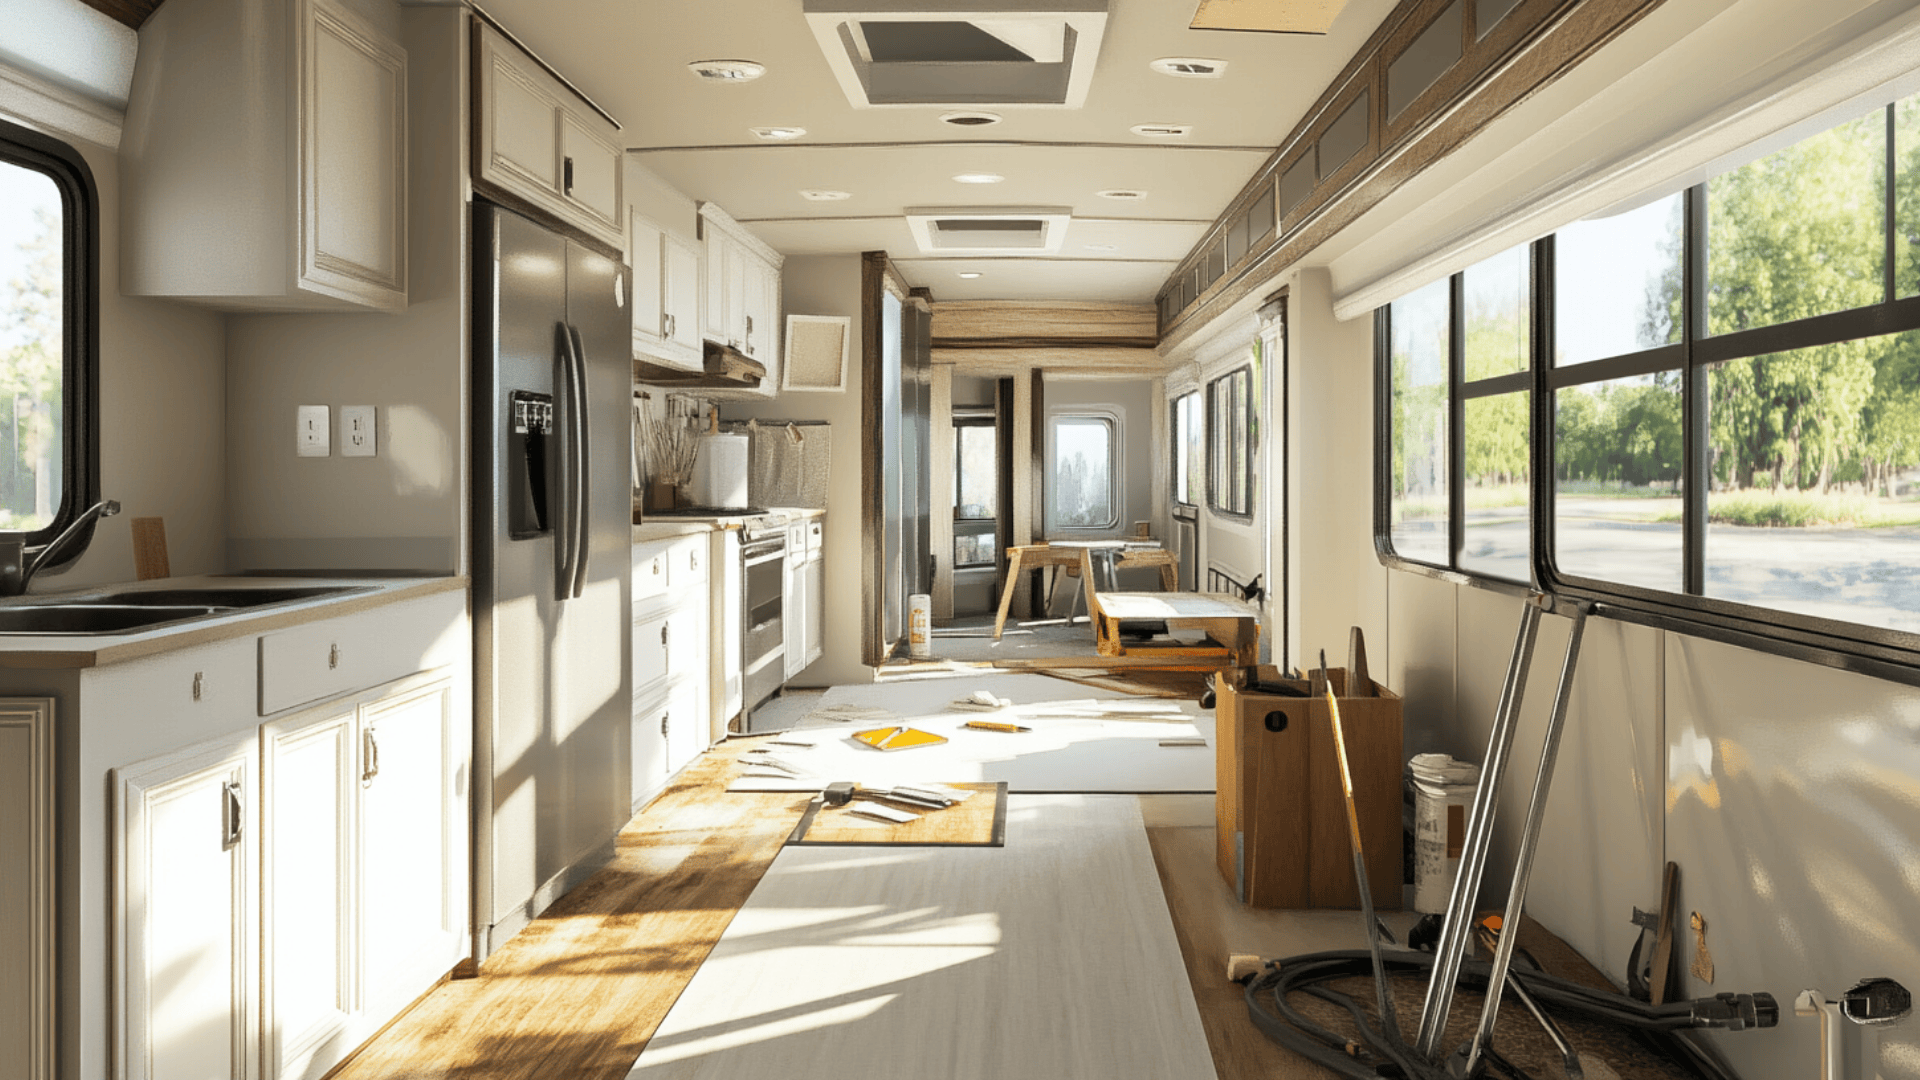
Step-by-Step RV Renovation Process
Ready to roll up your sleeves and get to work? Transforming your RV isn’t just about making it pretty—it’s about creating a functional, comfortable space that fits your lifestyle. Here’s how to tackle each phase for the best results:
Step 1: Demolition Phase
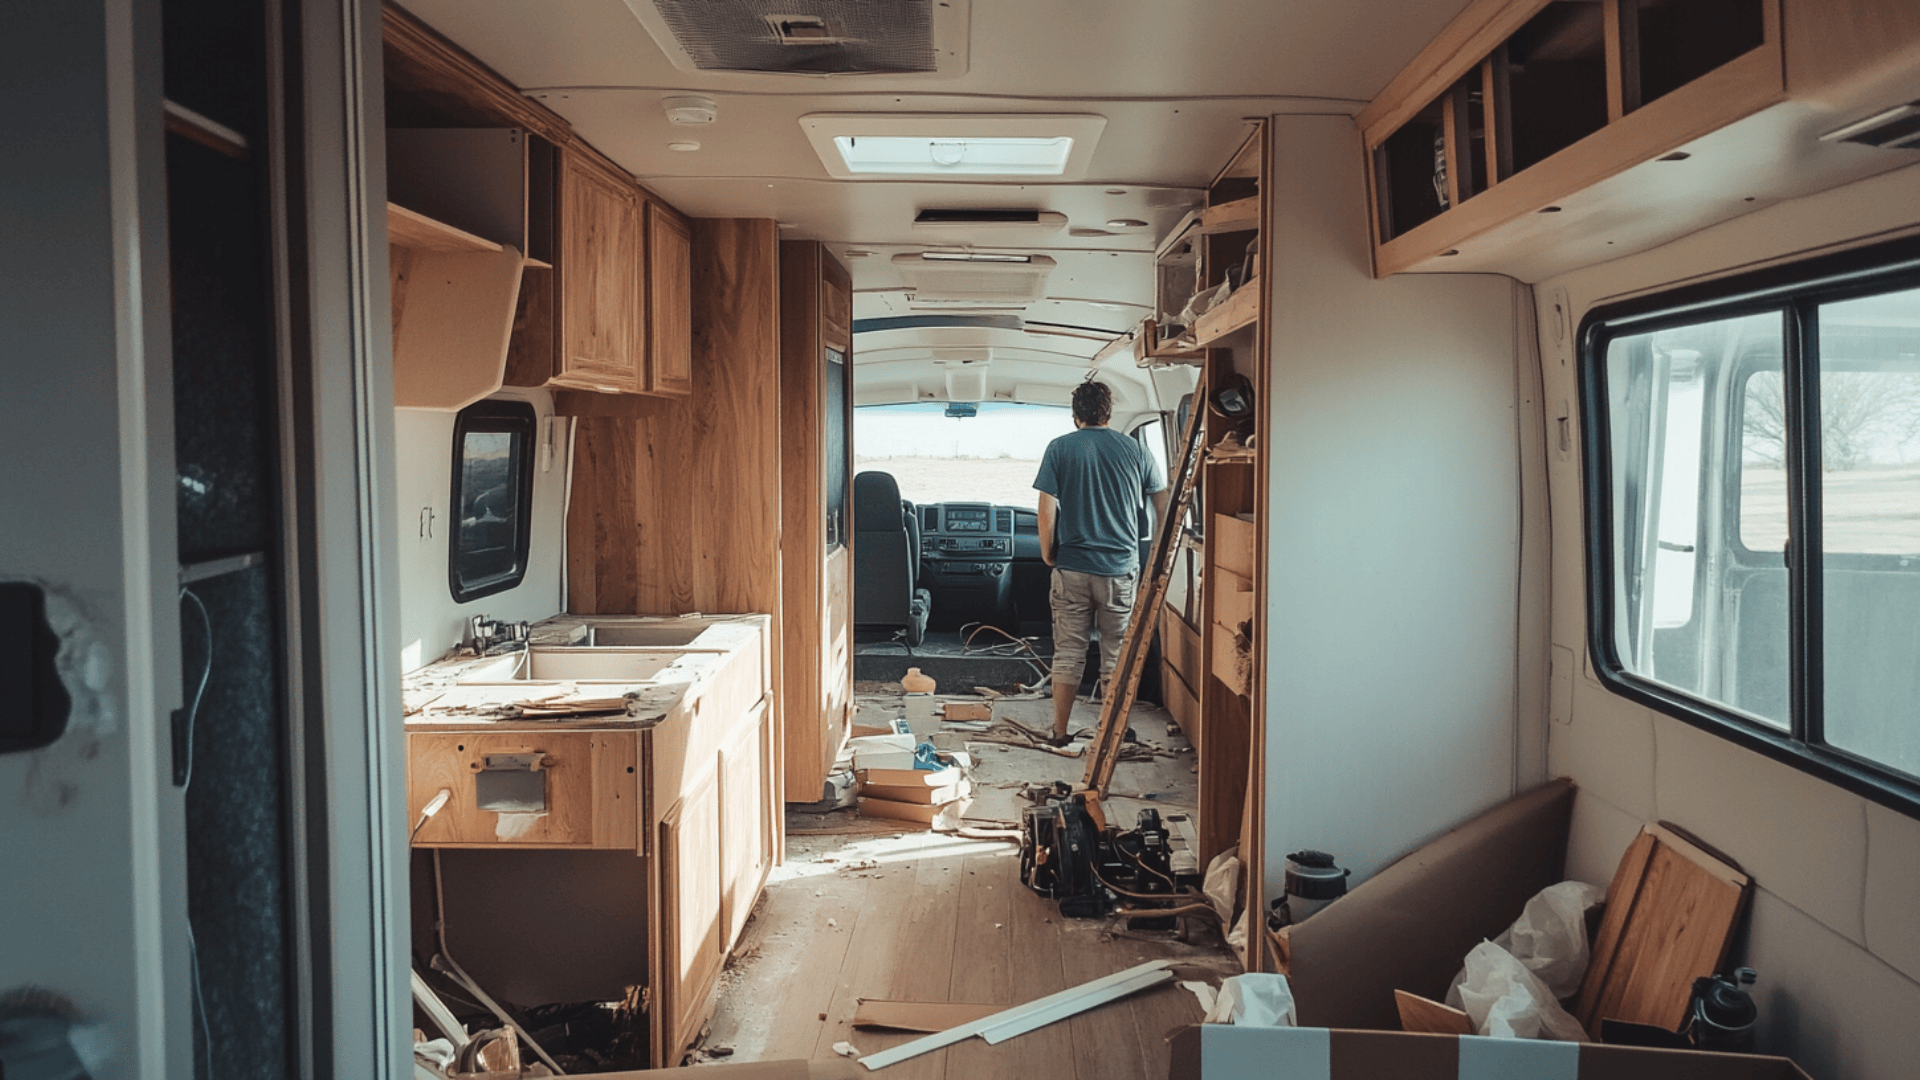
Start by removing everything that needs to go: old flooring, dated fixtures, wall panels that have seen better days. Take photos before you begin so you can refer back to how things were connected.
Work from top to bottom, removing ceiling items first, then walls, then flooring. Always shut off power and water before starting!
Step 2: Prep Work
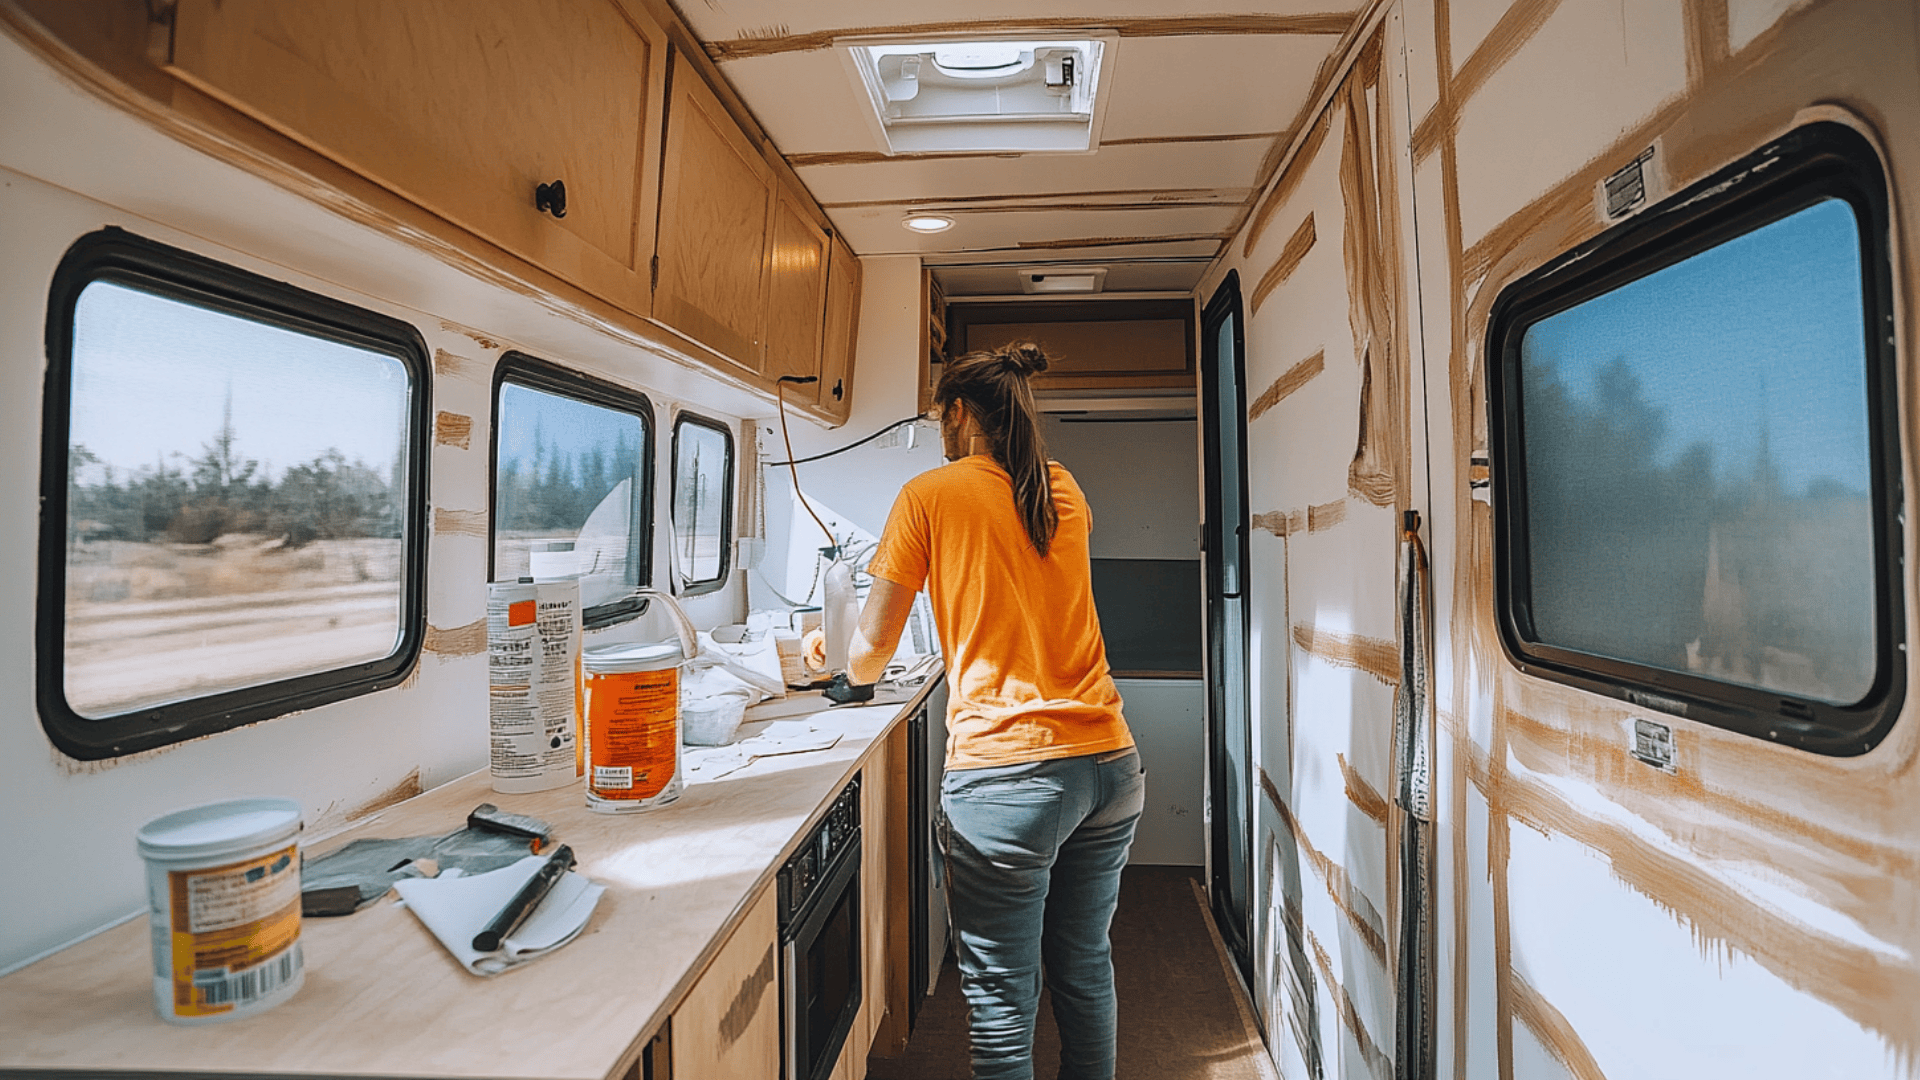
This critical step pays off later! Clean every surface thoroughly, patch holes, and fix any water damage. Sand rough areas smooth and apply primer to walls and cabinets.
Now’s also the time to update wiring, plumbing, or insulation while the walls are open.
Step 3: Building Back Better
Now comes the exciting part, where your vision starts taking shape. Start with your “shell” components:
- Walls and ceiling: install new panels or paint existing ones
- Flooring: lay new material (vinyl planks are popular for durability)
- Cabinets: reinstall, replace, or refinish with paint/stain
Working in this order prevents damage to your new components and creates a logical workflow.
Step 4: Finishing Touches
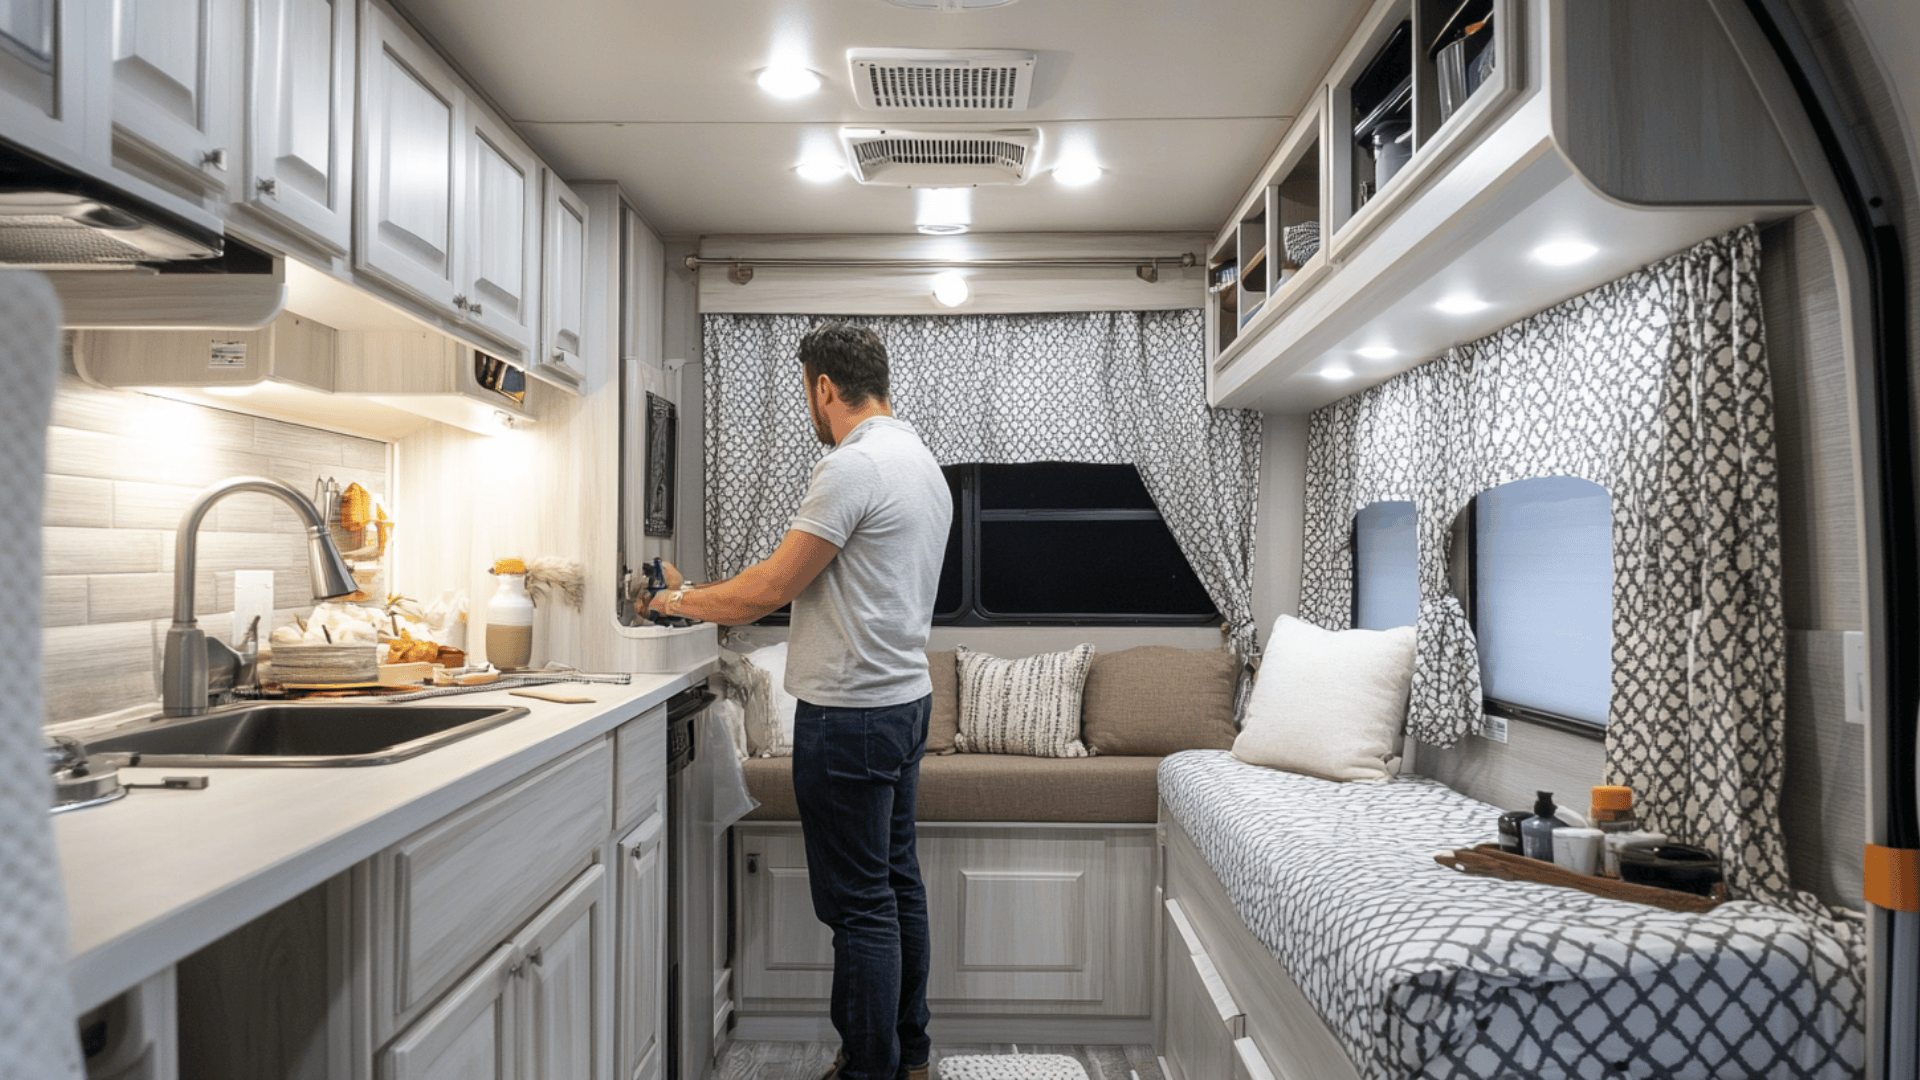
The fun part! Install your hardware, light fixtures, and faucets. Add textiles like curtains, cushions, and bedding. Organize your storage areas with smart solutions like tension rods, magnetic strips, and stackable containers.
Remember to work in a logical order to avoid damaging your new additions, and always double-check measurements before making permanent changes.
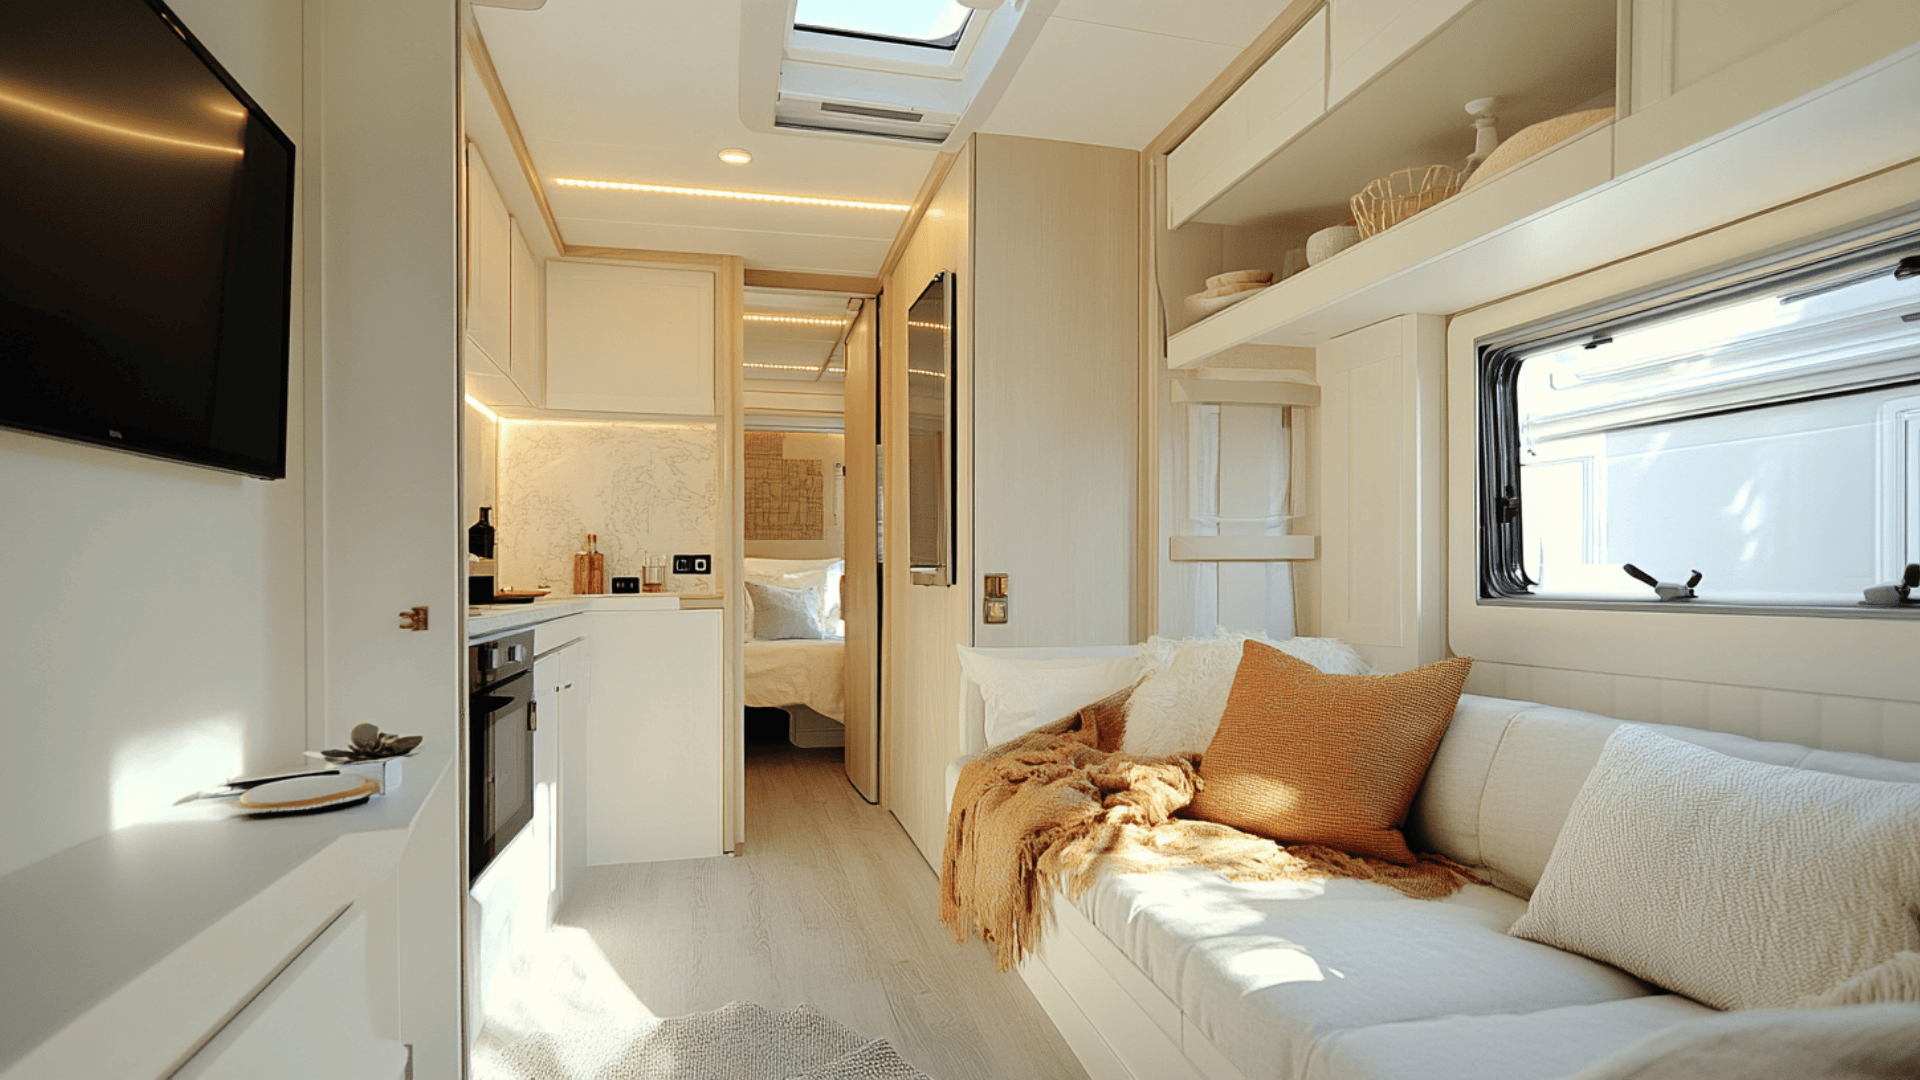
Design Your Dream Camper
Your RV’s style sets the mood for every adventure you take. Whether you want a cozy retreat or an Instagram-worthy space, finding your perfect look makes your camper truly yours.
Let’s look at some popular styles and easy ways to achieve them:
Popular RV Design Styles
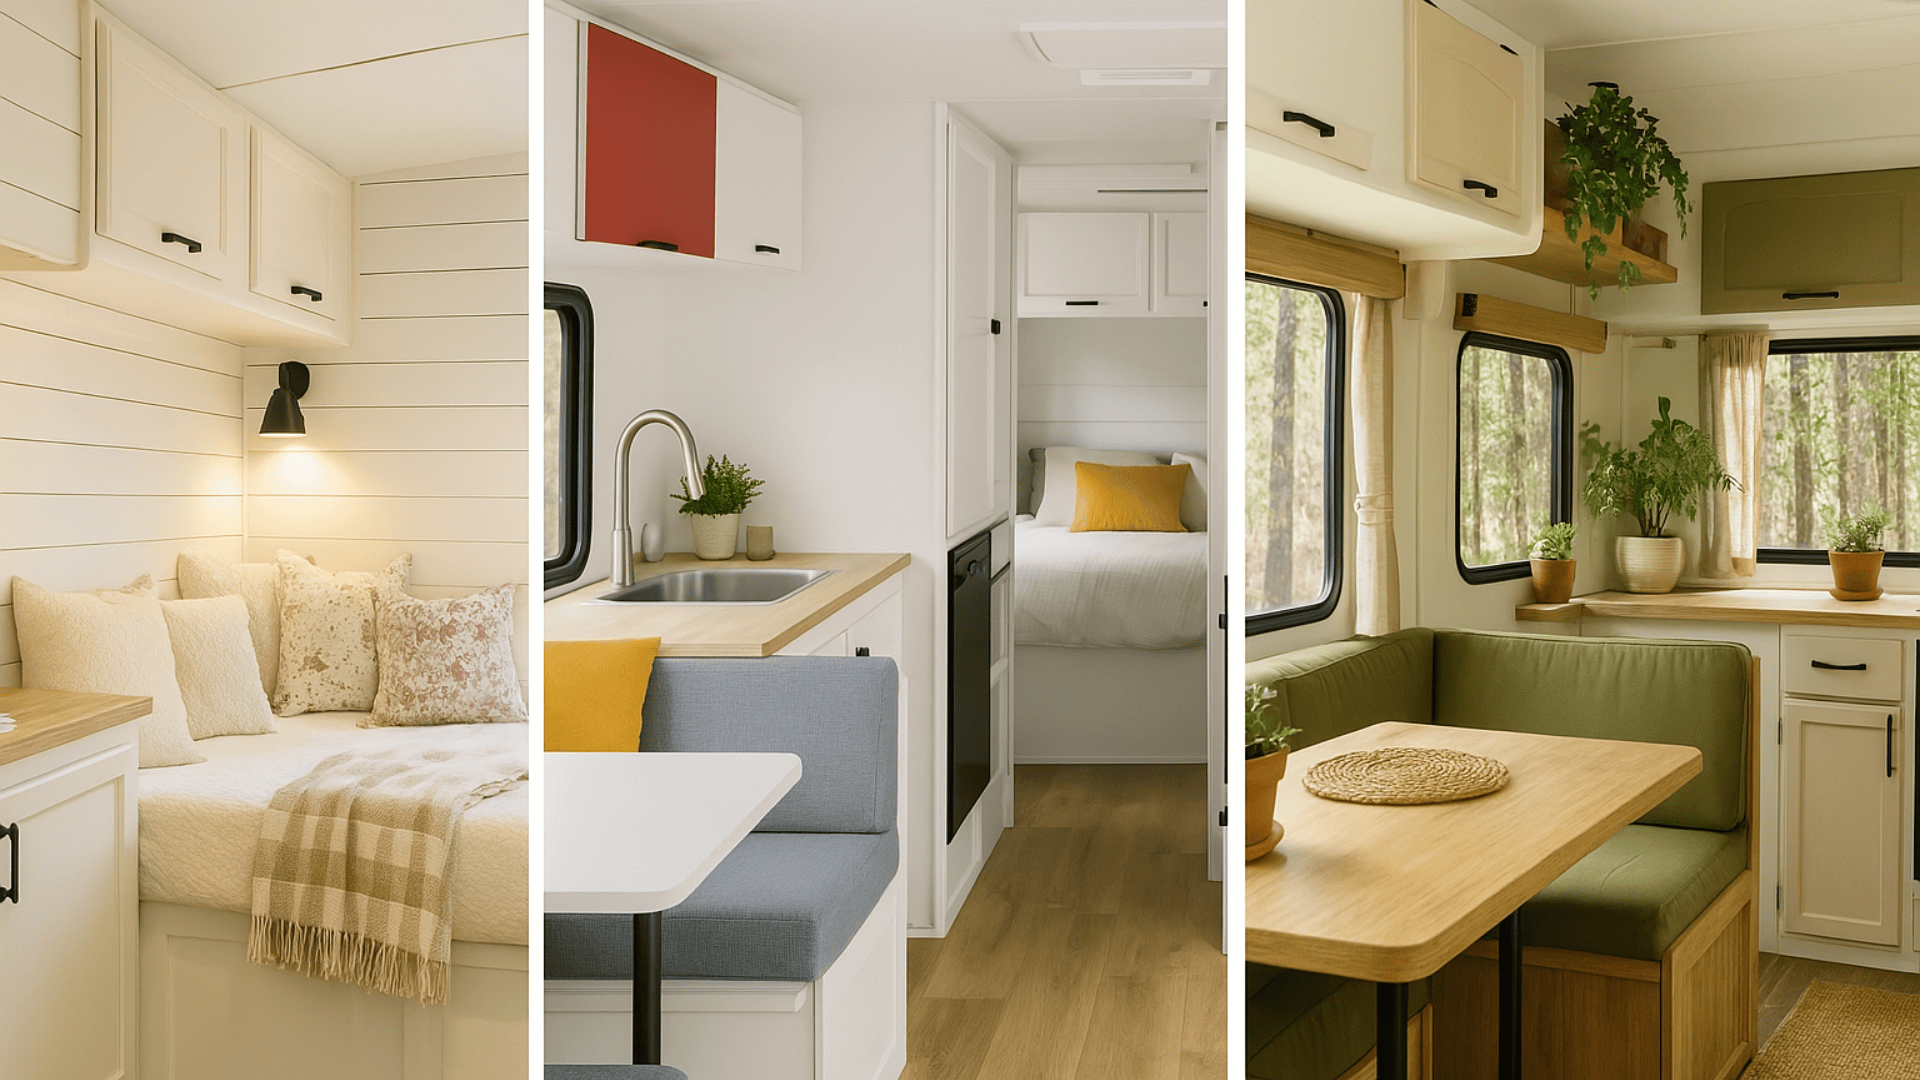
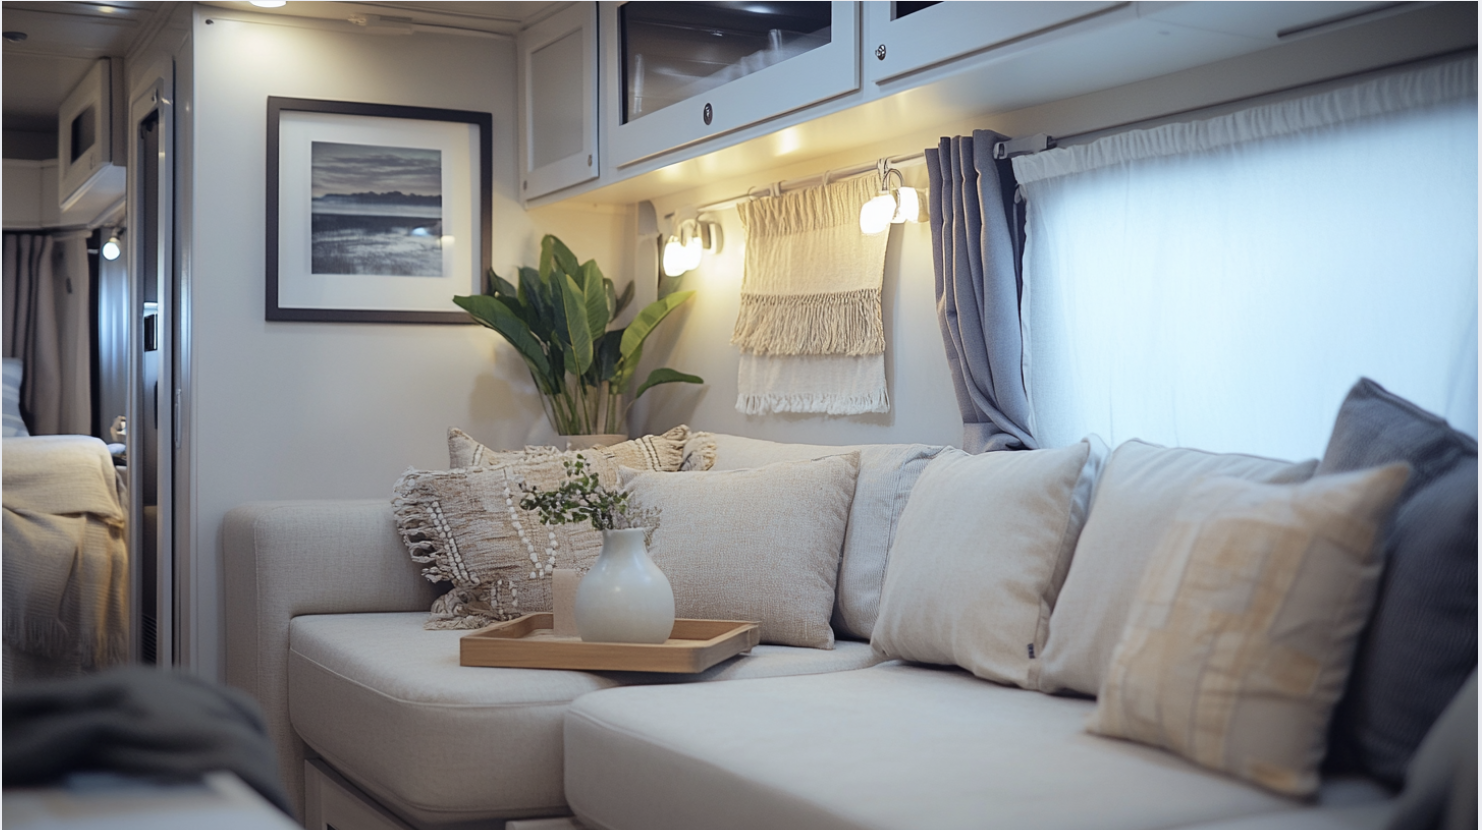
- Cozy Cottage: Think light colors, natural wood tones, and simple patterns. Use shiplap on accent walls, wicker baskets for storage, and soft textiles. This style feels warm and welcoming without being fussy.
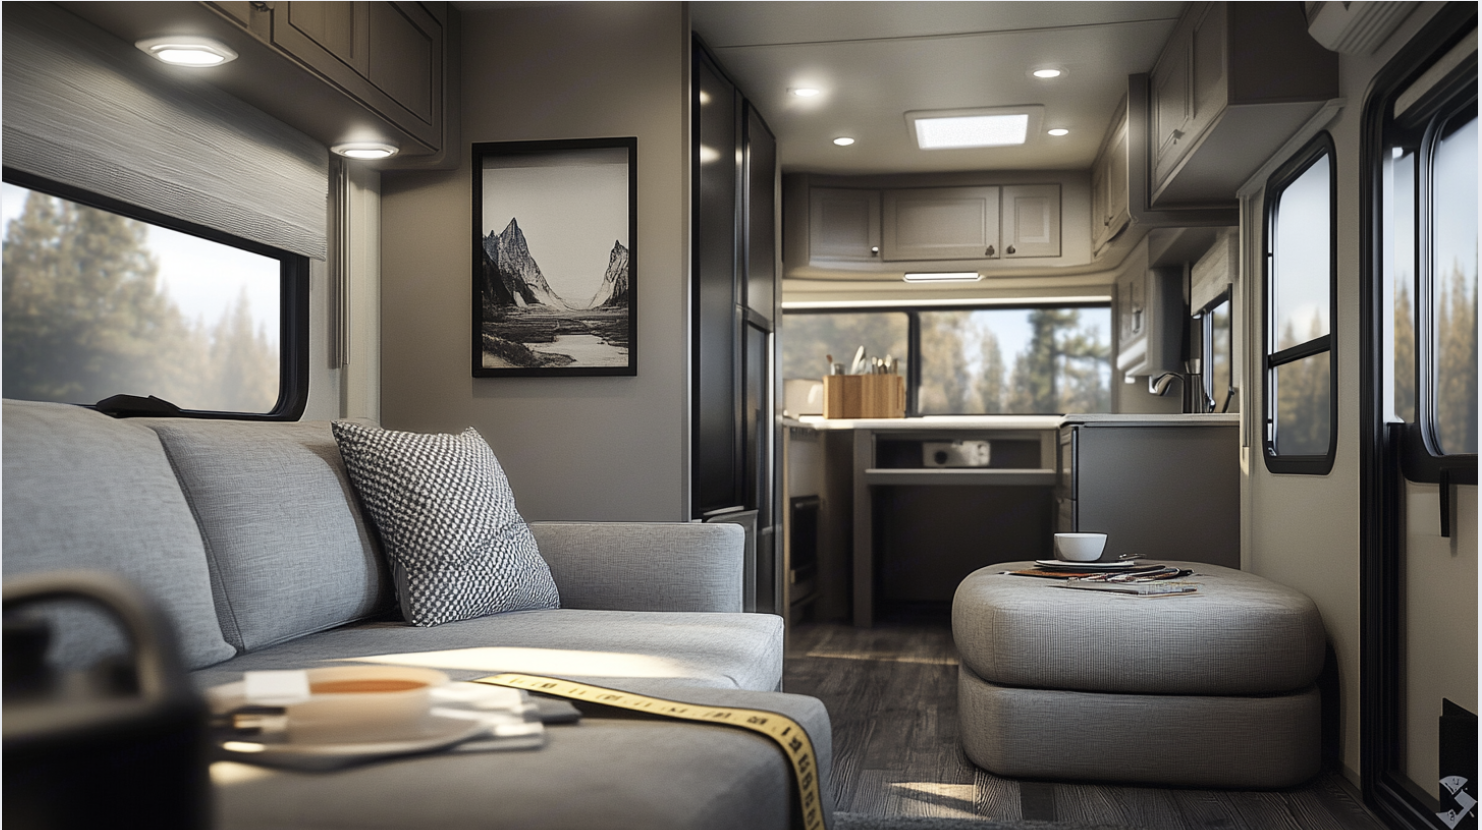
- Clean Modern: Sleek, functional, and open! Choose white or light gray as your base with pops of bold color. Focus on multi-purpose furniture, hidden storage, and minimal decorations. IKEA hack tip: their small space solutions work perfectly in RVs.
- Nature-Inspired: Bring the outdoors in with earth tones, plant life, and natural textures. Use jute rugs, cotton/linen fabrics, and plenty of plants (real or fake). This style works especially well for people who camp in woodsy areas.
Quick & Easy Update Tricks
Looking for high-impact changes that don’t require major renovation? Consider these options:
- Peel-and-stick products are your friends! Try backsplash tiles, wallpaper, and floor planks.
- Fabric can transform spaces – new curtains, cushion covers, and throw pillows make a huge impact.
- Removable hooks and command strips let you hang items without drilling holes.
- Battery-powered puck lights add ambiance without complicated wiring.
These quick fixes can transform your space in a weekend without breaking the bank.
Small Space Design Tips
Small spaces require thoughtful planning to maximize functionality. Here are strategies that work:
- Use vertical space with wall organizers and hanging storage.
- Choose light colors for walls to make the space feel bigger.
- Strategically placed mirrors make rooms feel twice as large.
- Multi-purpose items (like ottomans with storage) save valuable space.
With these ideas, your camper will stand out at any campground—and more importantly, feel like home to you!
Pro Tips & Renovation Lessons Learned the Hard Way
Even seasoned RV renovators make mistakes. Learning from others can save you time, money, and a whole lot of frustration. Here are the insider tips that will help your project go smoothly:
1. Prep Work You Should Never Skip
The right preparation can make the difference between a renovation that lasts for years and one that starts peeling within months. Focus on these essentials:
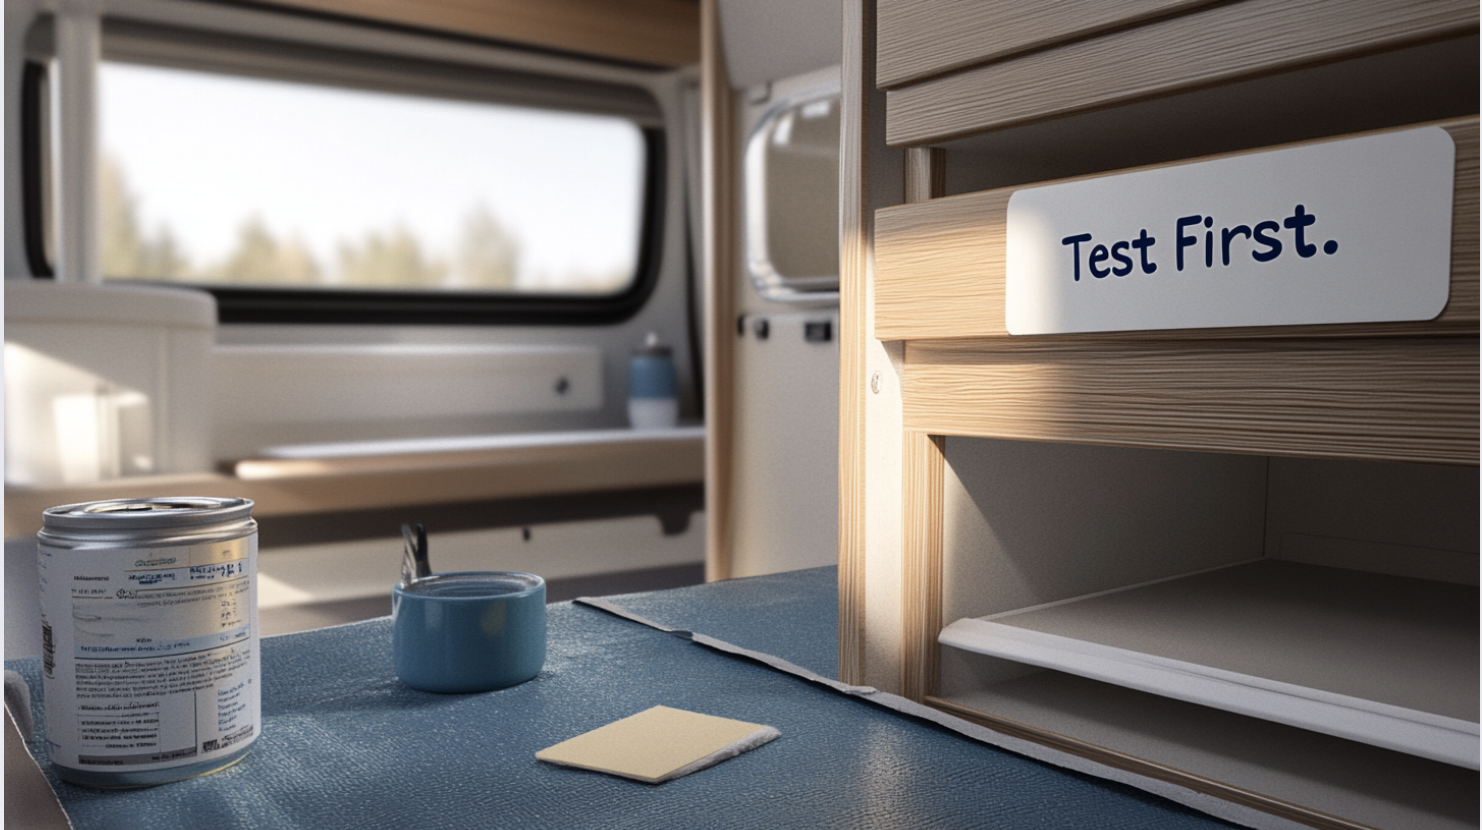
- Test all paints and adhesives on small areas first – RV surfaces often reject products that work perfectly in regular homes.
- Remove all cabinet hardware before painting, including those tiny shelf pin holes.
- Set up fans at doors and windows to create cross-ventilation, and take frequent breaks outside during smelly jobs. Proper ventilation isn’t just about comfort – RVs are small spaces where fumes concentrate quickly and can cause headaches or worse.
Taking these extra steps upfront saves countless hours of frustration and rework down the road.
2. Material & Surface Tips
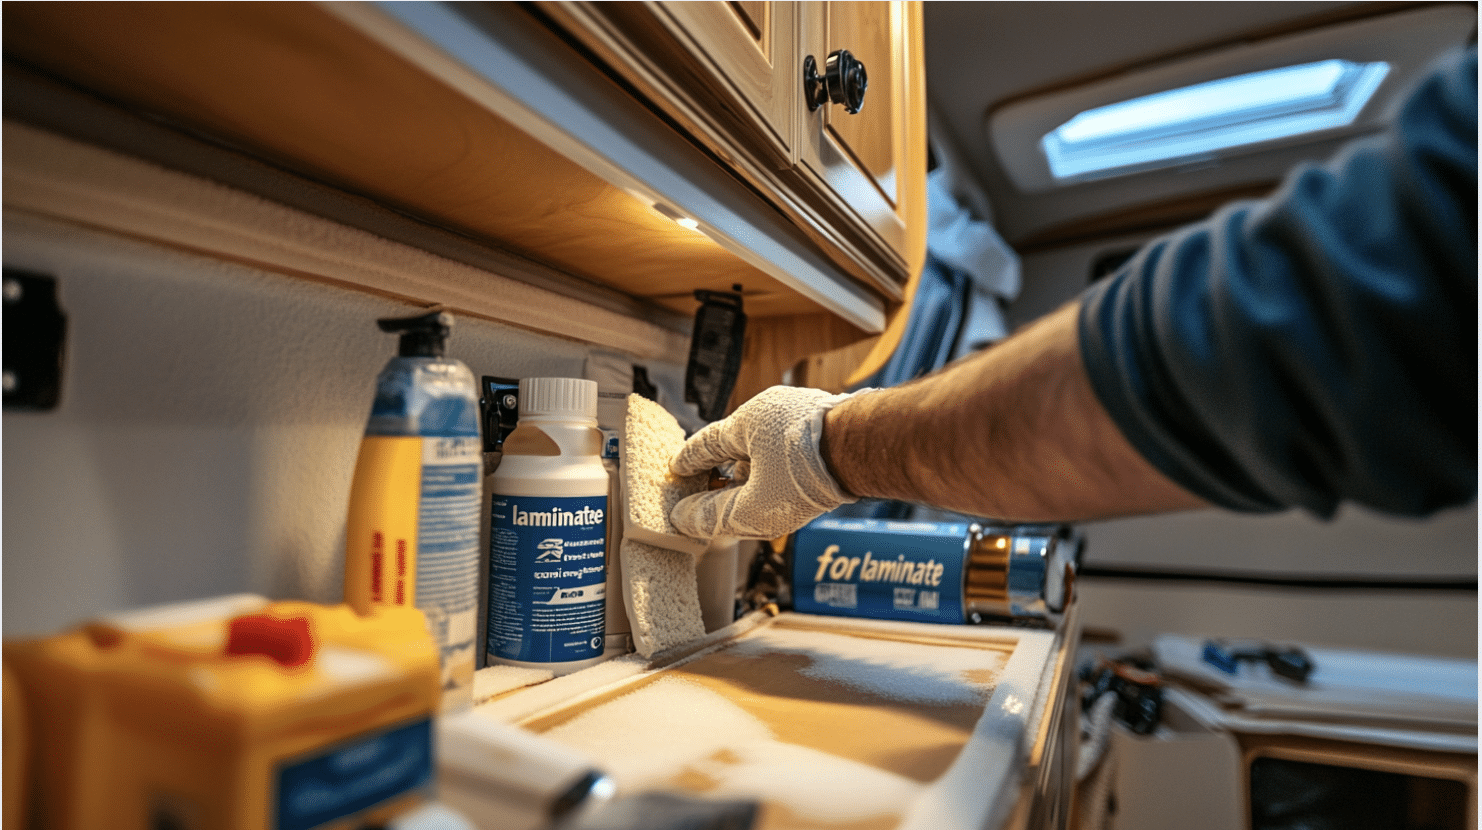
RV walls typically need cleaning with TSP and light sanding before paint will stick properly. The factory-applied vinyl covering is designed to repel stains – which means it also repels paint! Most RV cabinets require a bonding primer specifically formulated for laminate surfaces.
When selecting materials for your renovation, keep these critical factors in mind:
- Consider weight in everything you choose – lightweight materials are worth the extra cost
- Use flexible caulk instead of rigid options due to the constant movement RVs experience
These choices will ensure your renovation stands up to the unique challenges of mobile living.
3. Common Mistakes to Avoid
Installing regular household fixtures looks great in photos but can lead to disappointment when they break from road vibration. Look for RV-specific options or reinforce standard items with extra screws and supports.
- Don’t cover access panels to electrical systems or water connections
- Avoid adding too much weight to one side of the RV (creates balance issues)
- Skip the heavy tile – it adds significant weight and can crack during travel
Learning from these common errors will save you both time and money throughout your project.
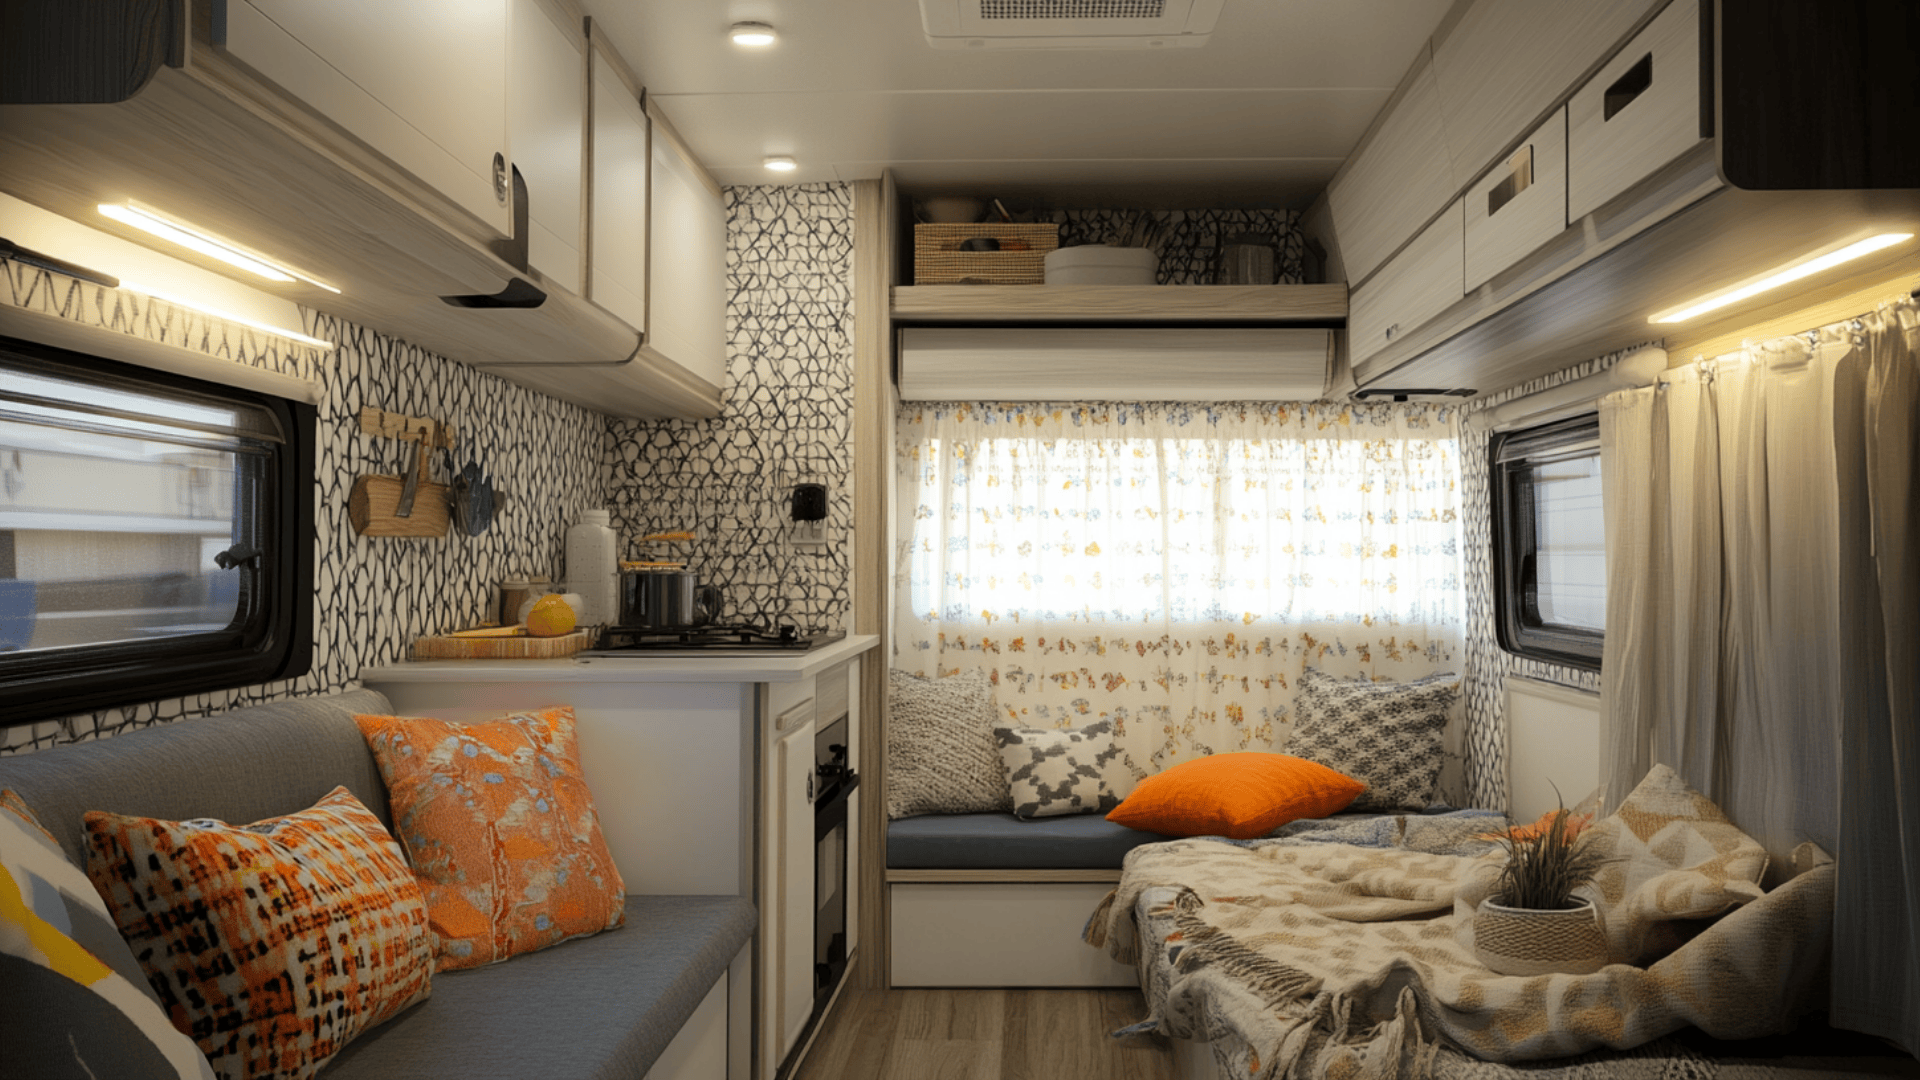
Making It Homey
The final stage of your renovation transforms your RV from a construction project into a welcoming home. These details make the difference between a basic camper and your perfect getaway space. Let’s make it cozy!
1. Smart Furniture Choices
Weight should be your first consideration when selecting furniture. Look for lightweight frames with aluminum or hollow-core construction that won’t strain your RV’s capacity.
When shopping for your mobile home furnishings, keep these important guidelines in mind:
- Measure doorways before buying anything – many RV doors are narrower than standard
- Look for multi-function pieces: ottomans with storage, tables that expand, sofas that convert
- Secure furniture to walls or floor with L-brackets that can be hidden from view
These strategies ensure your furniture works as hard as you do and stays put during travel.
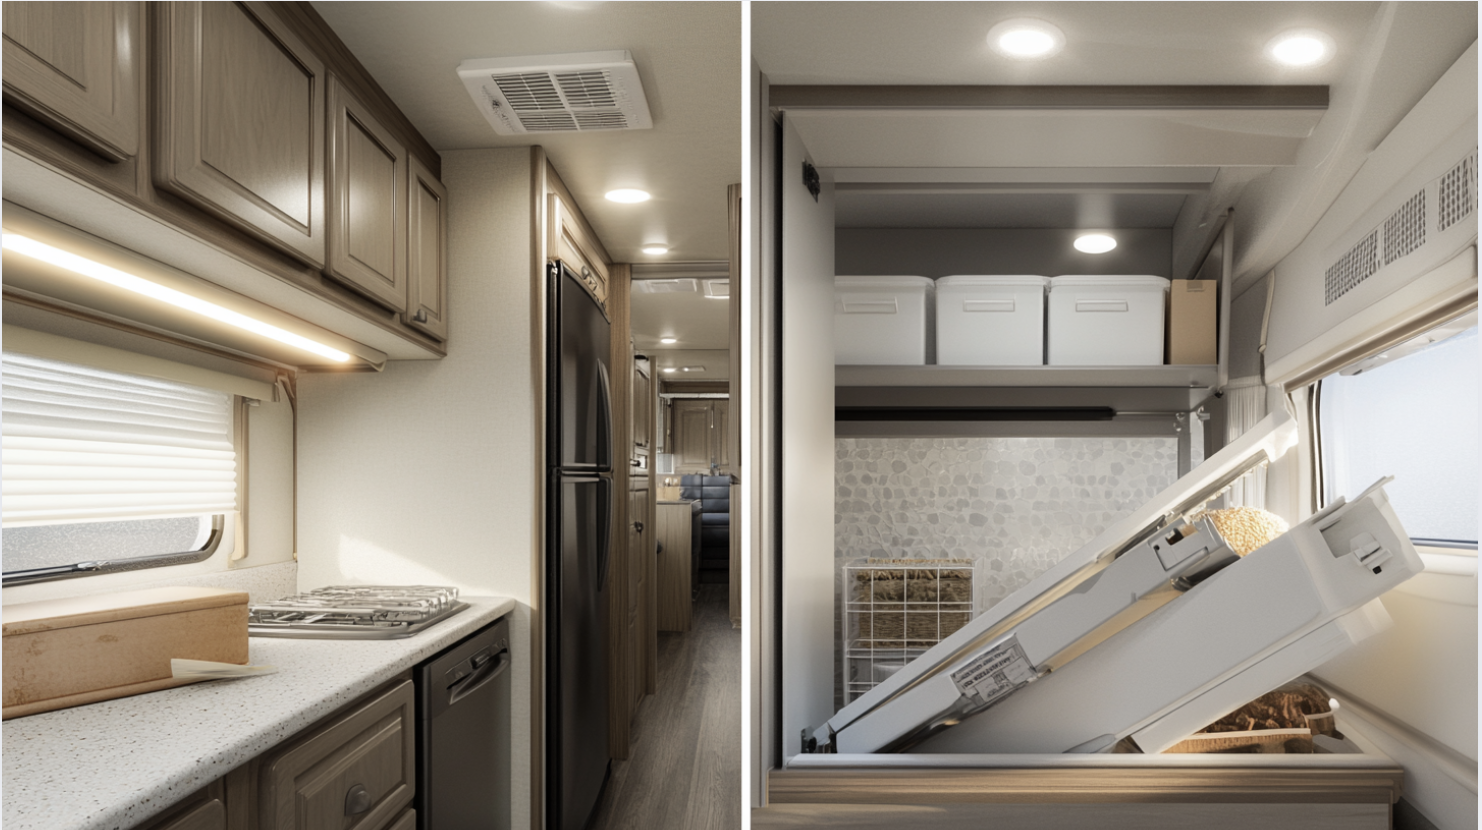
2. Clever Storage Solutions
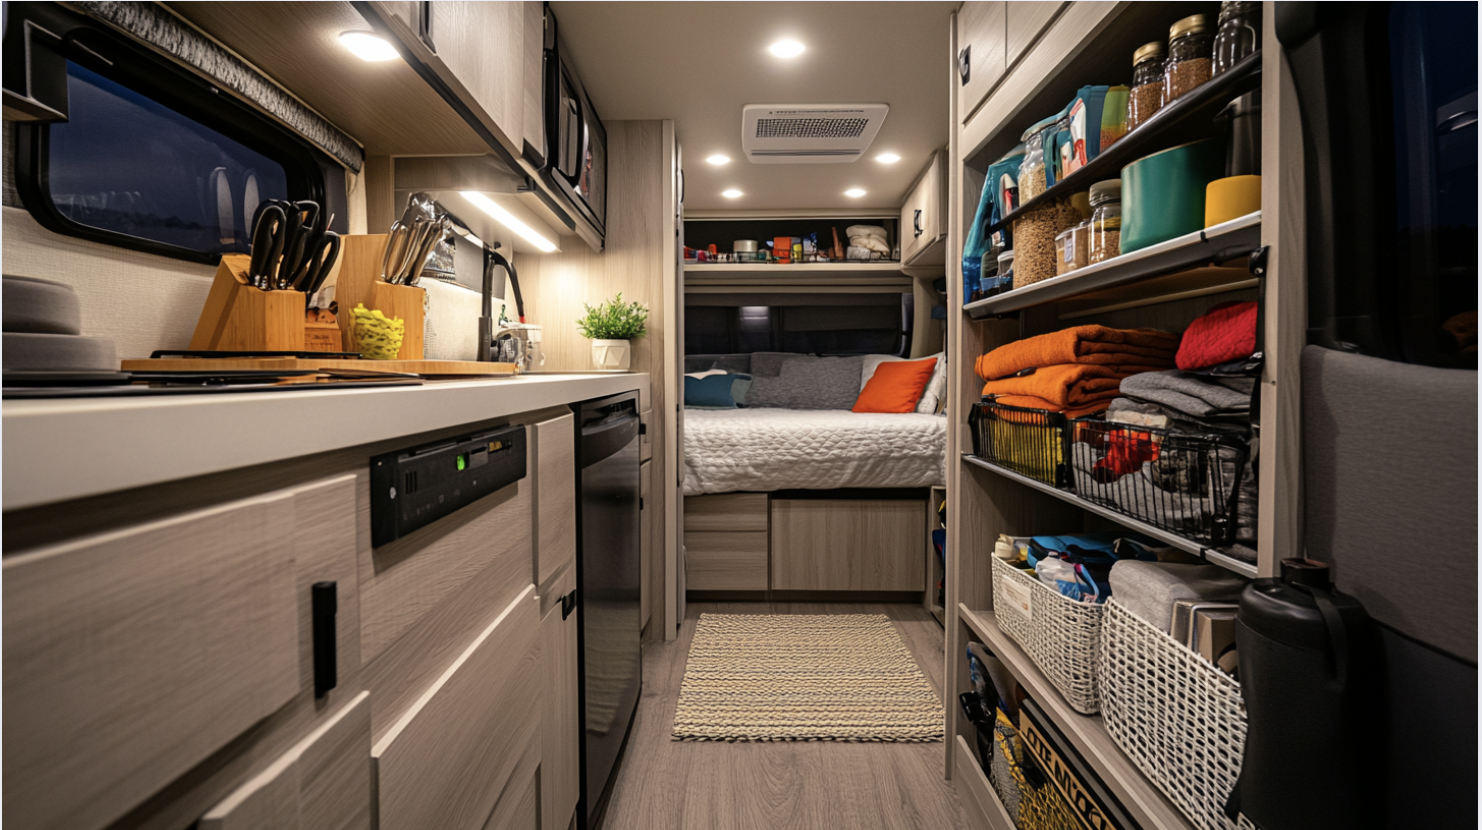
The most successful RV renovations maximize every inch of potential storage. Magnetic strips mounted under cabinets keep knives and metal tools accessible without using counter space.
Consider these tested storage ideas from experienced RV owners:
- Use tension rods to create instant dividers in cabinets
- Install over-door organizers on cabinet doors for extra storage
- Choose collapsible items (dishes, laundry baskets) to save space when not in use
- Vacuum bags to compress off-season clothing and bedding to a fraction of their size
With smart storage solutions, even the smallest RV can feel organized and spacious.
3. Road-Ready Decor Tips
Museum putty (sometimes called quake putty) is the secret weapon of RV decorators. A small amount under decorative items keeps them firmly in place through bumpy roads.
Here are proven techniques to make your decor travel-friendly:
- Use picture-hanging strips instead of nails for wall art
- Choose fabric wall hangings for color without weight
- Select weighted throw pillows that won’t become projectiles during travel
These simple adjustments let you enjoy beautiful surroundings without worrying about damage during transit.
Final Thoughts
An RV remodel goes beyond aesthetic improvements—it creates a travel sanctuary tailored to your unique needs and preferences. The right renovations make every mile more comfortable and each destination more enjoyable.
Remember that successful projects balance practical functionality with personal style, ensuring your mobile home works efficiently while looking fantastic.
Start with smaller projects to build confidence before tackling major changes, and document your progress to inspire fellow travelers.
With thoughtful planning and creative vision, your transformed RV will become the perfect backdrop for countless adventures and cherished memories.
Now, grab those design plans, embrace the renovation journey, and prepare for the satisfaction of hitting the road in a refreshed, personalized space you’ll love calling home.
FAQs on RV Remodeling
Got questions? You’re not alone! Here are answers to the most common concerns from people who have actually completed RV renovations:
1. Can You Paint Over Vinyl Wallpaper in an RV?
Yes, with proper prep: clean thoroughly, sand lightly, use bonding primer, and finish with durable paint. KILZ Adhesion or Zinsser Bulls Eye 1-2-3 primers work well.
2. How Do I Deal With Slide-outs During Renovation?
Work on them in both extended and retracted positions. Ensure that flooring and fixtures work in both positions and allow for movement between them.
3. What Flooring Works Best in RVs?
Vinyl plank flooring is the top choice. It’s lightweight, water-resistant, handles temperature changes well, and installs as a floating floor without glue.
4. How Long Does an RV Renovation Take?
Cosmetic updates take 2-4 weekends. Full renovations require 2-6 months of part-time work. Weather, material availability, and skill level affect timing.
5. Is Regular Home Furniture Ok in an RV?
Yes, if it’s lightweight, secured properly, and fits through your RV door. Many renovators use IKEA furniture with success.
6. How Do You Keep Things From Shifting While Driving?
Use tension rods in cabinets, drawer latches, and museum putty under items, and develop a quick “travel mode” procedure before hitting the road.