
Looking to refresh your pop-up camper? A pop-up camper remodel can turn an outdated space into a cozy, custom retreat without buying a brand-new RV.
Small upgrades like new paint, modern fabrics, and smart storage solutions make big impacts in these compact spaces.
Most owners find that simple changes boost both comfort and value while keeping the practical benefits of a lightweight design.
From quick weekend updates to full makeovers, each change brings you closer to the perfect camping setup. Read on for practical tips, budget-friendly ideas, and step-by-step guidance to help you create a personalized pop-up camper that fits your camping needs and style preferences.
A Quick Guide to Remodeling a Pop-Up Camper
Pop-up campers offer a perfect mix of camping comfort and mobility. Fixing up an old one can be both rewarding and cost-effective.
There’s something magical about taking a worn-out camper with outdated colors and making it your own unique space. The transformation process lets you customize every detail to your needs while building memories along the way.
Let’s walk you through the journey from tired camper to head-turning hideaway without emptying your wallet.
Start Here:
Before jumping in straightaway, take time to check the camper’s condition. Look at the frame for rust, inspect the floor for soft spots, and test the lift system.
Check the canvas for tears and the roof for leaks. These checks help you plan your budget and avoid surprises later.
Money Talk: What Will This Cost?
Understanding your potential costs upfront helps you plan a renovation that fits your budget. Most projects fall into these ranges:
- Cosmetic Updates: $200-500 (paint, cushions, curtains)
- Minor Repairs: $500-800 (floor patches, canvas fixes)
- Major Overhaul: $800+ (structural work, appliance replacement)
With some basic tools, creative thinking, and weekend work, you can turn a bargain-priced pop-up into a cozy retreat that reflects your personality. The key is knowing what truly needs fixing versus what just needs freshening up!
Pop-Up Repairs That Matter Most
Tackling key repairs first saves money and headaches down the road. Roof damage often starts small but grows quickly – patch small cracks in ABS plastic with specialized repair kits before water causes more harm.
For canvas issues, professional replacement costs $1,000+, but cleaning with mild soap and protecting with canvas waterproofing spray extends life significantly.
Critical Fixes Worth Your Time:
These three repair areas will give you the biggest return on investment, preventing costly damage:
- Floor Problems: Replace rotted sections with marine-grade plywood, then seal all edges with silicone caulk
- Lift System: Lubricate moving parts yearly; replace worn cables before they snap
- Water Seals: Re-caulk all roof seams and window edges every 2-3 years
Addressing these issues first ensures your renovation work won’t be undone by underlying problems.
Common Issues and Solutions
The following chart breaks down typical problems you’ll face, what they cost to fix, and how to prevent them. Having this information handy helps you make smart decisions about which repairs to tackle first.
| PROBLEM | DIY FIX | PRO FIX COST | PREVENTION |
|---|---|---|---|
| Roof Leaks | Seal with Dicor or Eternabond tape | $300-700 | Annual inspection |
| Canvas Tears | Patch kits ($20-50) | $1,000+ for replacement | Keep clean, store dry |
| Floor Rot | Cut out bad sections, replace with treated plywood | $500-900 | Fix leaks quickly |
| Lift System | Clean and grease yearly | $200-400 for new parts | Regular maintenance |
These fixes might not be glamorous, but they prevent bigger problems and keep your camper safe and dry for years. Remember that an hour of maintenance now saves days of repairs later.
Paint, Panels, and Peel & Stick: Transforming Your Interior
Ready for the ultimate camper makeover magic? The inside of your pop-up is a blank canvas waiting for your personal touch!
With just a few affordable materials, you can completely change the look and feel of your space.
1. Cabinet Transformation Station
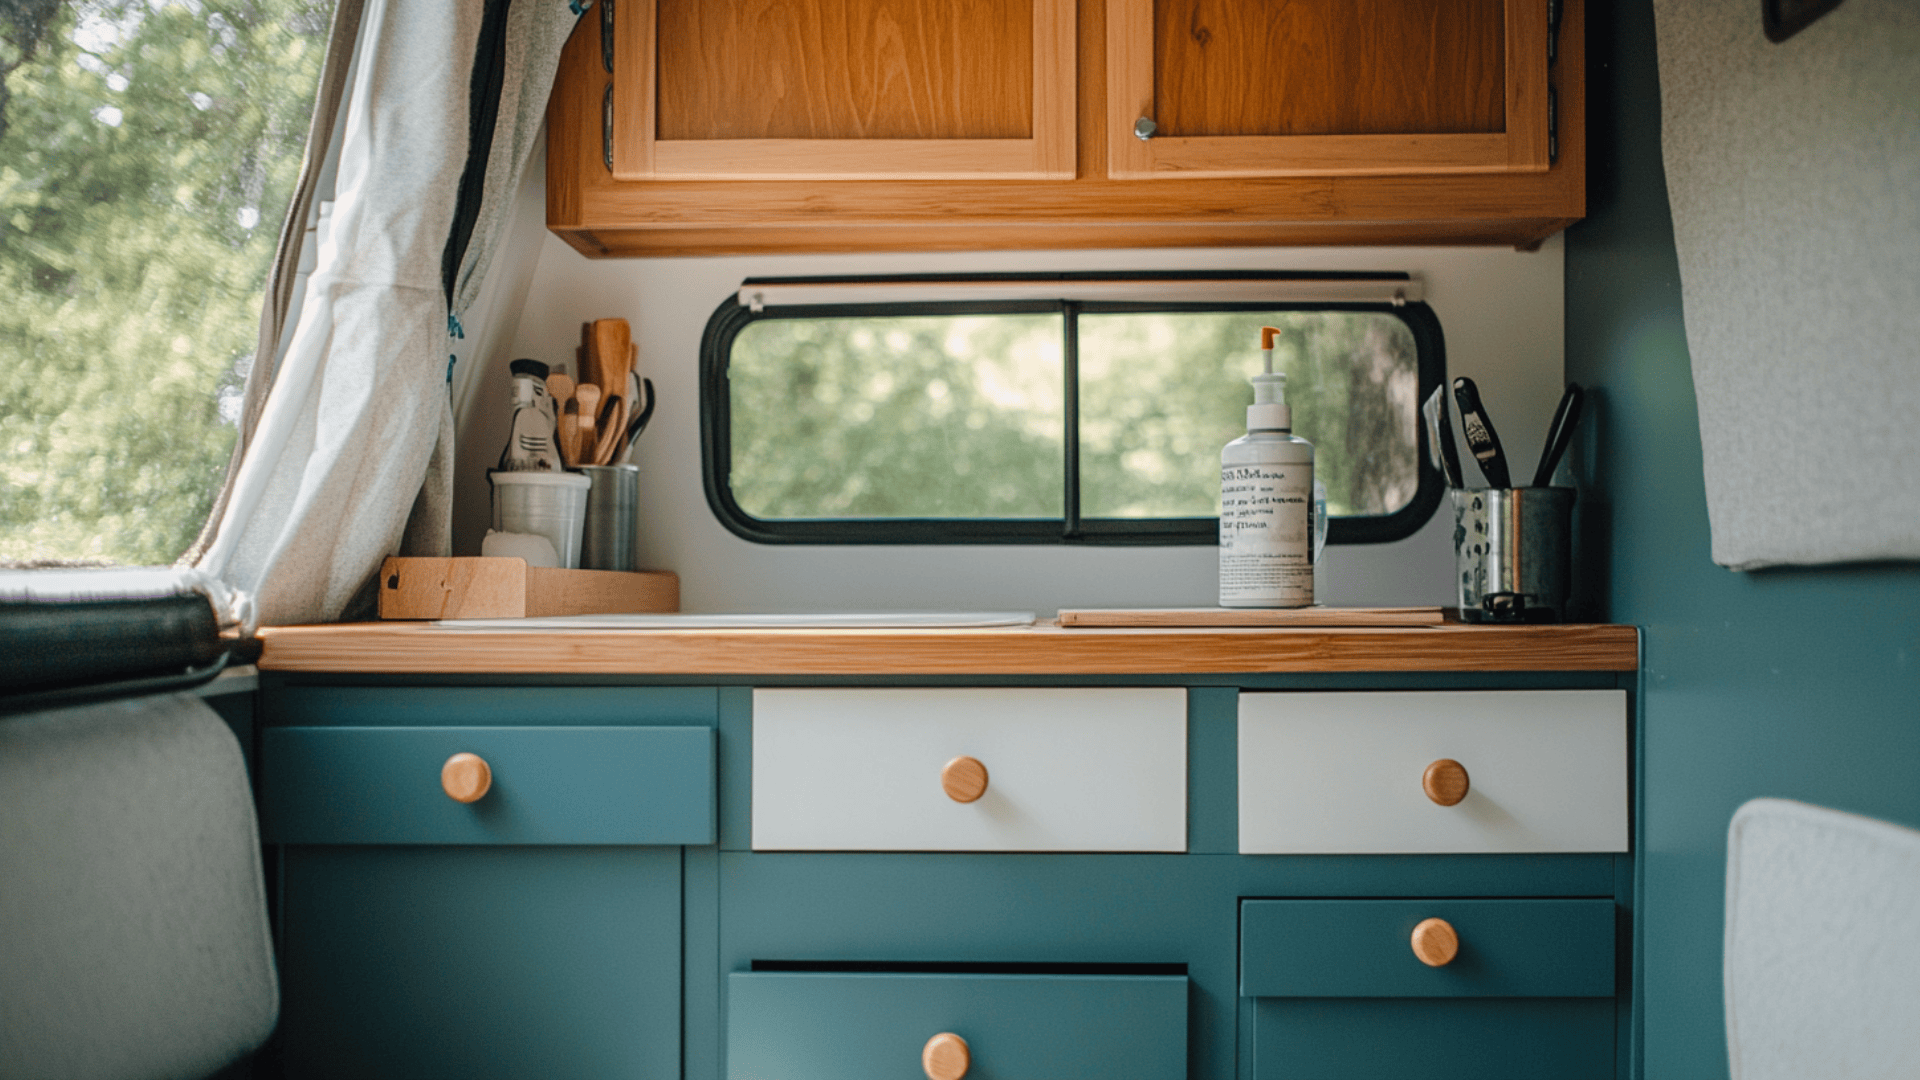
Cabinets dominate visual space in any camper. The right paint turns dated wood into showstopping focal points.
Skip heavy sanding with a liquid deglosser ($8) that preps surfaces in minutes. Water-based alkyd paints offer durability without the smell or drying time.
Pro Tips:
- Use mini foam rollers for smooth finishes in tight corners
- Add new hardware for an instant style upgrade ($2-5 per handle)
- Paint upper cabinets lighter than lower ones to create height
Taking your time with prep work pays off with a professional-looking finish that lasts through camping seasons.
2. Surface Makeovers That Wow
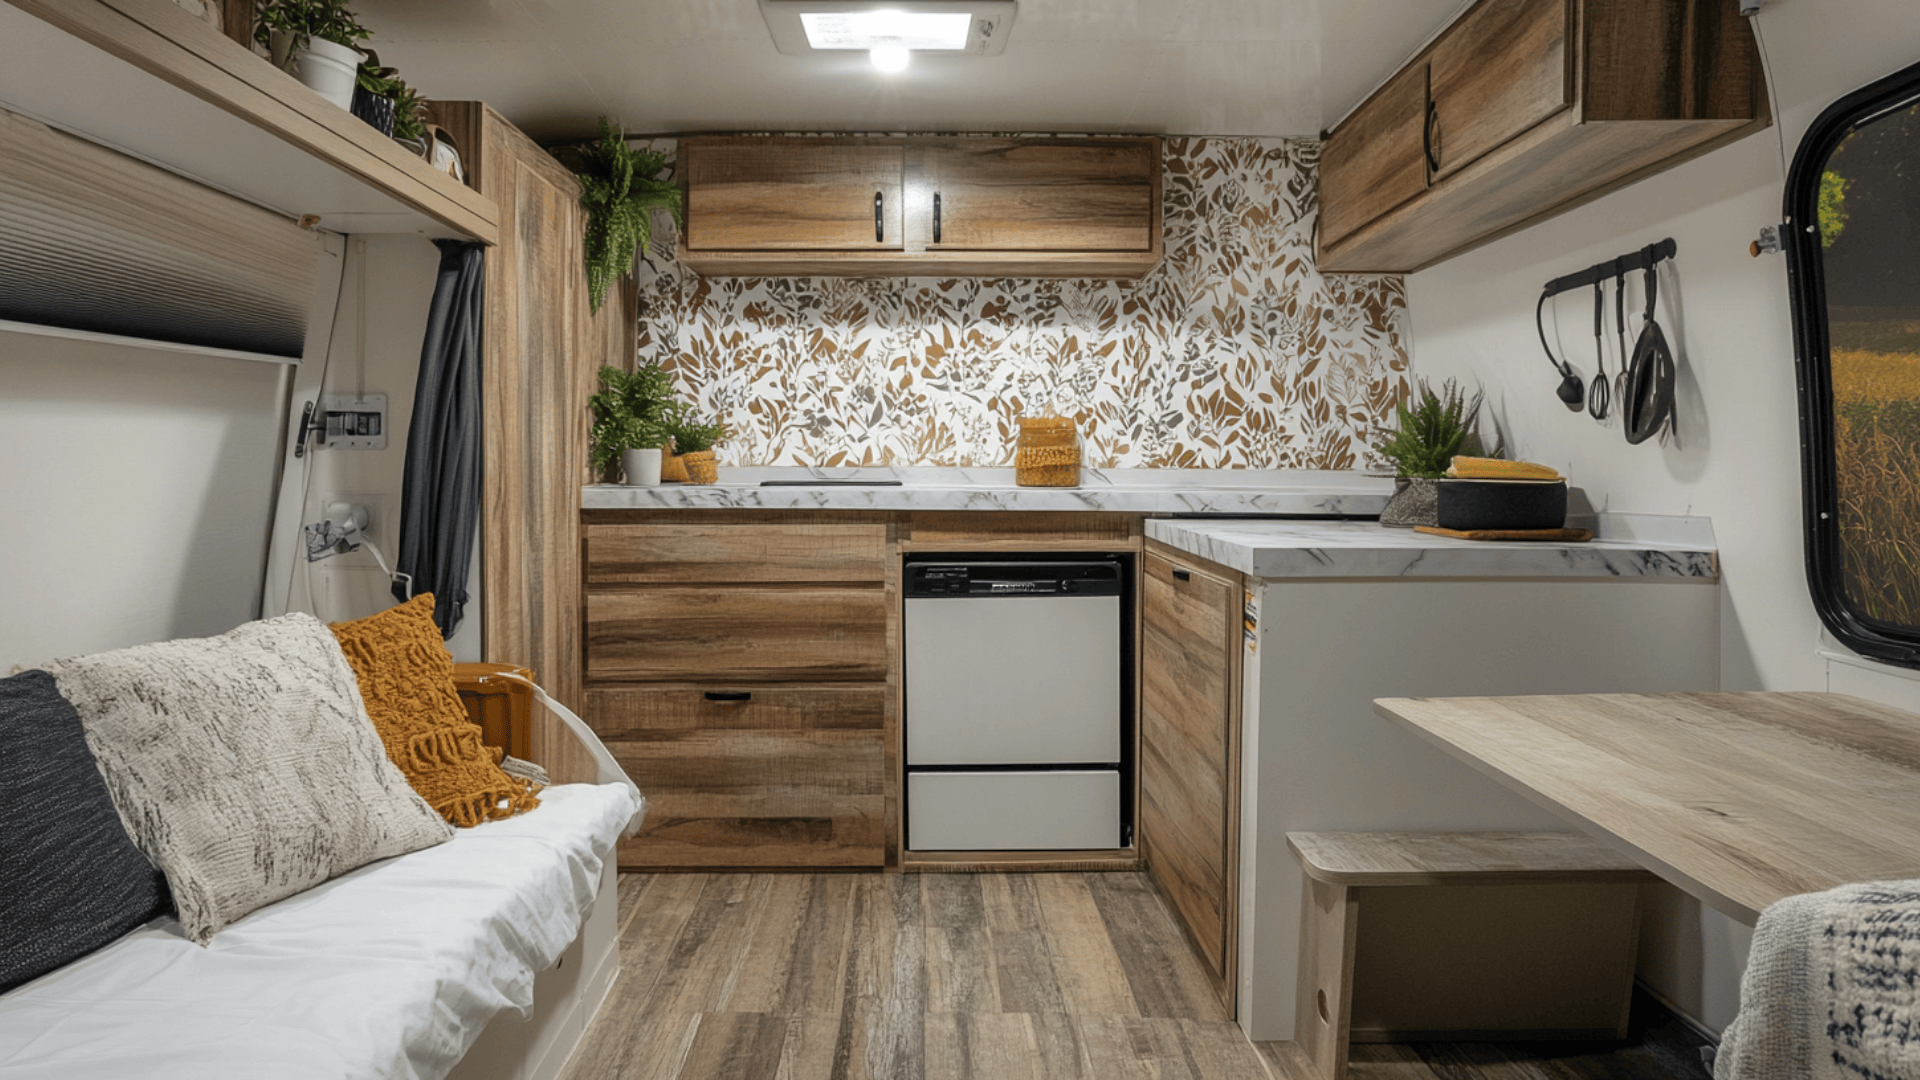
Transform dated counters with marble-look contact paper ($15-25) or pour-on epoxy kits ($50) that create a real stone appearance.
For floors, peel-and-stick vinyl planks in weathered wood tones hide dirt and add warmth, while lightweight wallpaper on accent walls creates depth and personality.
3. Budget-Friendly Hacks That Look Expensive

Use craft store frames painted to match your color scheme for cohesive wall art. Spray-paint old light fixtures instead of replacing them ($5 vs. $50+), and consider cutting wooden beadboard panels for custom backsplashes that install with double-sided tape.
The best part? These fixes take just a weekend but look like you’ve splurged on a professional renovation!
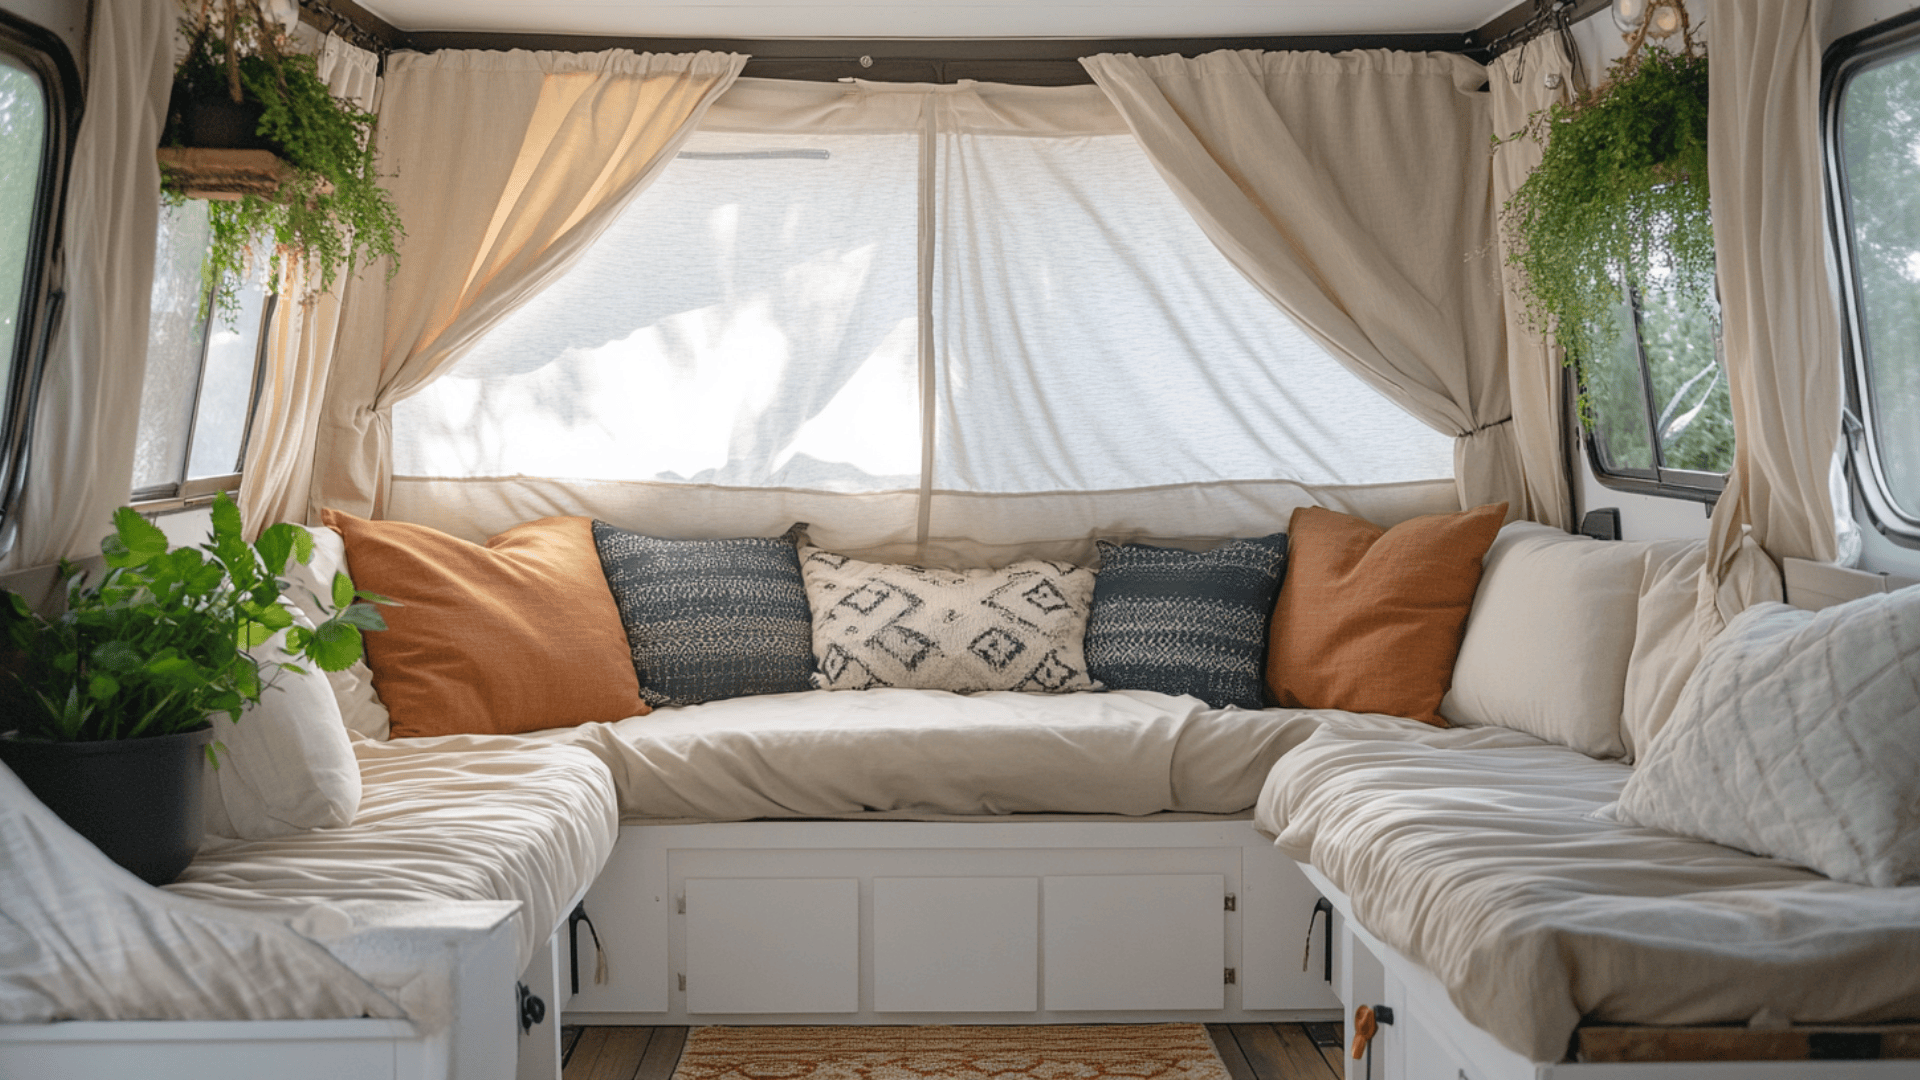
Cushions, Curtains, & Bedding
Say goodbye to outdated, uncomfortable camper upholstery! The soft elements in your pop-up make the biggest impact on comfort and style – and they’re surprisingly easy to update yourself.
1. Cushion Magic: From Drab to Fab
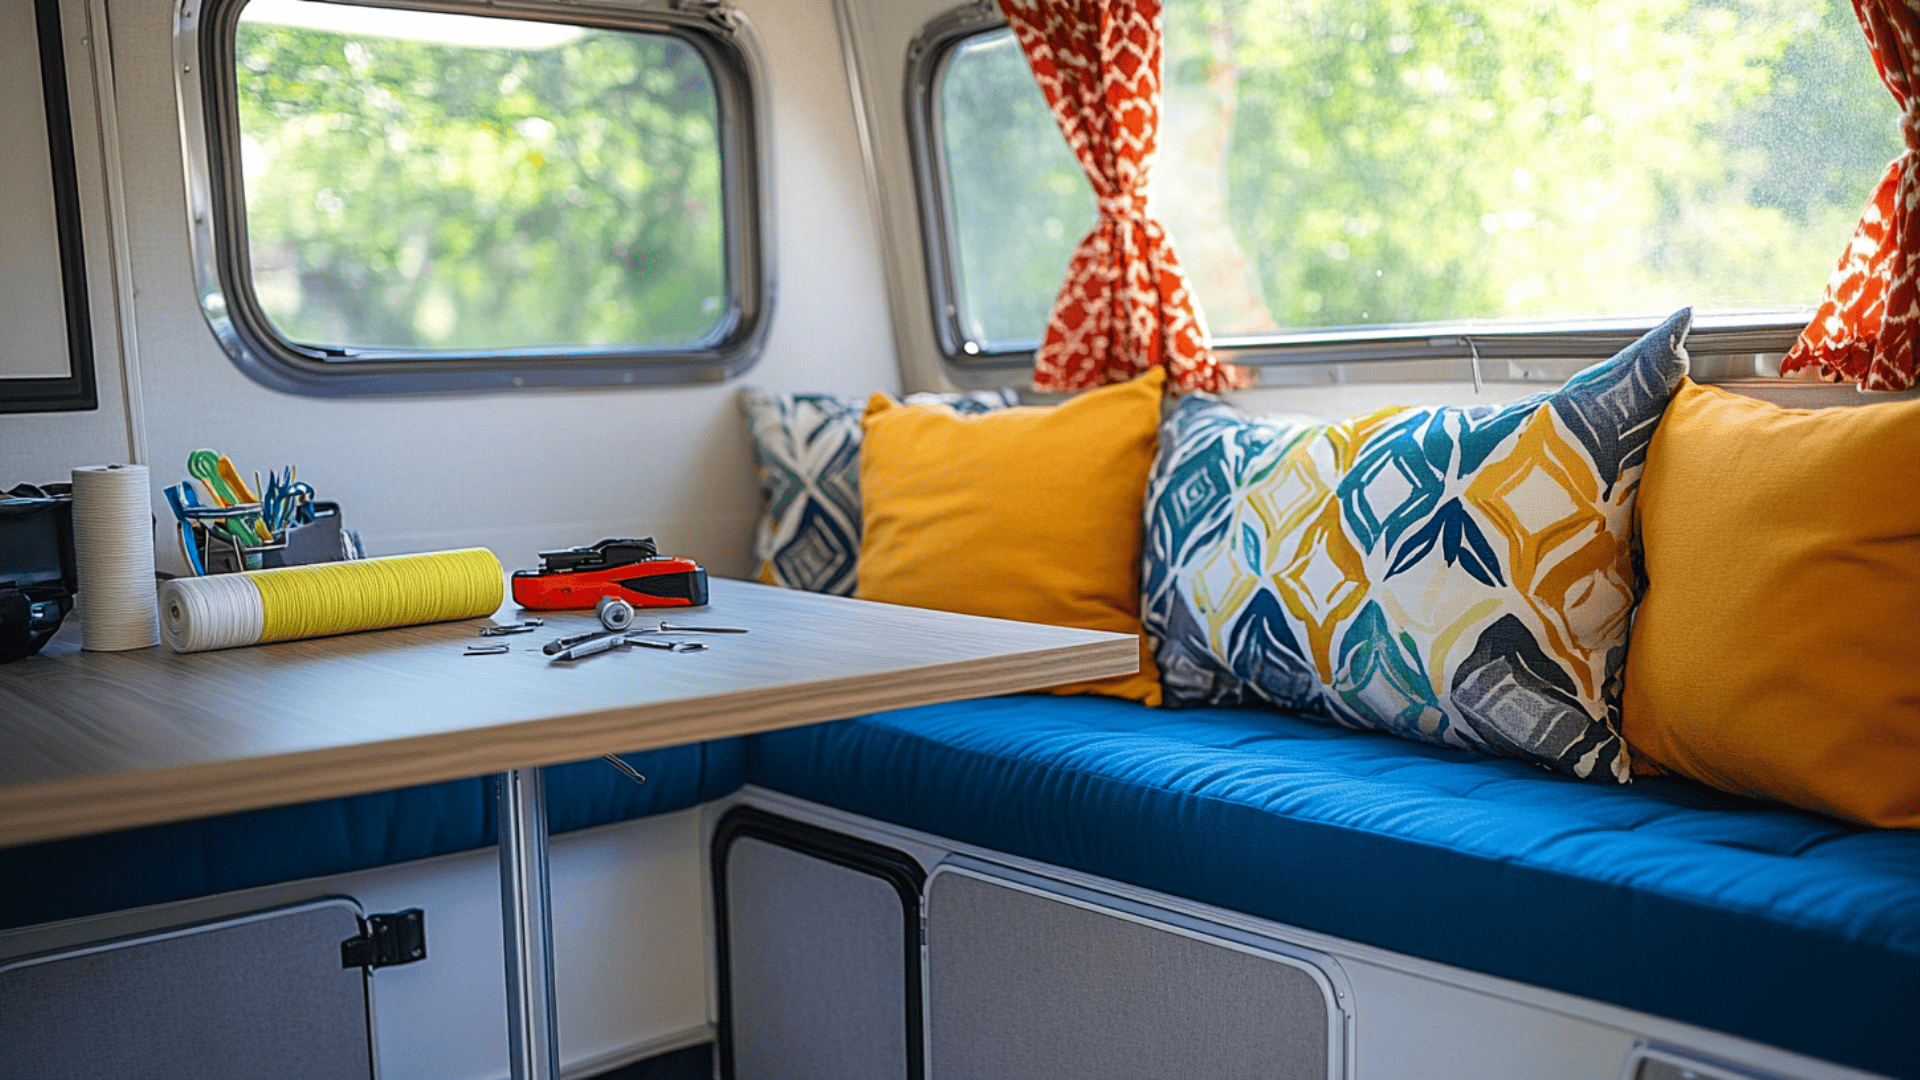
Those worn-out dining cushions are your chance to bring color and comfort to your camper. Recovery without sewing is possible with heavy-duty staple guns and fabric glue, creating pro-looking results.
Splurge on quality outdoor fabric ($15-25/yard) that resists fading, stain,s and mildew, but save on labor by doing it yourself.
Best Fabrics for Camper Life:
- Sunbrella or similar outdoor fabrics resist fading and mildew
- Microfiber cleans easily and dries quickly after spills
- Canvas duck cloth offers durability at lower price points
These fabrics will maintain their appearance through seasons of use, making them worth the initial investment.
2. Window Dressing Wizardry
Camper windows need special treatment to handle travel and limited space. Magnetic curtain solutions eliminate damage from drilling, while shower curtain rings on tension rods install in minutes with zero tools.
Choose thermal-lined fabrics to improve sleep quality by blocking light and regulating temperature.
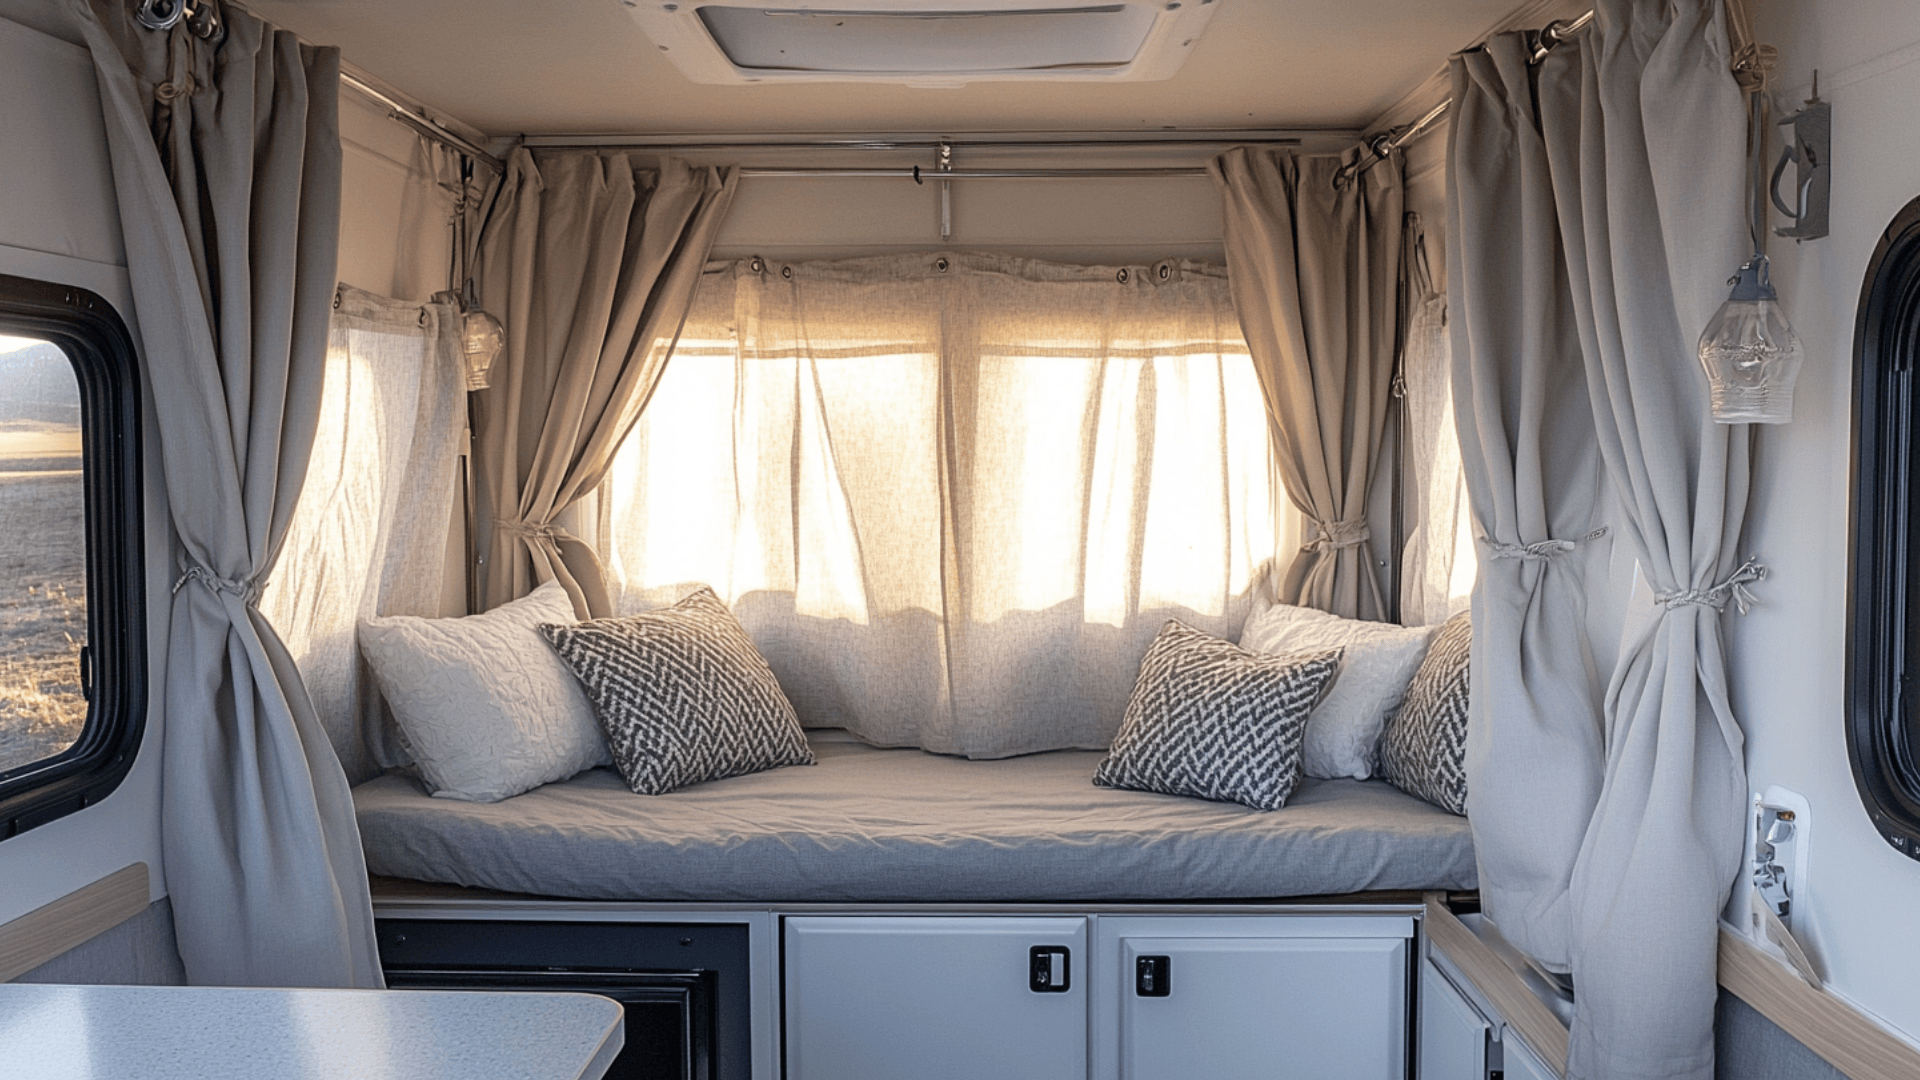
3. Sleep Sanctuary Secrets
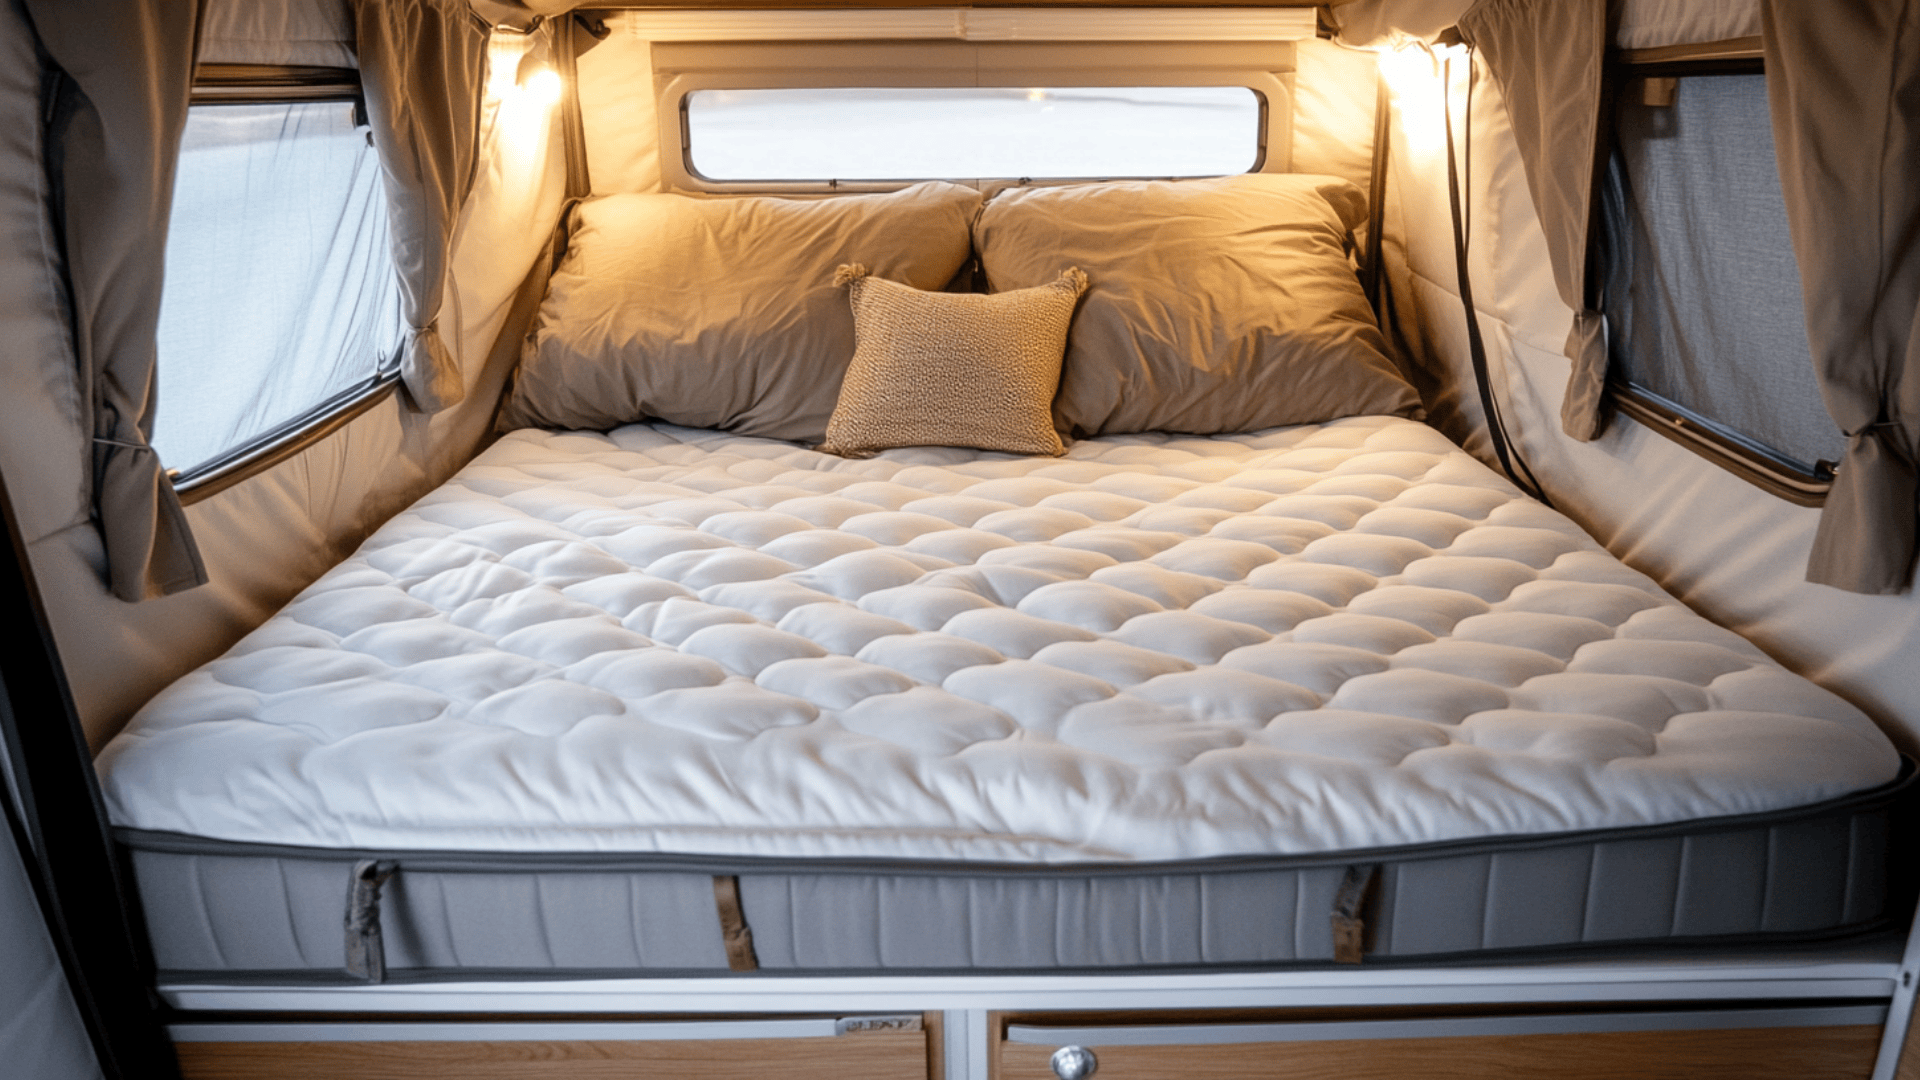
Transform those thin, uncomfortable bed platforms into dreamy retreats with memory foam mattress toppers cut to size.
Zippered waterproof mattress protectors prevent mold issues in storage, while fitted sheet hacks like elastic straps keep bedding in place during use.
Creative Camper Design Ideas
Transform your pop-up from basic to breathtaking with design ideas that pack big style into small spaces! The secret? Smart choices that look good while still working hard in a camping environment.
1. Style That Makes Sense
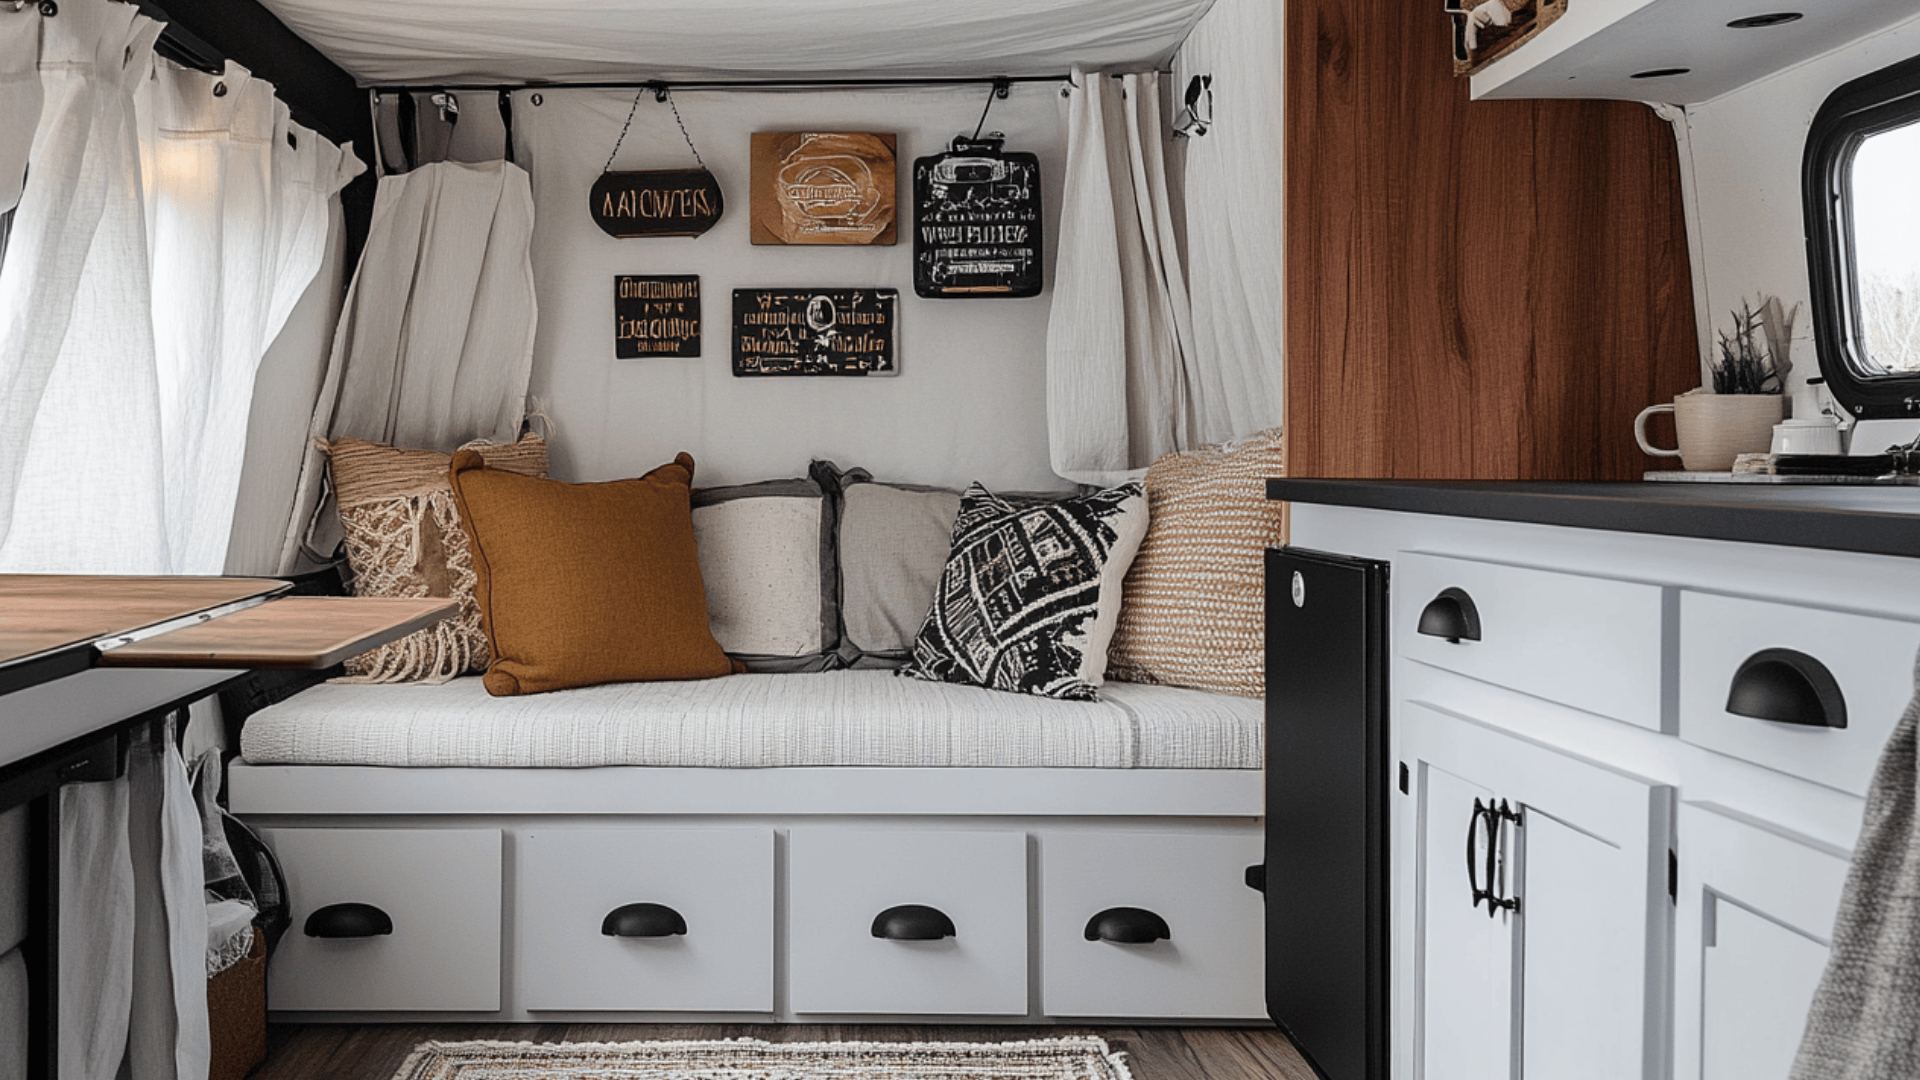
Each design approach brings unique benefits to camper life. Choose the one that best matches your camping style and maintenance preferences:
- Modern Farmhouse: White cabinets with black hardware create a clean backdrop that hides dirt. Add wooden accents that can handle bumpy roads without breaking.
- Boho Chic: Perfect for mixing patterns without looking messy. Layered textiles add warmth while hiding stains – ideal for family camping trips.
- Minimalist: Creates the illusion of space with clean lines and hidden storage. Consider wall-mounted foldable tables and bench seating with drawers underneath.
- Vintage Charm: Thrift store finds keep costs down. Old metal signs and camping-themed items add personality without feeling forced.
Most importantly, pick one style and stick with it to avoid visual clutter in a small space. Consistency in your design choices makes even the smallest camper feel pulled together.
2. Color Magic for Tight Quarters
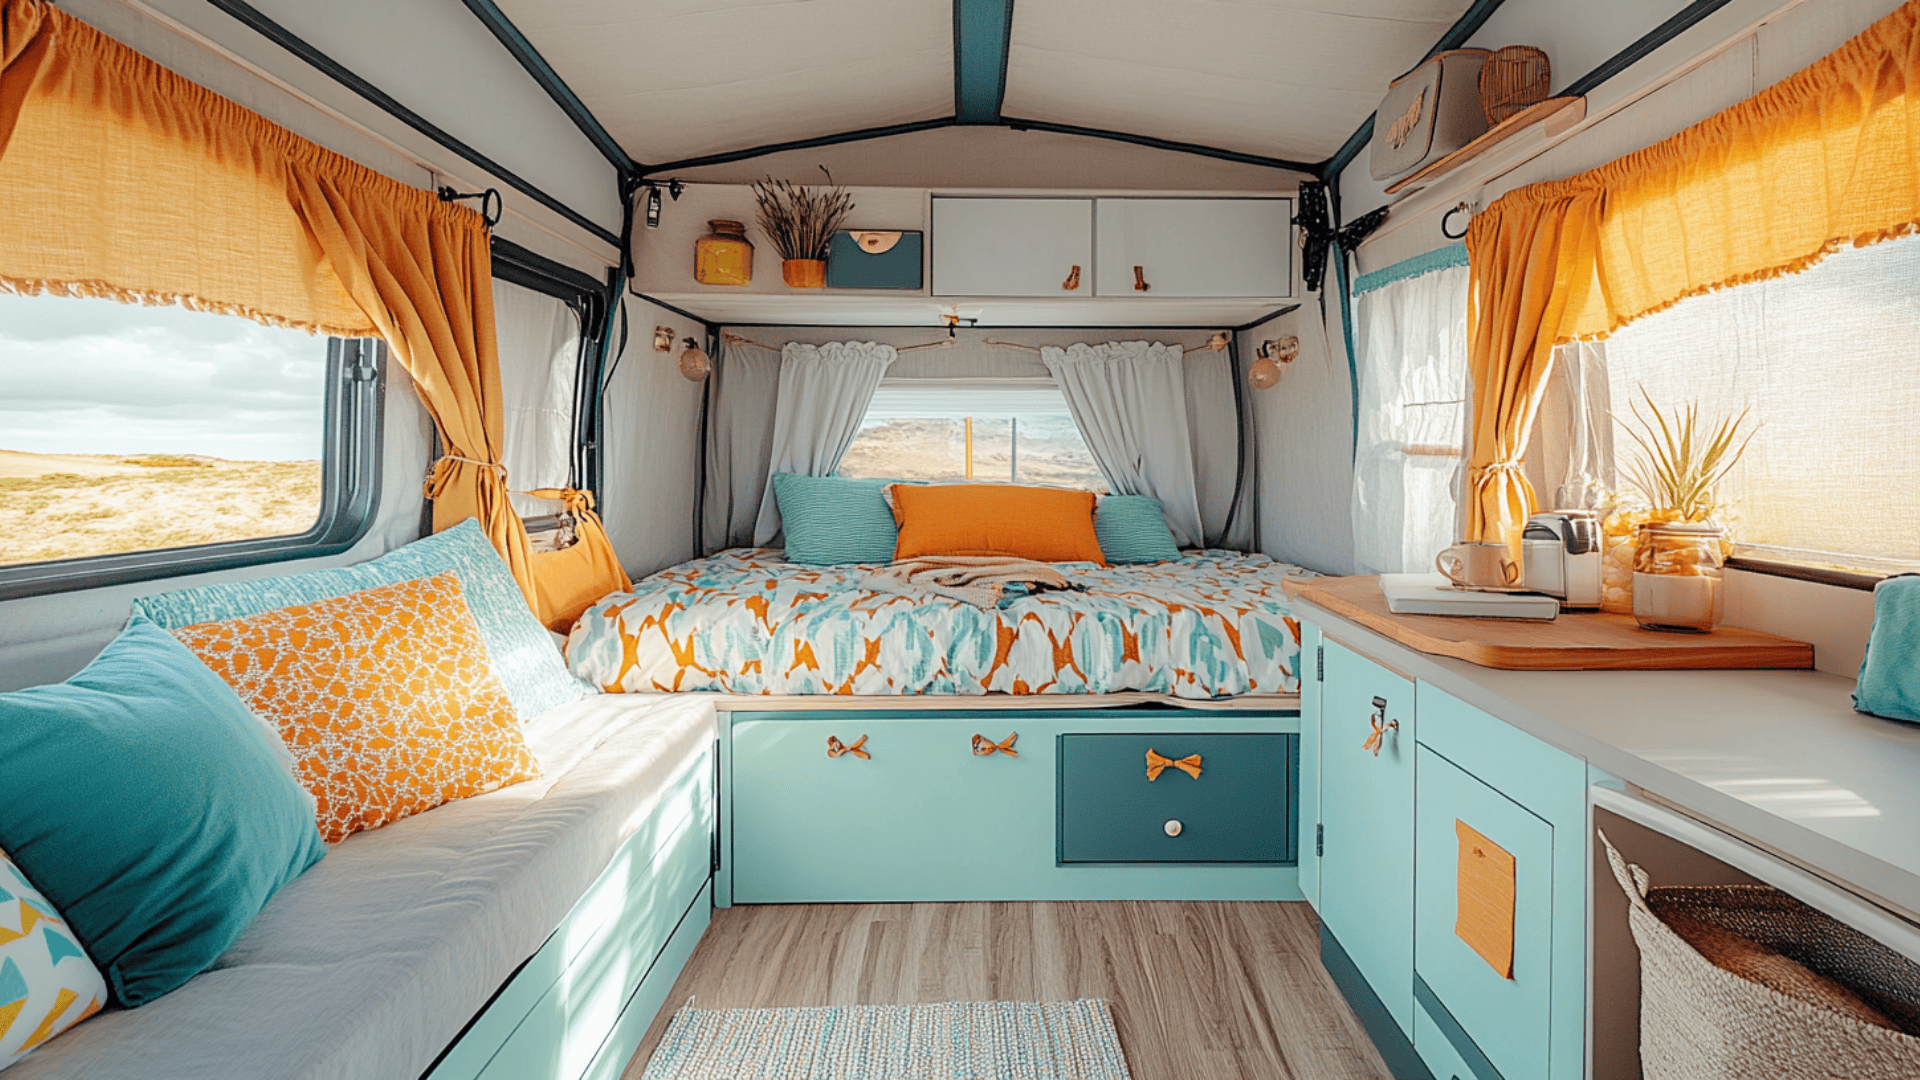
Color transforms your camper more dramatically than any other change. Light colors on walls and ceilings push them outward visually, while darker colors on floors ground the space. Try these tested combinations:
| STYLE | WALL COLOR | ACCENT COLOR | TEXTILE COLOR |
|---|---|---|---|
| Beach | Soft Blue | Sandy Beige | Coral |
| Forest | White | Sage Green | Rust Orange |
| Desert | Cream | Terracotta | Mustard |
These color schemes work because they bring nature’s palette inside, creating a seamless indoor-outdoor feeling that enhances the camping experience.
3. Clever Decor That Travels Well
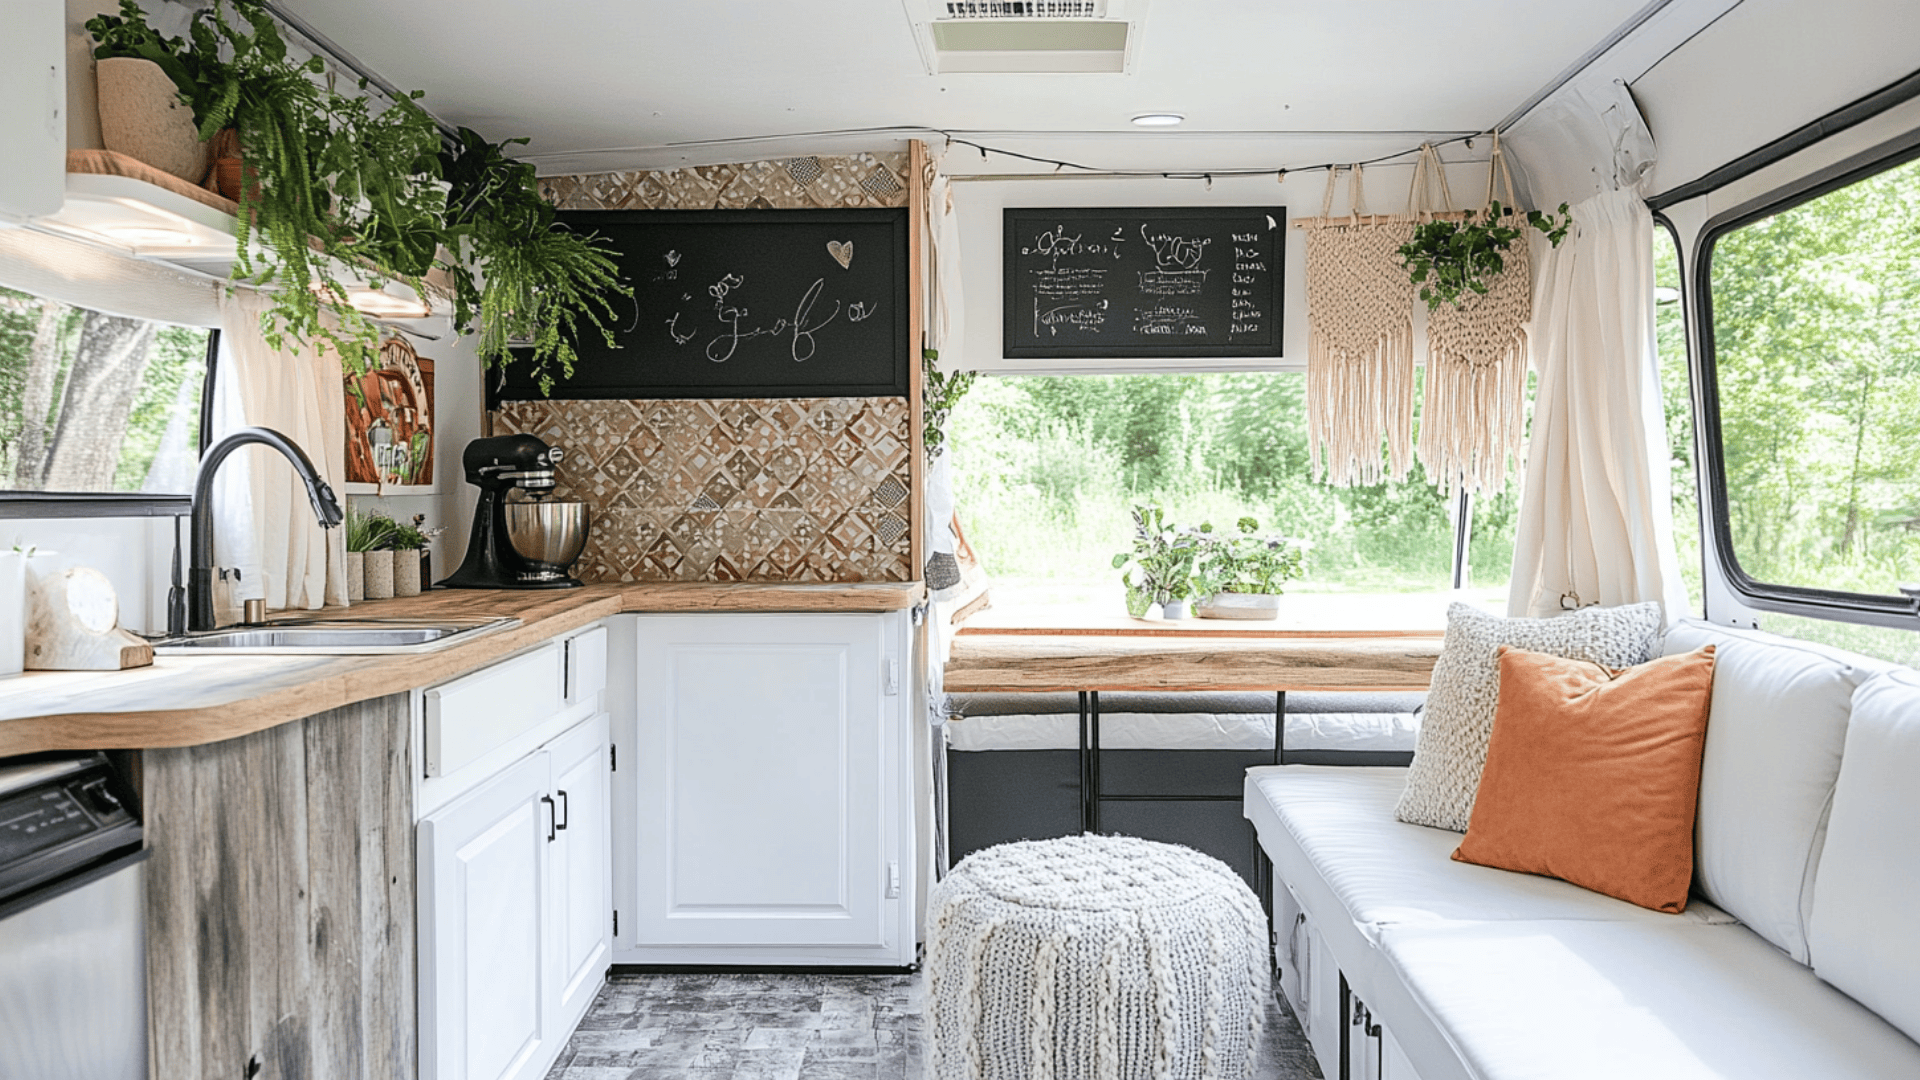
- Stick-on Backsplash: Peel-and-stick tiles withstand humidity and wipe clean
- Mounted Menu Board: Chalkboard paint on cabinet end creates meal planning space
- Multi-Purpose Pieces: Ottoman that stores items, provides seating, and works as a table
- Hanging Gardens: Macramé plant holders keep greenery safely suspended during travel
4. Lighting That Sets the Mood
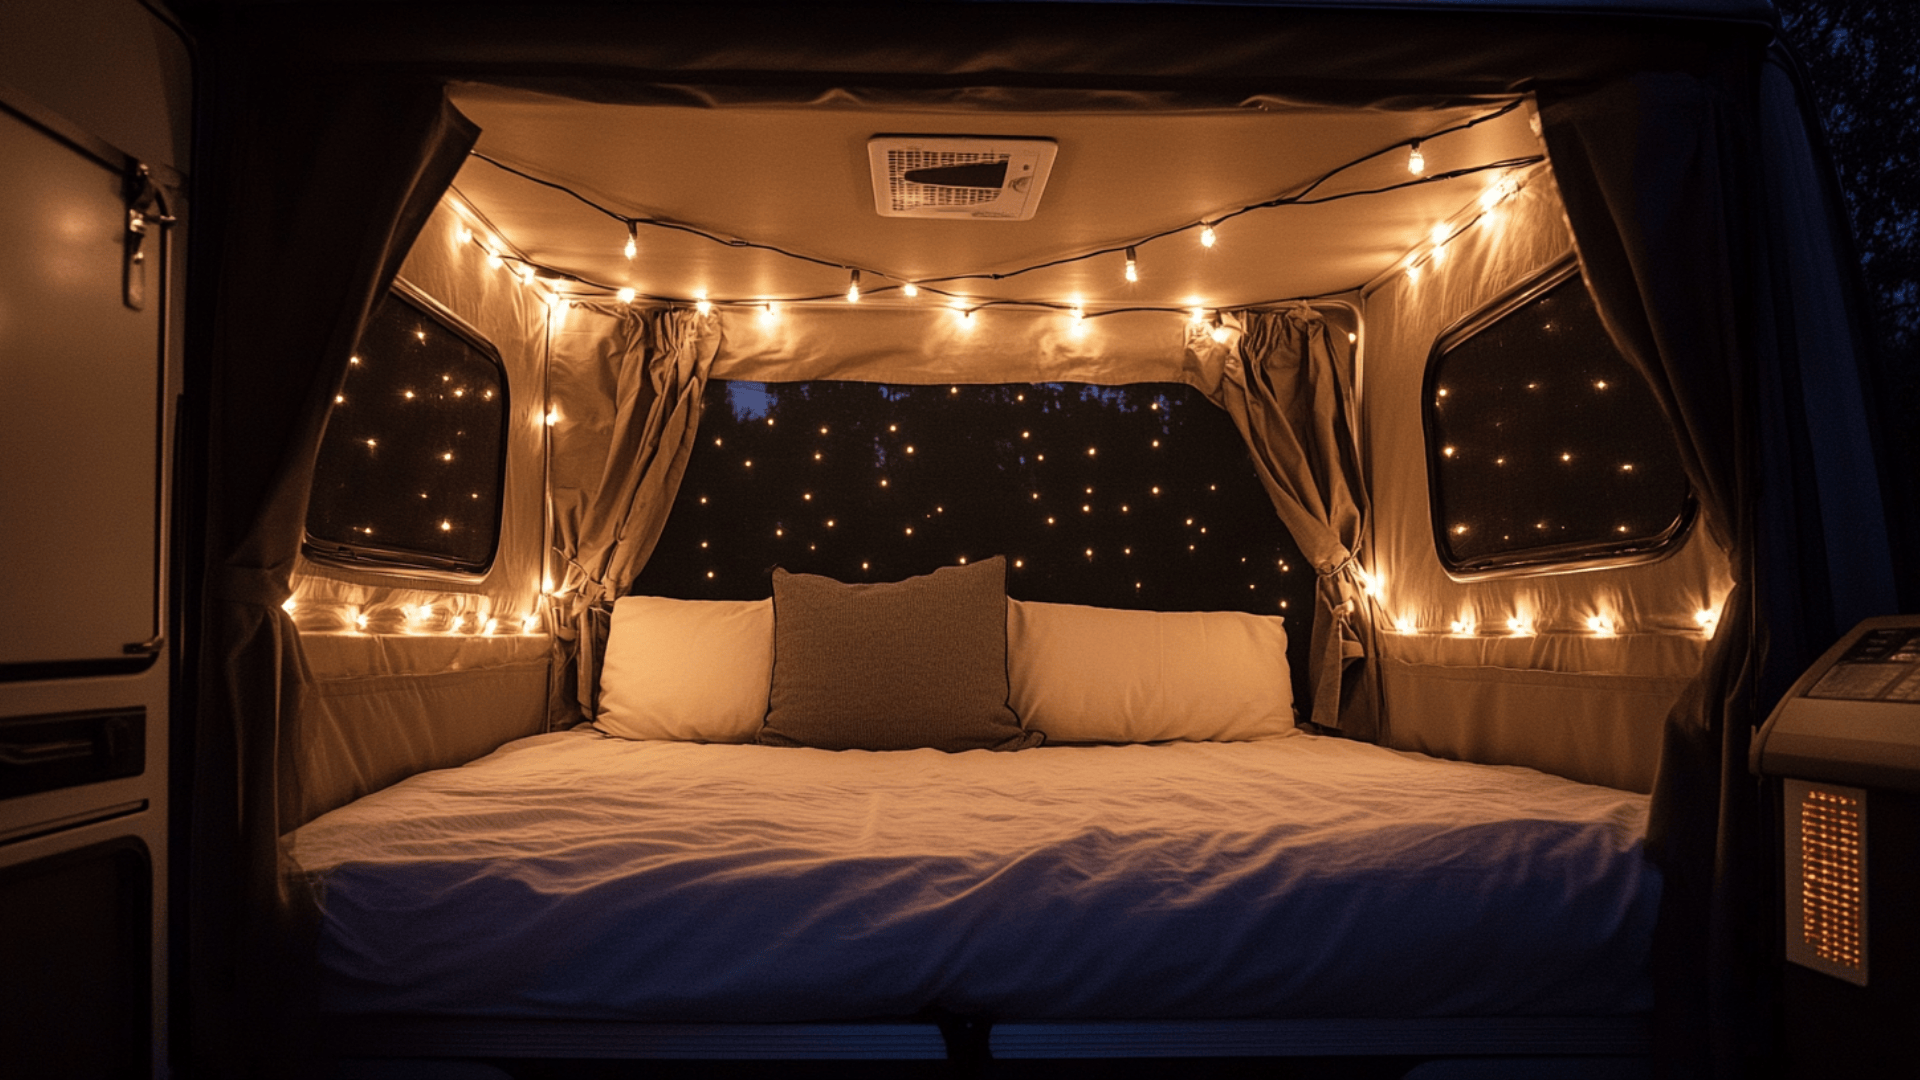
Lighting changes everything in a small space. Battery-powered options have come far:
- Puck lights with remote controls for ambiance without wiring
- Motion-sensor strips under beds for midnight trips
- Solar string lights inside screened areas for evening charm
With these design ideas, your camper becomes more than just a place to sleep – it becomes your unique home on wheels, reflecting your personality while still being practical for life on the road.
The best designs combine smart function with personal style!
Final Touches Before You Tow
Before hitting the road, safety comes first. Inspect tire tread and age (replace tires over 5 years old regardless of appearance), test all lights, and check that the hitch components are rust-free and properly greased.
Travel-Ready Checklist
Before your first trip, go through this quick safety list to ensure everything is secure and ready for travel:
- Secure all cabinet doors with child-safety latches
- Add non-slip shelf liner under decor items
- Test the brakes and emergency breakaway cable
- Double-check roof seals and canvas tension points
Taking these precautions prevents damage to your renovations and keeps your family safe on the road.
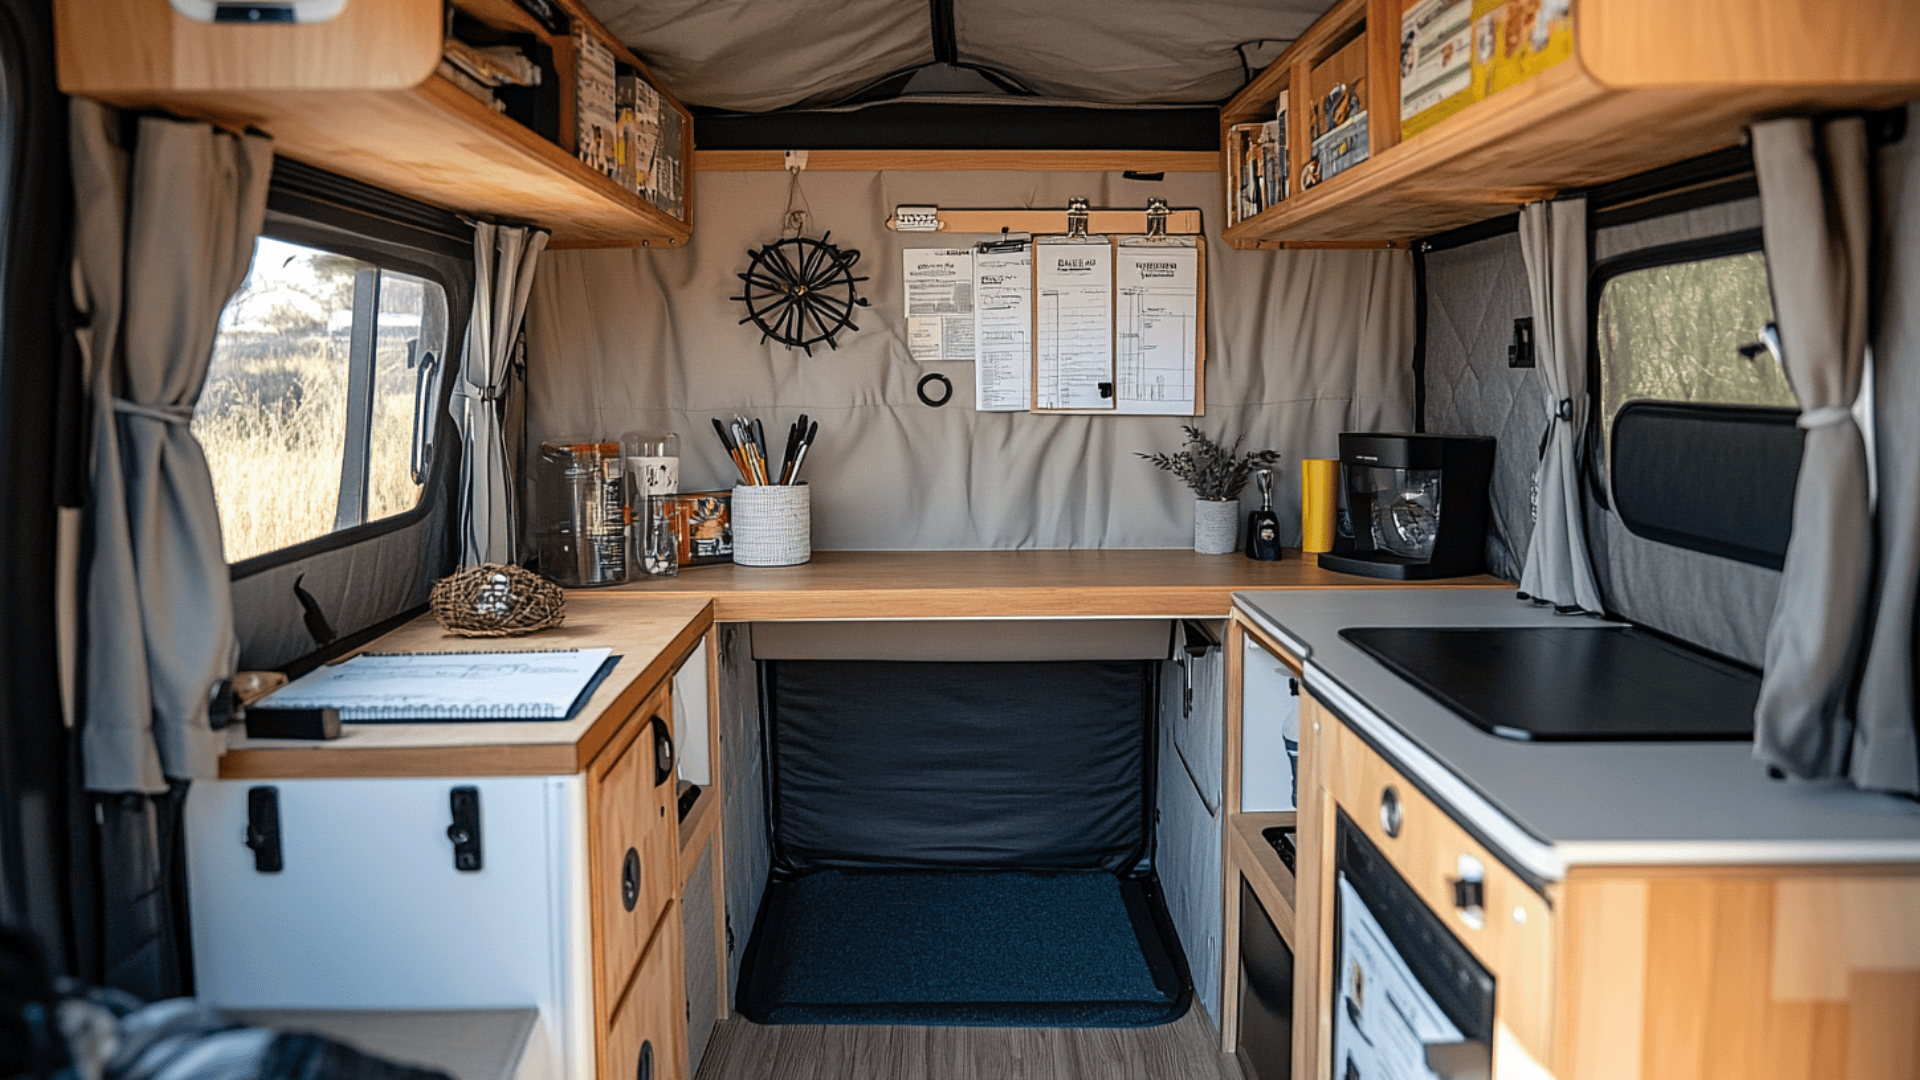
Storage Solutions That Make Sense
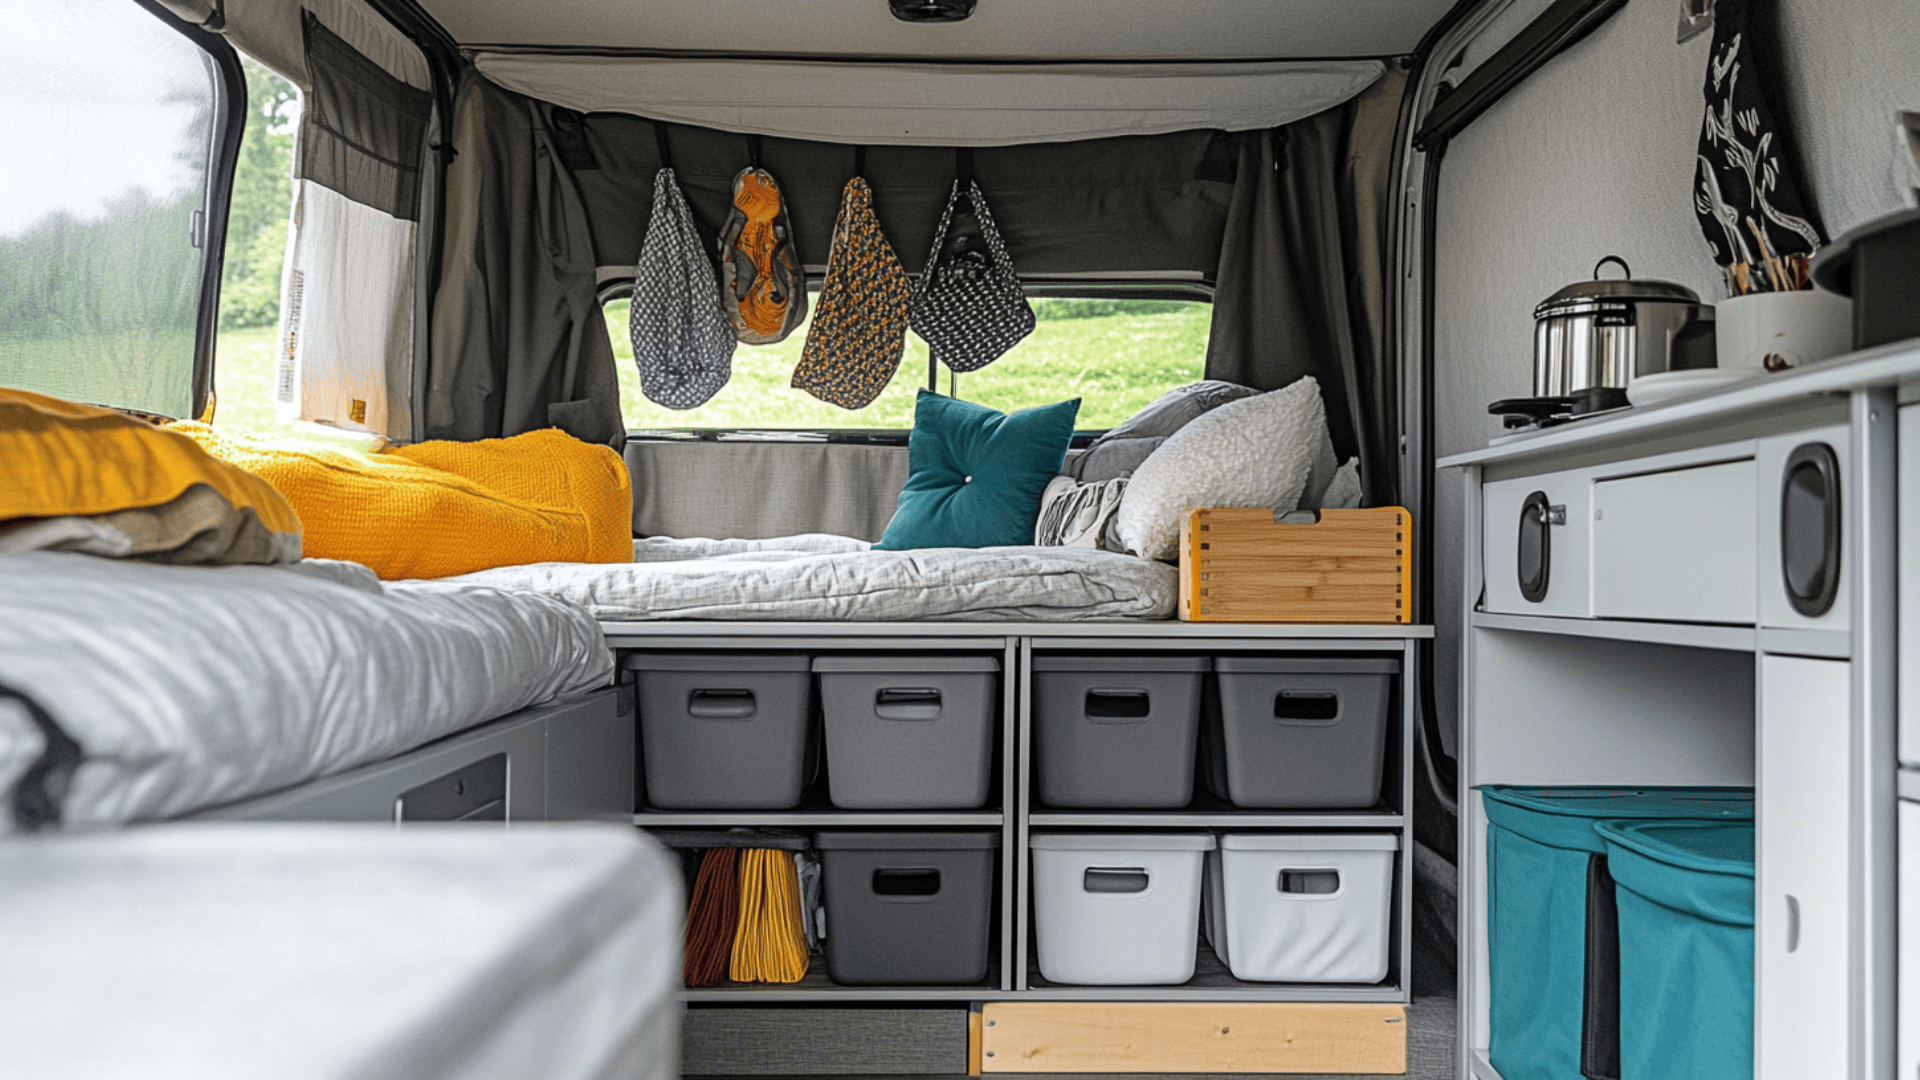
Finding storage in a pop-up feels like a puzzle, but smart solutions exist. Hanging shoe organizers on the end of beds hold small items, while under-bench storage bins maximize existing spaces.
Choose collapsible items (dishes, bowls, kettles) that pack flat when not in use.
Road-Tested Must-Haves
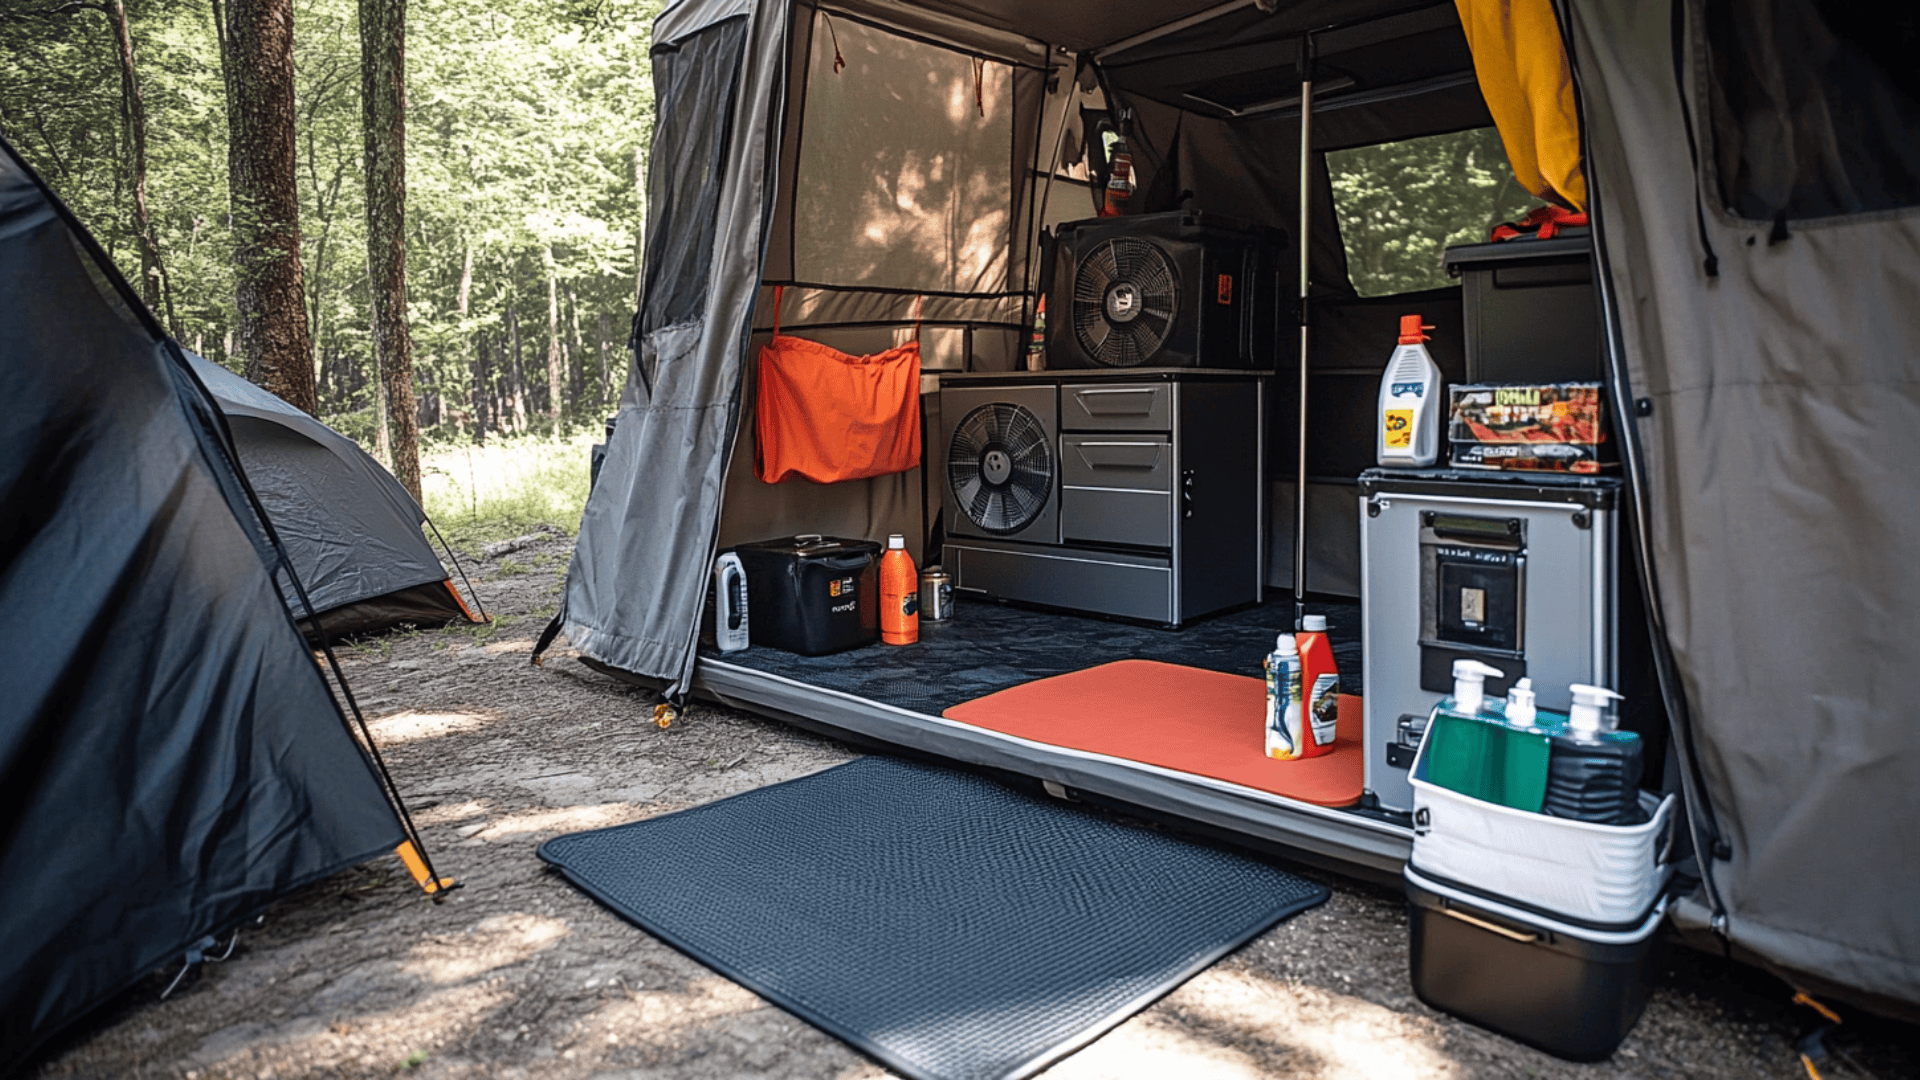
Skip the fancy camping gear and focus on what makes life easier:
- Outdoor mat that folds small but keeps dirt outside
- Battery-powered fans for hot nights
- Stackable storage containers that pull double-duty as washing bins
These practical additions make camping more comfortable without taking up precious storage space.
In a Nutshell!
A pop-up camper remodel changes both your camping space and your entire outdoor experience. Creating a comfortable, personalized retreat makes all renovation work worthwhile.
Focus on balancing style improvements with practical upgrades that match how you camp. Begin with small projects, take pride in each improvement, and use creativity when working with limited space.
Your refreshed pop-up becomes the backdrop for future trips and family memories.
With a splash of creativity, some weekend work, and a dash of your personal style, that tired old pop-up transforms into your perfect portable paradise—making every sunset, starry night, and morning coffee on the road feel like you’re exactly where you belong.
Pop-Up Remodel FAQs
1. Can I Really Remodel One for Under $1,000?
Yes! Focus on high-impact changes like paint, cushion covers, and flooring. Many pop-ups have been beautifully updated for $500-800. The key is tackling projects yourself and shopping smart (clearance, thrift stores, and repurposing what you have).
2. What Materials Should I Avoid?
Skip materials that add significant weight, like ceramic tile, stone counters, or heavy wood panels. Also, avoid items that can’t handle temperature swings – vinyl can crack in extreme cold, while some adhesives fail in high heat.
3. Is it Safe to Paint Over Water Damage?
No – paint traps moisture and hides growing problems. Always fix the source of water damage first, then replace damaged materials before painting. This might cost more upfront but prevents thousands in future repairs.
4. Can I Do it Without Electrical or Plumbing Skills?
Absolutely! Most pop-ups have simple systems. For electrical, stick to battery-powered options when possible. If you’re uncomfortable with plumbing, focus on cosmetic updates or hire help just for those specific tasks.
The best approach is taking one project at a time rather than gutting everything at once. This lets you learn as you go while still having a usable camper during the process!

