
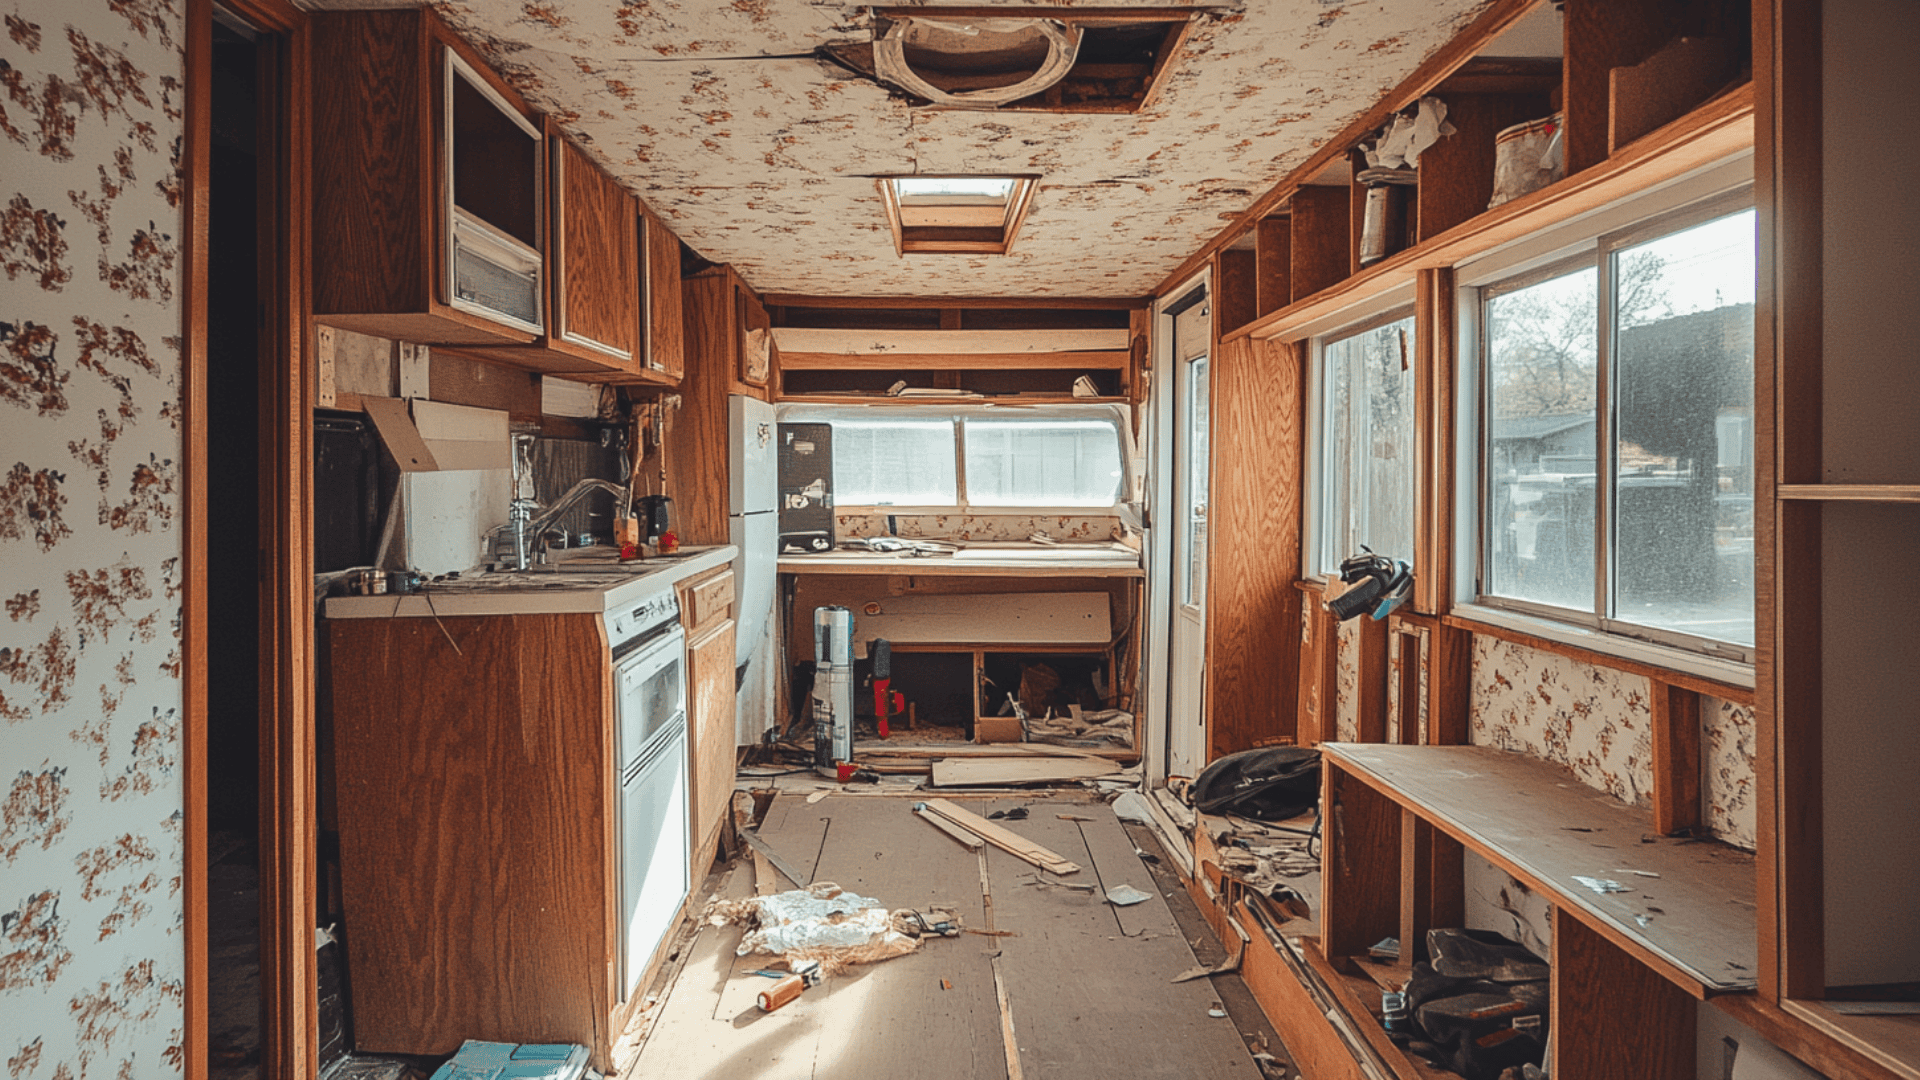
That vintage camper sitting in your neighbor’s yard? It’s a blank canvas waiting for transformation. Old campers pack serious potential beneath their worn exteriors – ready to become cozy weekend retreats, mobile offices, or full-time tiny homes.
The magic happens when you strip away decades-old finishes to reveal good bones and fresh possibilities. With some creativity and elbow grease, these compact spaces can outshine modern RVs at a fraction of the cost.
Ready to turn a tired trailer into your dream escape? Follow along as we explore every step of an old interior camper remodel – from structural fixes to finishing touches that make it uniquely yours.
Start Here: What an Interior Old Camper Remodel Involves
Thinking about fixing up an old camper? A camper interior remodel means taking a worn-out, outdated space and making it fresh and useful again.
Many camping fans choose older models for makeovers because they cost less upfront and have strong bones beneath the worn surfaces.
What Makes Old Campers Perfect for DIY Projects
Old campers bring major plus points for handy homeowners:
- Solid construction with real wood (unlike newer, particleboard models)
- Simple systems that are easier to understand and fix
- No computerized components that need specialist repairs
- Lower purchase prices mean more money for cool changes
- Compact size makes projects less overwhelming than home renovations
The magic happens when you strip away the faded wallpaper and musty cushions to find the hidden potential underneath!
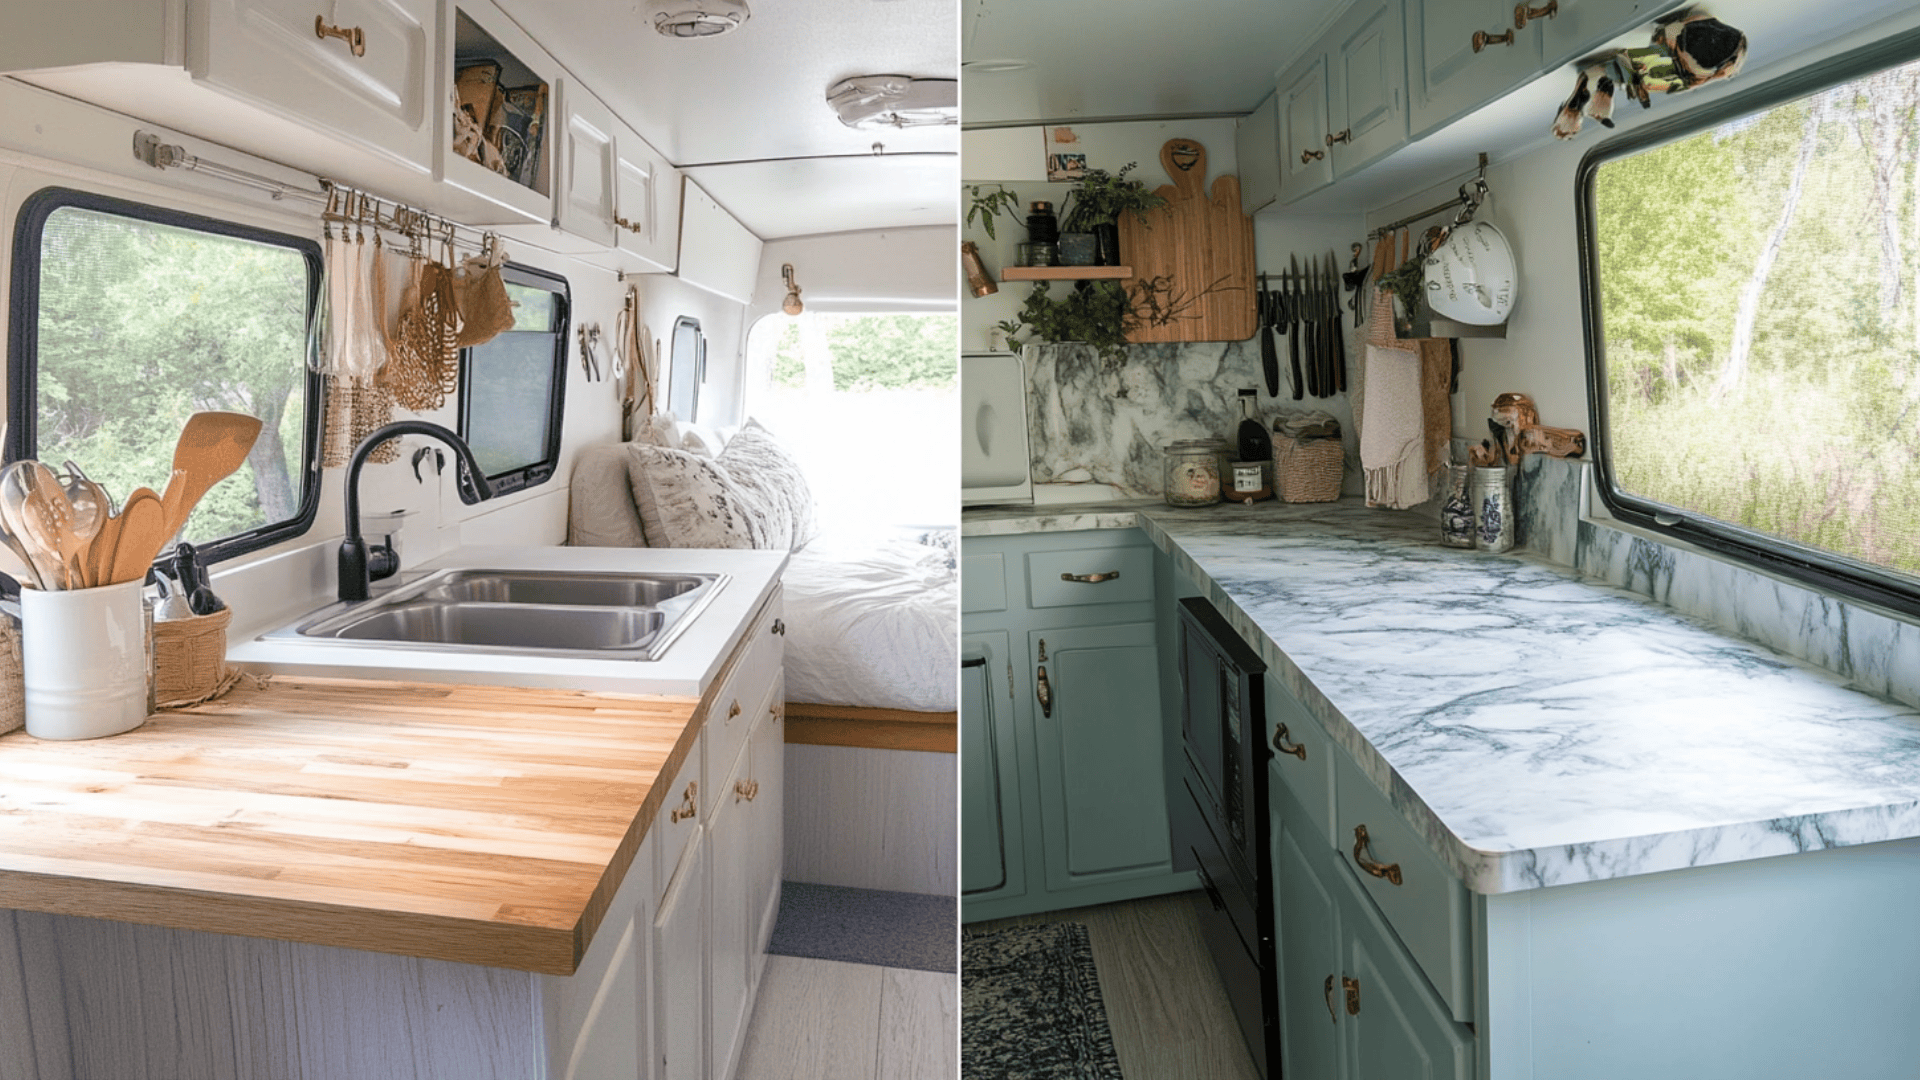
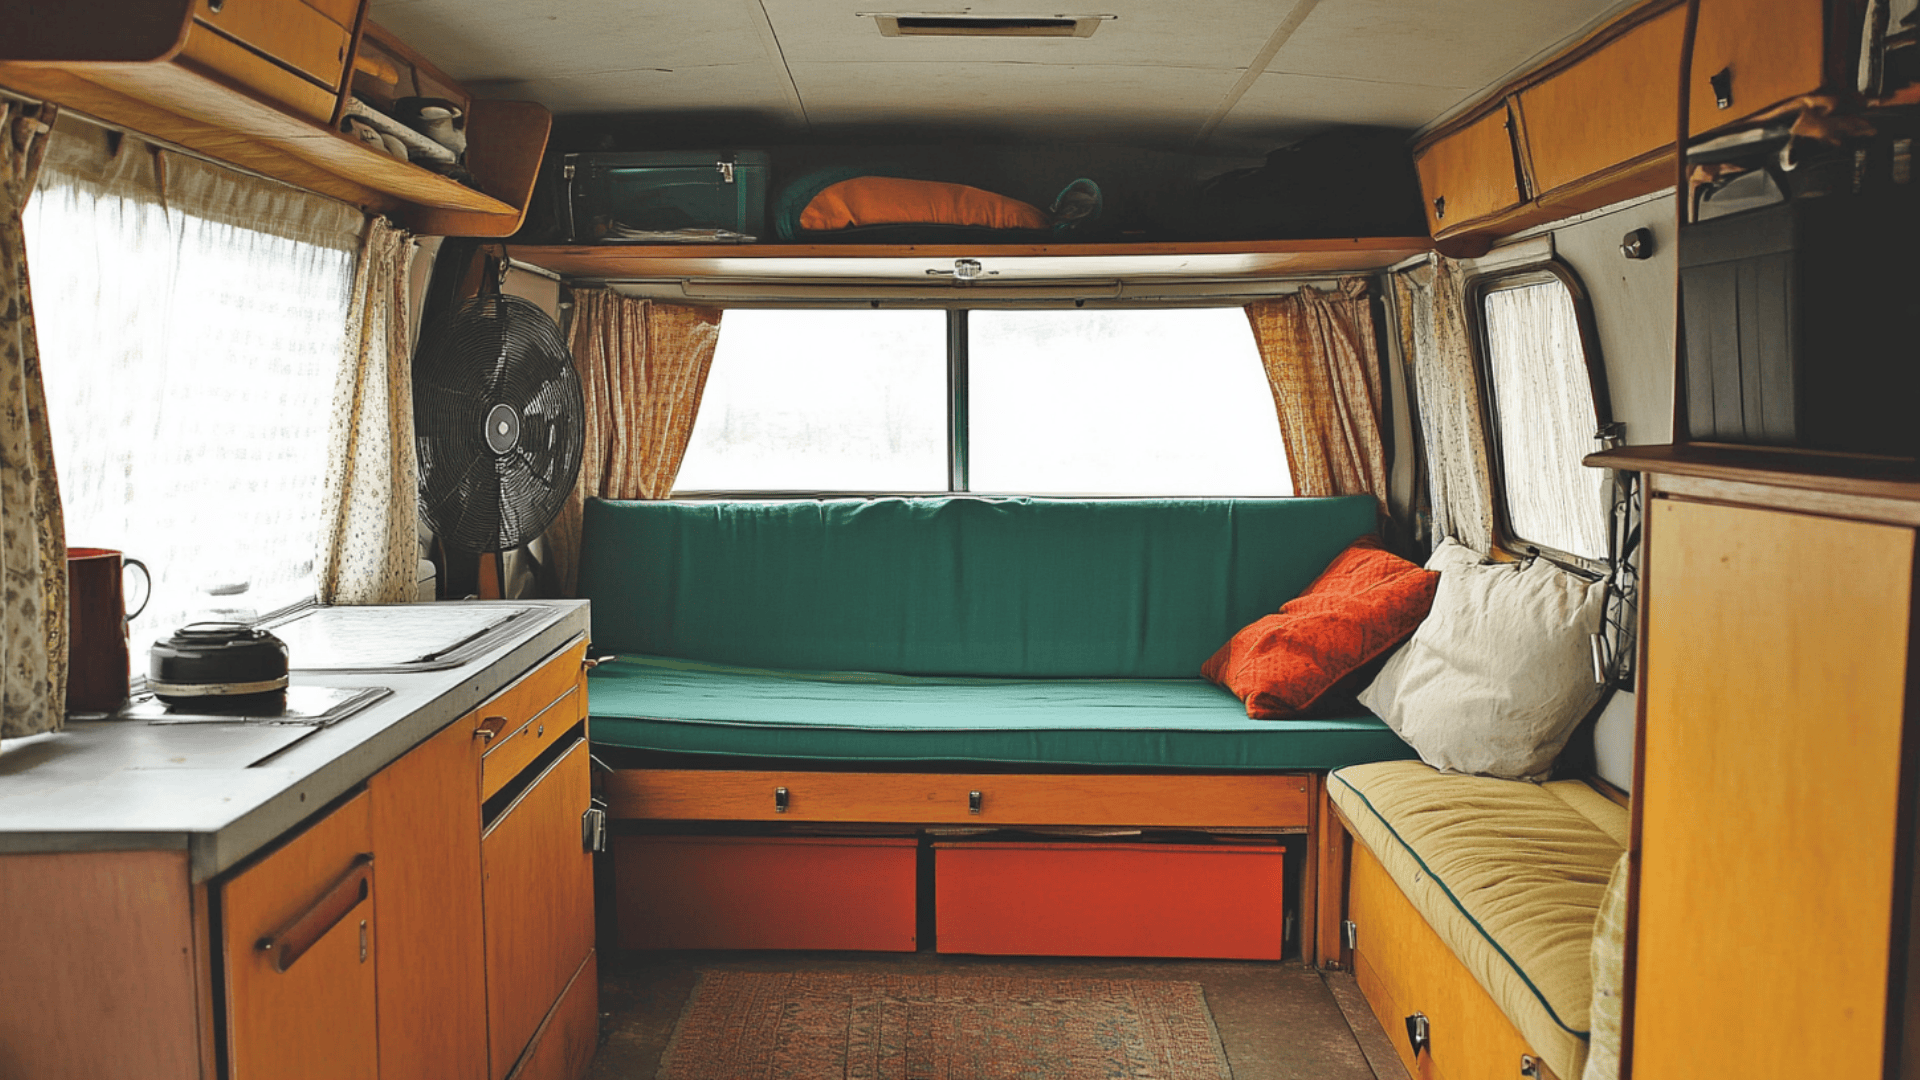
From Drab to Fab: Real Transformation Stories
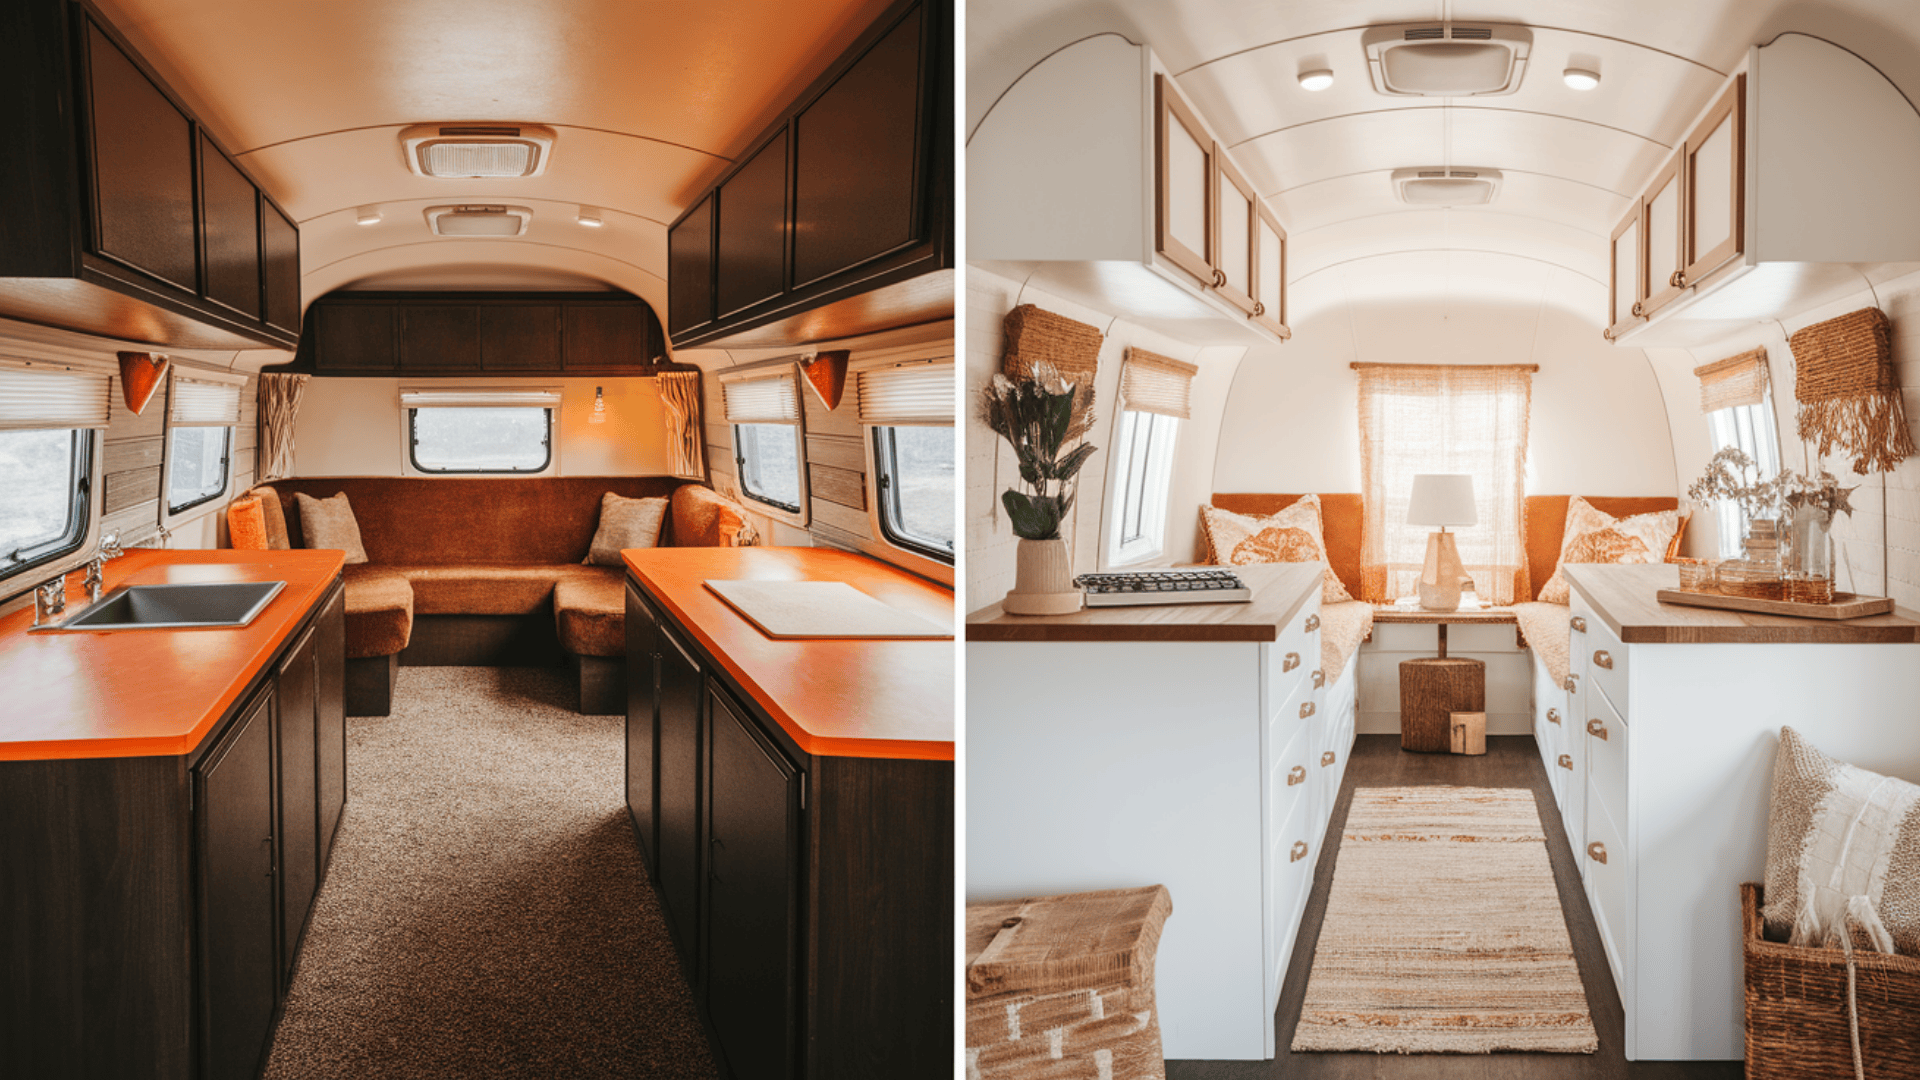
Picture this: A 1978 Airstream that went from brown shag carpet and orange countertops to a bright, modern tiny home with white cabinets and wood floors. Or the 1985 pop-up that became a bohemian retreat with colorful textiles and custom storage solutions.
These changes don’t just look good—they make camping more comfortable and fun!
Time and Money: What to Expect
Most DIY camper renovations cost between $1,500-$3,000, depending on materials and how much you change. Here’s a breakdown of typical expenses:
| BUDGET LEVEL | COST RANGE | WHAT YOU GET |
|---|---|---|
| Basic | $800-1,500 | Fresh paint, new flooring, updated fabrics |
| Mid-range | $1,500-3,000 | Basic plus new countertops, fixtures, and some appliances |
| Premium | $3,000-5,000+ | Complete overhaul with custom features |
Time-wise, most people finish their projects in 4-8 weeks of weekend work. The hands-on hours typically total 60-100, spread across key tasks like demolition, building, and finishing touches.
Ready to roll up your sleeves? The satisfaction of camping in a space you built with your own hands makes every minute and dollar worthwhile!
6 First Steps to Kickstart Your Camper Interior Renovation
Before grabbing tools and paint, take these important first steps to ensure your camper makeover goes smoothly.
Choosing the right foundation for your project can make the difference between an enjoyable hobby and a money pit. Let’s break down what you need to know:
1. Inspect and Choose the Right Old Camper

Not all vintage campers are worth fixing! A $500 camper that needs $4,000 in repairs isn’t a bargain. Look for solid bones and manageable issues.
Check these critical areas:
- Structural foundation with minimal rust
- Roof integrity (small leaks can be fixed)
- Window seals and frame condition
- Floor firmness in all areas
Pro tip: Bring a flashlight and a screwdriver when shopping. Press gently on suspicious spots to test for soft, water-damaged wood.
2. Set a Budget and Timeline
Most renovators find that their projects take twice as long as they first expected!
Creating a realistic framework helps prevent both overspending and project abandonment:
| BUDGET CATEGORY | TYPICAL PERCENTAGE |
|---|---|
| Materials | 60-70% |
| Tools | 10-15% |
| Unexpected issues | 20% |
Remember to factor in your available time too. Breaking the project into weekend-sized chunks helps maintain momentum without burnout.
3. Define Your Interior Design Style
Your style choice will guide everything from colors to hardware. What feeling do you want when you step inside?
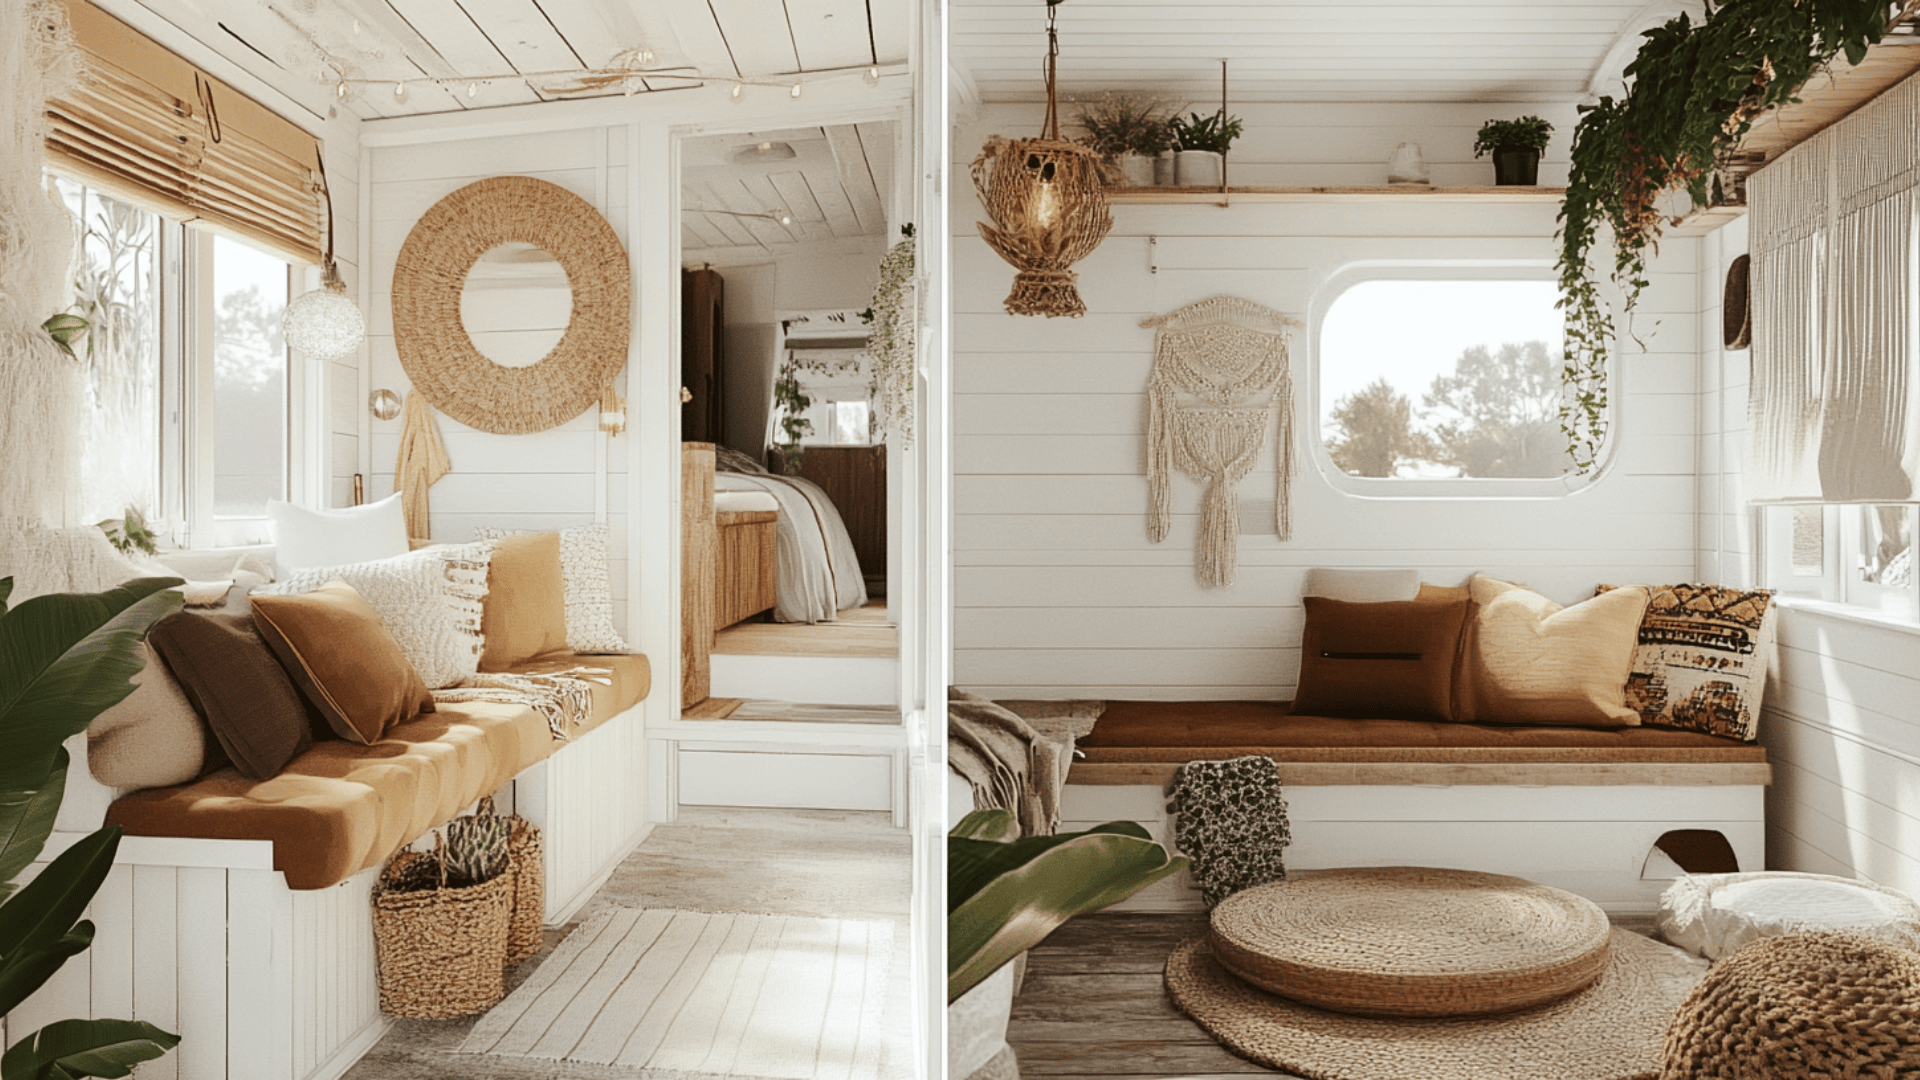
Modern farmhouse creates a cozy, welcoming space with light colors, natural textures, and simple lines. Retro styles bring fun energy with bold colors and patterns that honor your camper’s history.
Minimalist designs work especially well in tight spaces, focusing on functionality and clean lines. For free spirits, boho styling offers warmth through layered textiles and natural elements.
Don’t worry about following rules perfectly – the best campers blend styles to create spaces that feel uniquely “you.”
4. Prioritize Must-Have Features
Small spaces demand smart choices. Ask yourself:
What activities matter most during your camping trips? If you love cooking, prioritize counter space and storage. If you work remotely, ensure you have a comfortable seating area with power access.
Consider these questions:
- How many people need sleeping space?
- Do you need a bathroom with a shower?
- Is the dining space separate or convertible?
- What storage needs are non-negotiable?
The answers help you decide what stays, what goes, and what needs upgrading.
5. Sketch a Layout or Use a Template
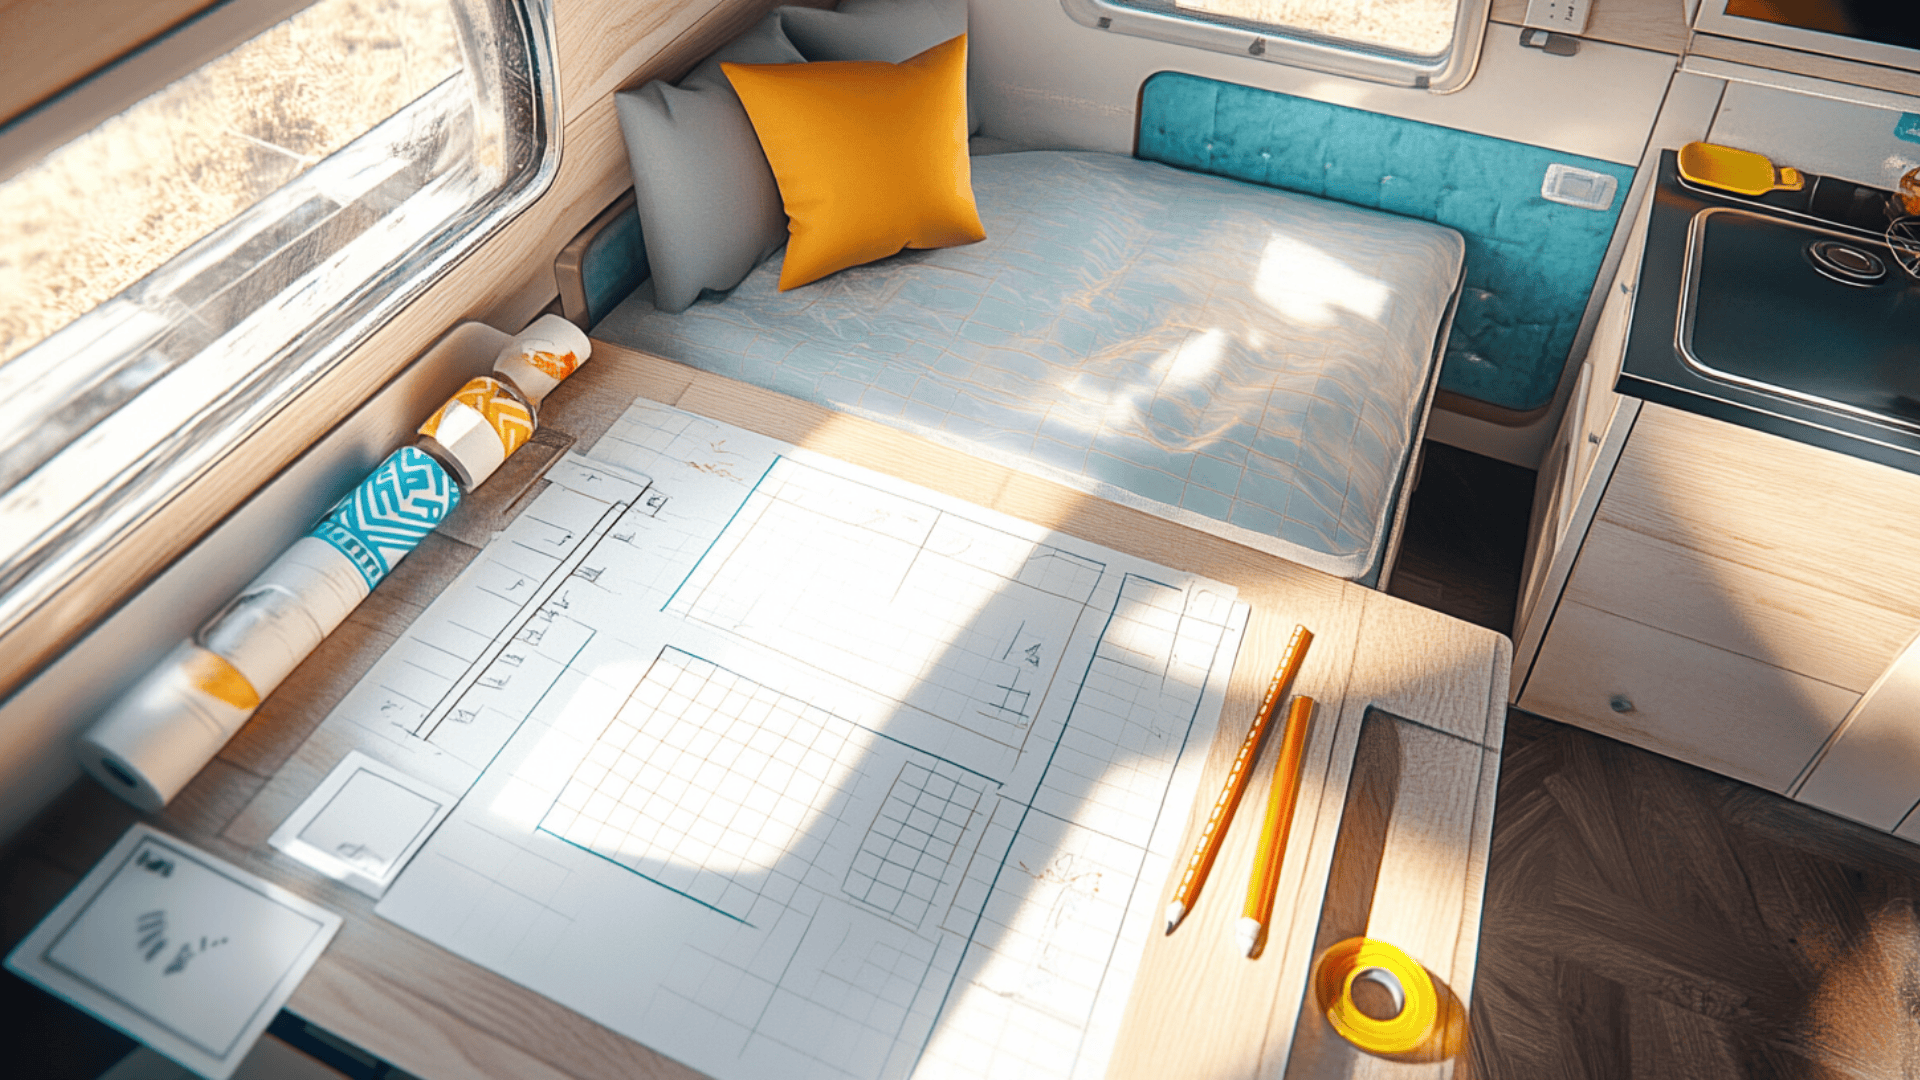
Grab some graph paper and start planning! A good layout balances:
- Traffic flow (can people move easily?)
- Function zones (sleeping, cooking, lounging)
- Storage distribution (heavy items low, light items high)
Visual planning saves headaches later. Try marking potential layouts with tape on the floor to “walk through” different arrangements before making permanent changes.
6. List Essential Repairs Before Pretty Stuff
The foundation must be solid before decorating begins:
- Water damage remediation
- Electrical system safety checks
- Propane line inspection
- Window and door seals
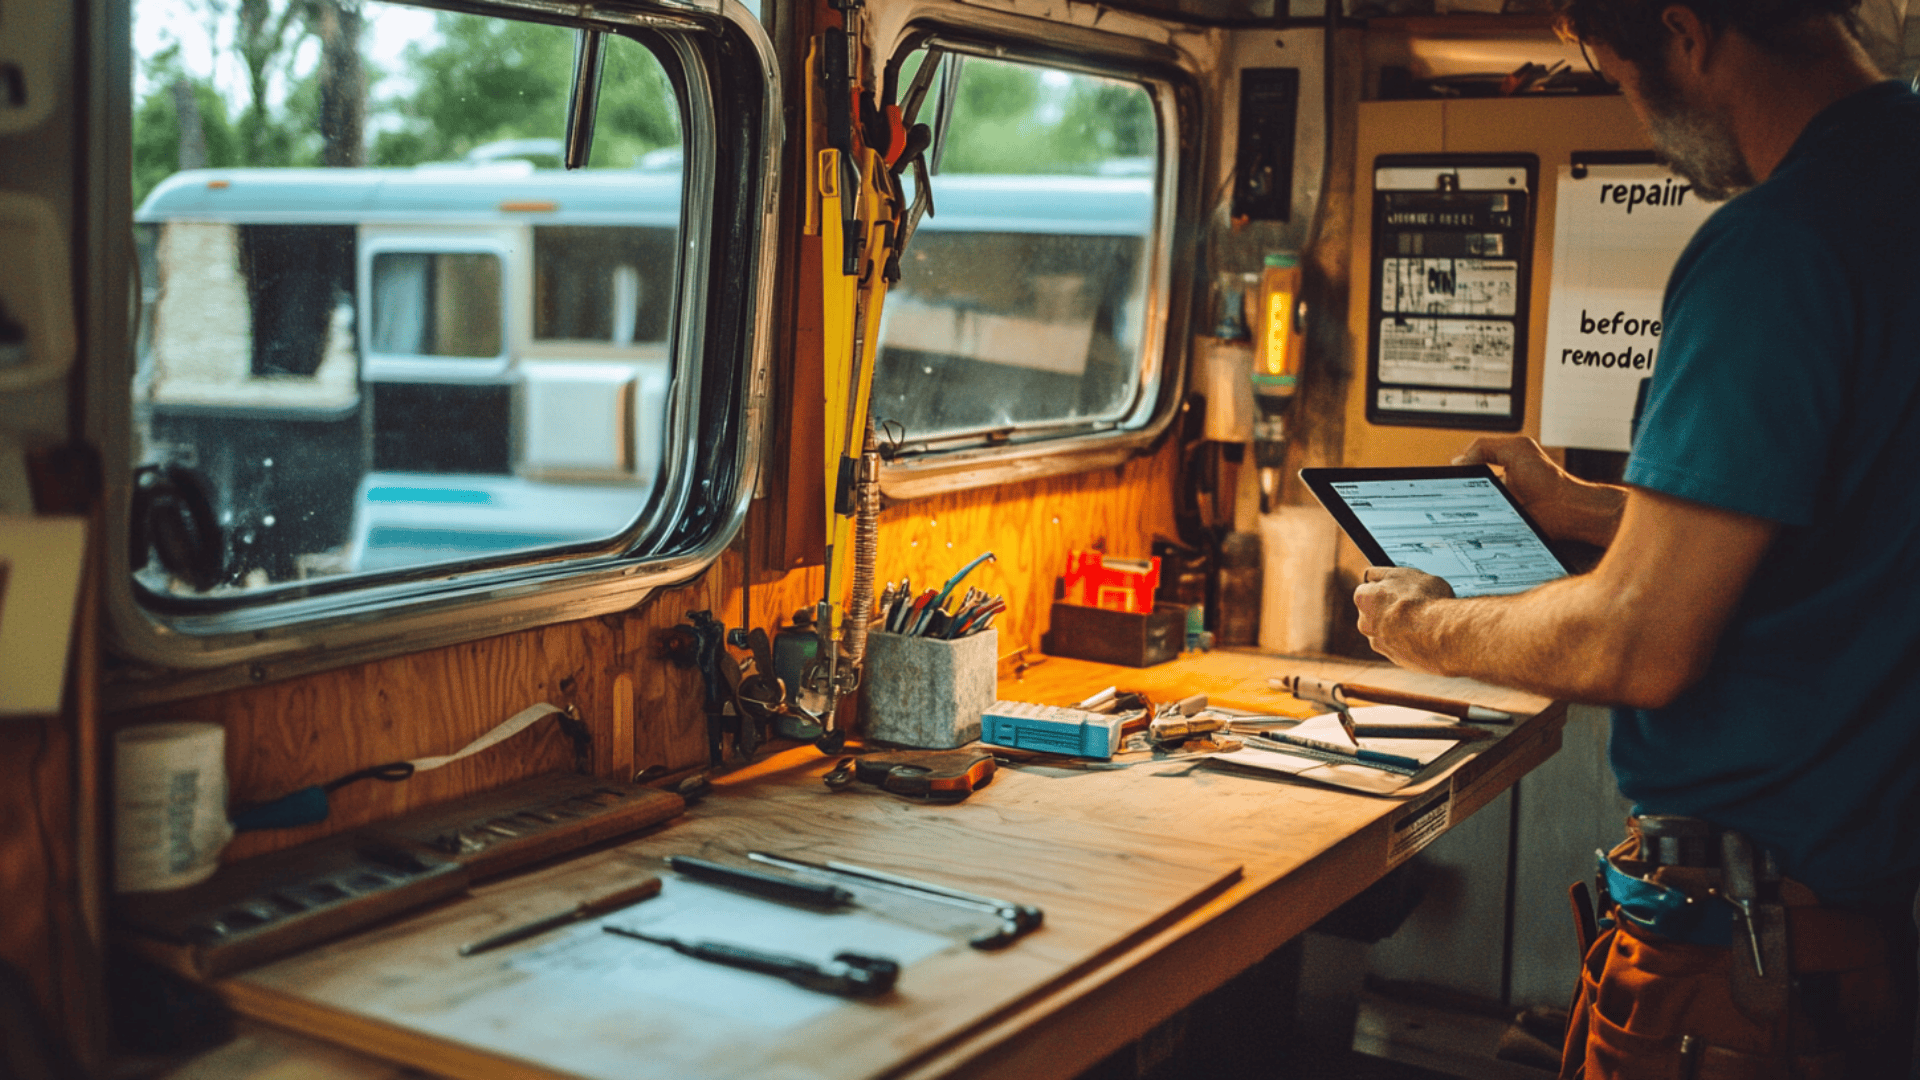
Think of these as investments in your camper’s longevity rather than delays to the fun part. Document each repair with photos – you’ll appreciate seeing how far you’ve come!
Must-Do Interior Fixes Before Decorating
The unglamorous work that happens before the Instagram-worthy moments is what makes a renovation successful. Focus on these fundamentals first:
Tackle Water Damage & Structural Issues First
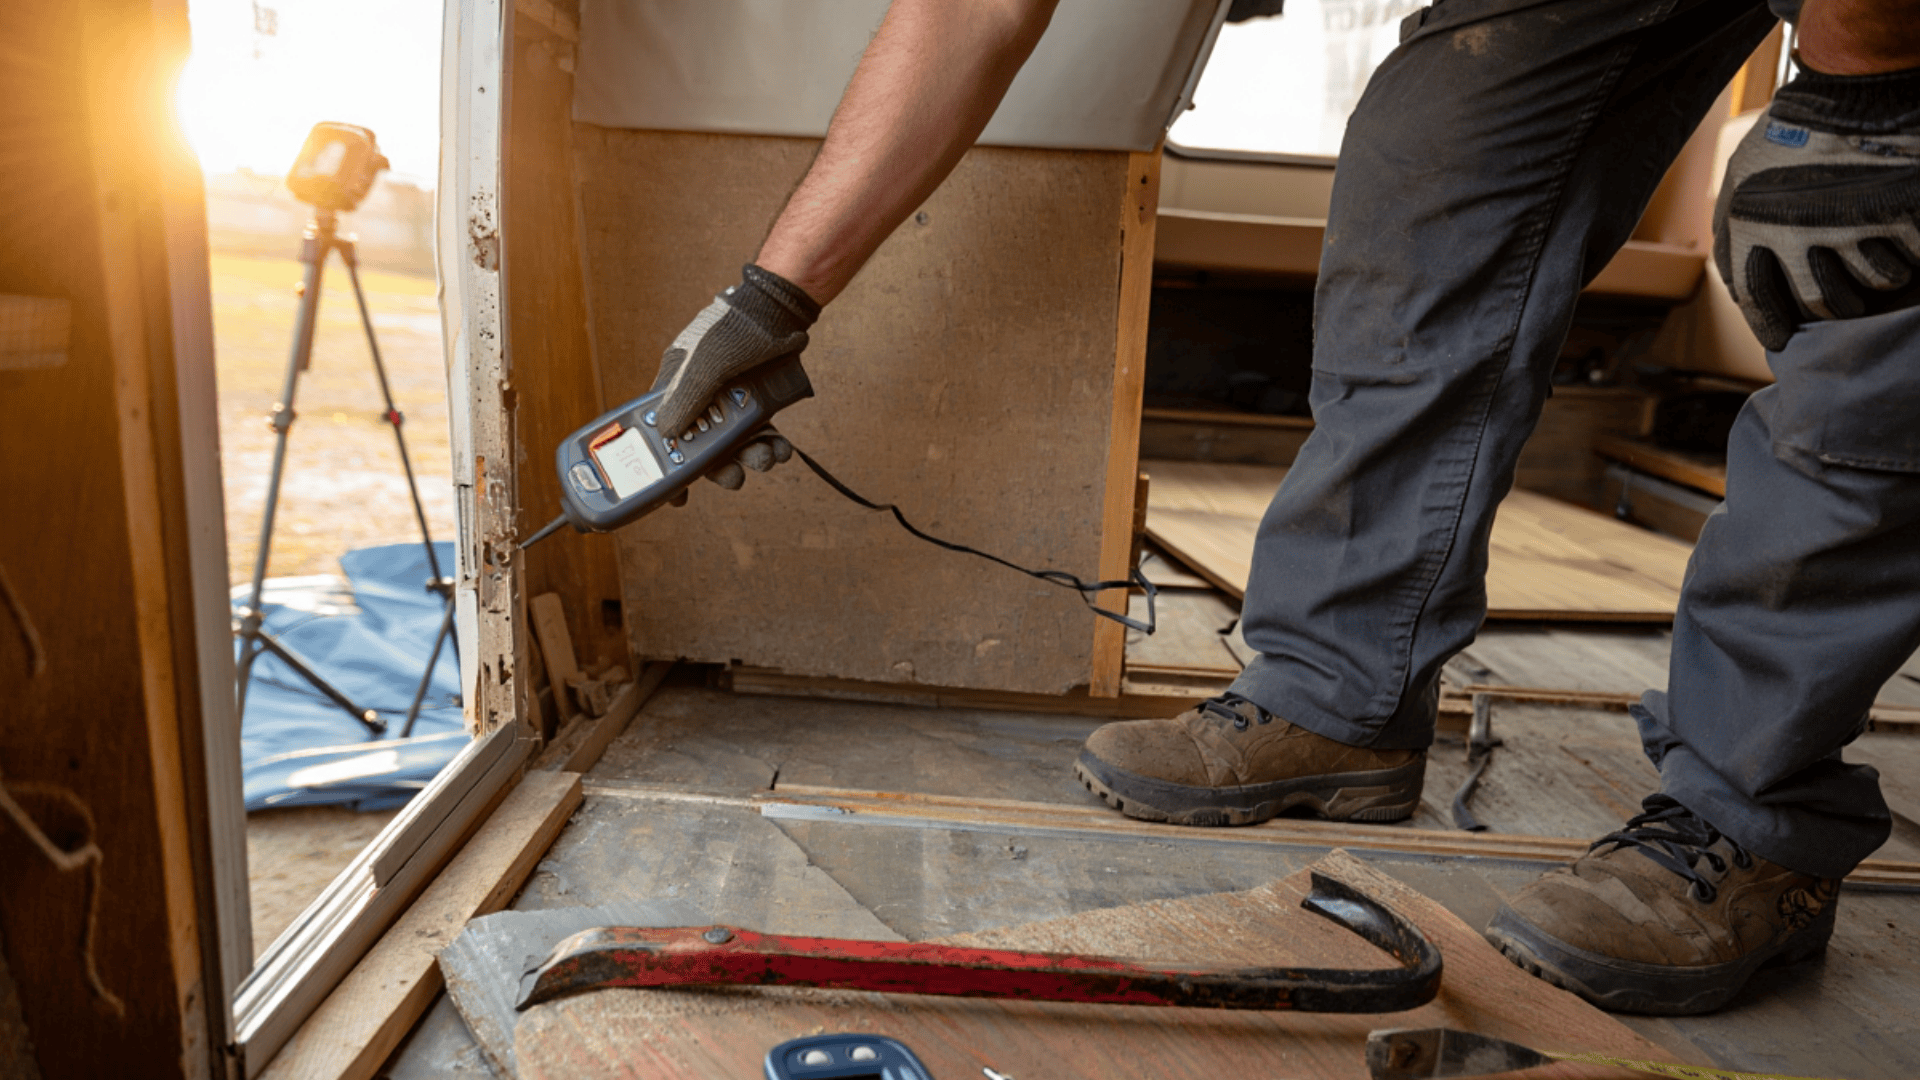
Structural integrity isn’t just about safety – it ensures your pretty upgrades don’t crack, shift, or fail prematurely. Begin with a thorough assessment of your camper’s “bones.”
Water damage hides in corners, under floors, and behind walls. Address soft spots immediately, replacing damaged wood with marine-grade plywood for better moisture resistance.
A moisture meter (about $25 at hardware stores) helps identify problem areas that aren’t yet visible.
Cabinet Decisions: Save, Replace, or Remove?
For cabinet work, you have three main paths to consider:
- Saving original frames and replacing doors
- Full replacement with lightweight alternatives
- Partial removal to create open space
Weight matters in campers! Consider using hollow-core doors cut to size for lightweight cabinet faces. Standard household cabinets are often too heavy for camper use.
Budget-Friendly Countertop Solutions
Countertops set the tone for your whole interior. Quality surfaces don’t have to break the bank:
- Laminate sheets over existing surfaces
- Butcher block from discount sections
- Peel-and-stick “marble” finishes
- Repurposed solid surface materials from Habitat stores
Pro tip: IKEA tabletops can be cut to size for beautiful, affordable counters!
Camper Interior Painting, Flooring, and Surface Prep Tips
Surface preparation makes the difference between finishes that last for years and those that peel within months.
Material-Specific Prep Techniques
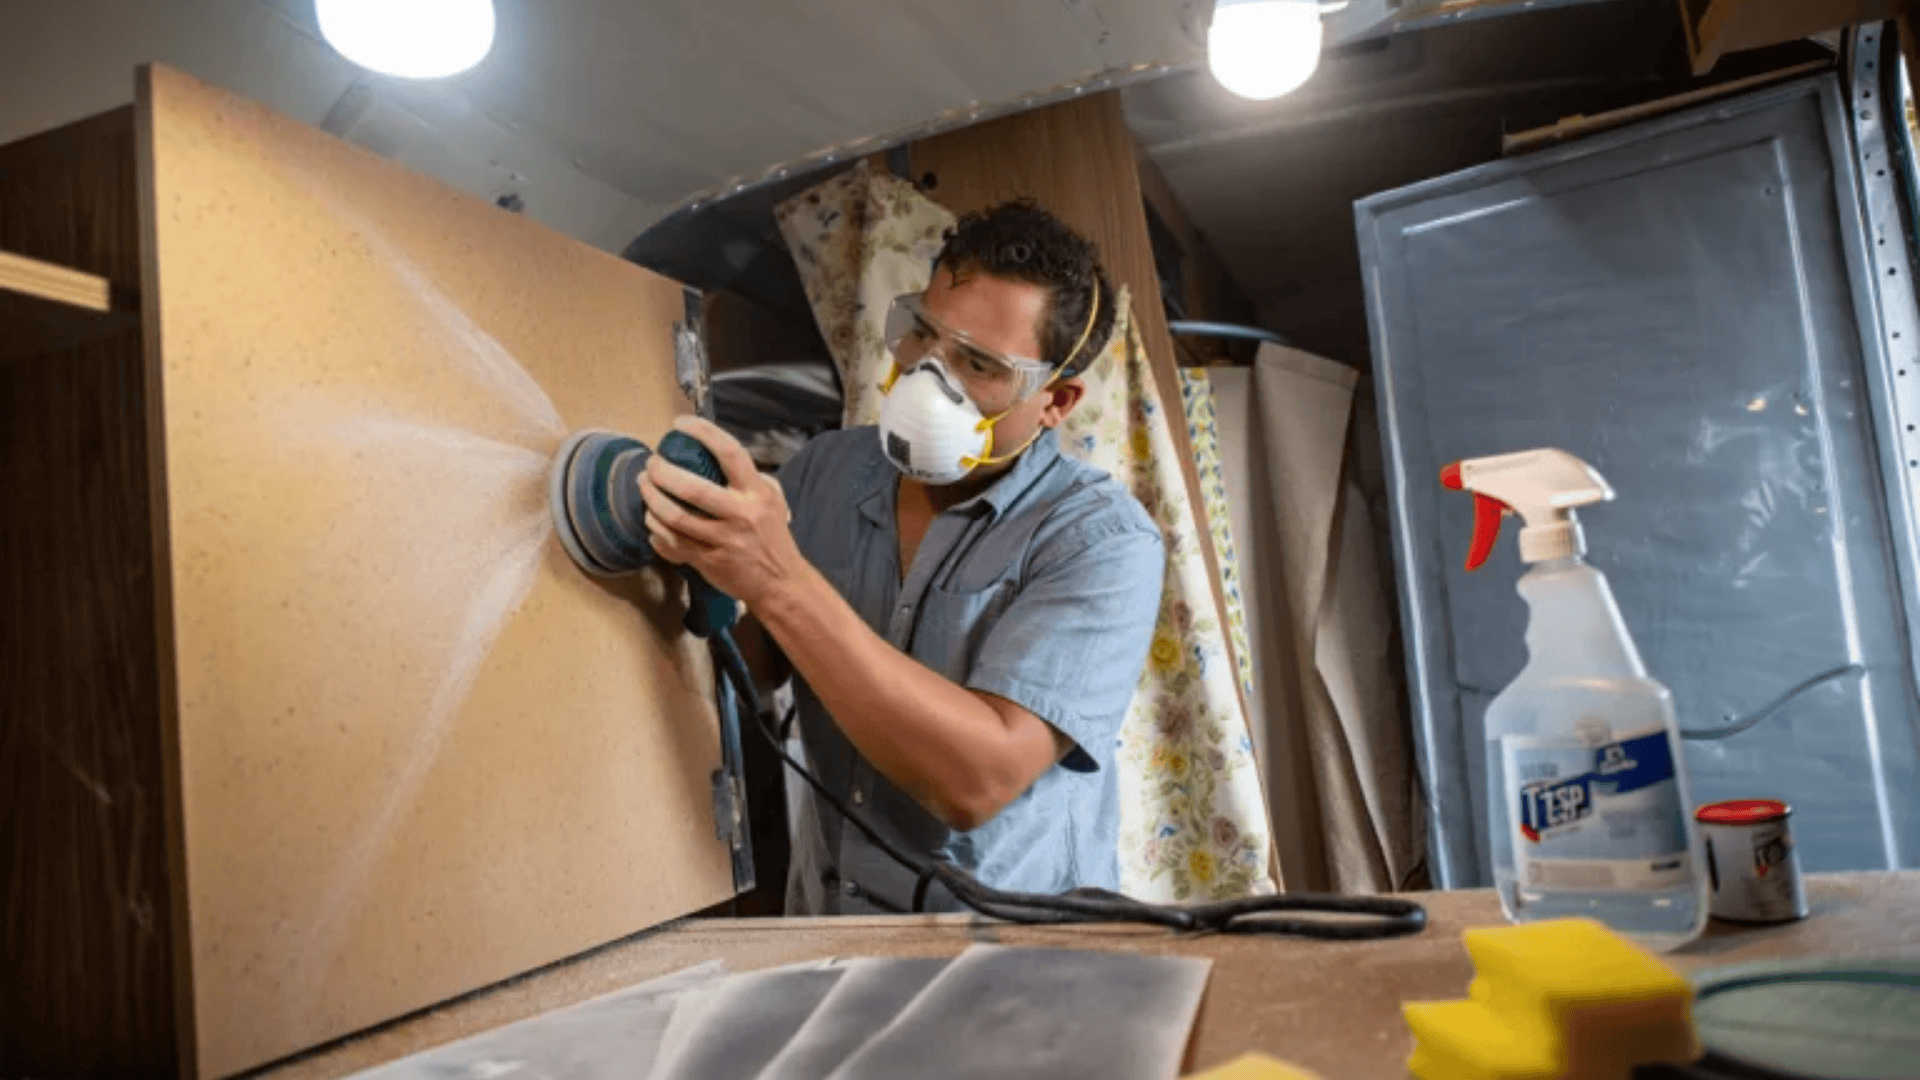
Campers contain a variety of materials that each need specific preparation:
- Particle board: Sand lightly and use oil-based primer to prevent moisture absorption
- Real wood: Benefits from light sanding between coats but accepts most preparations
- Vinyl surfaces: Require thorough degreasing before work begins
- Wallpaper: May need removal or special primer if kept in place
A mixture of TSP (tri-sodium phosphate) with water creates an excellent cleaner for most camper surfaces.
Paint Selection & Application Tips
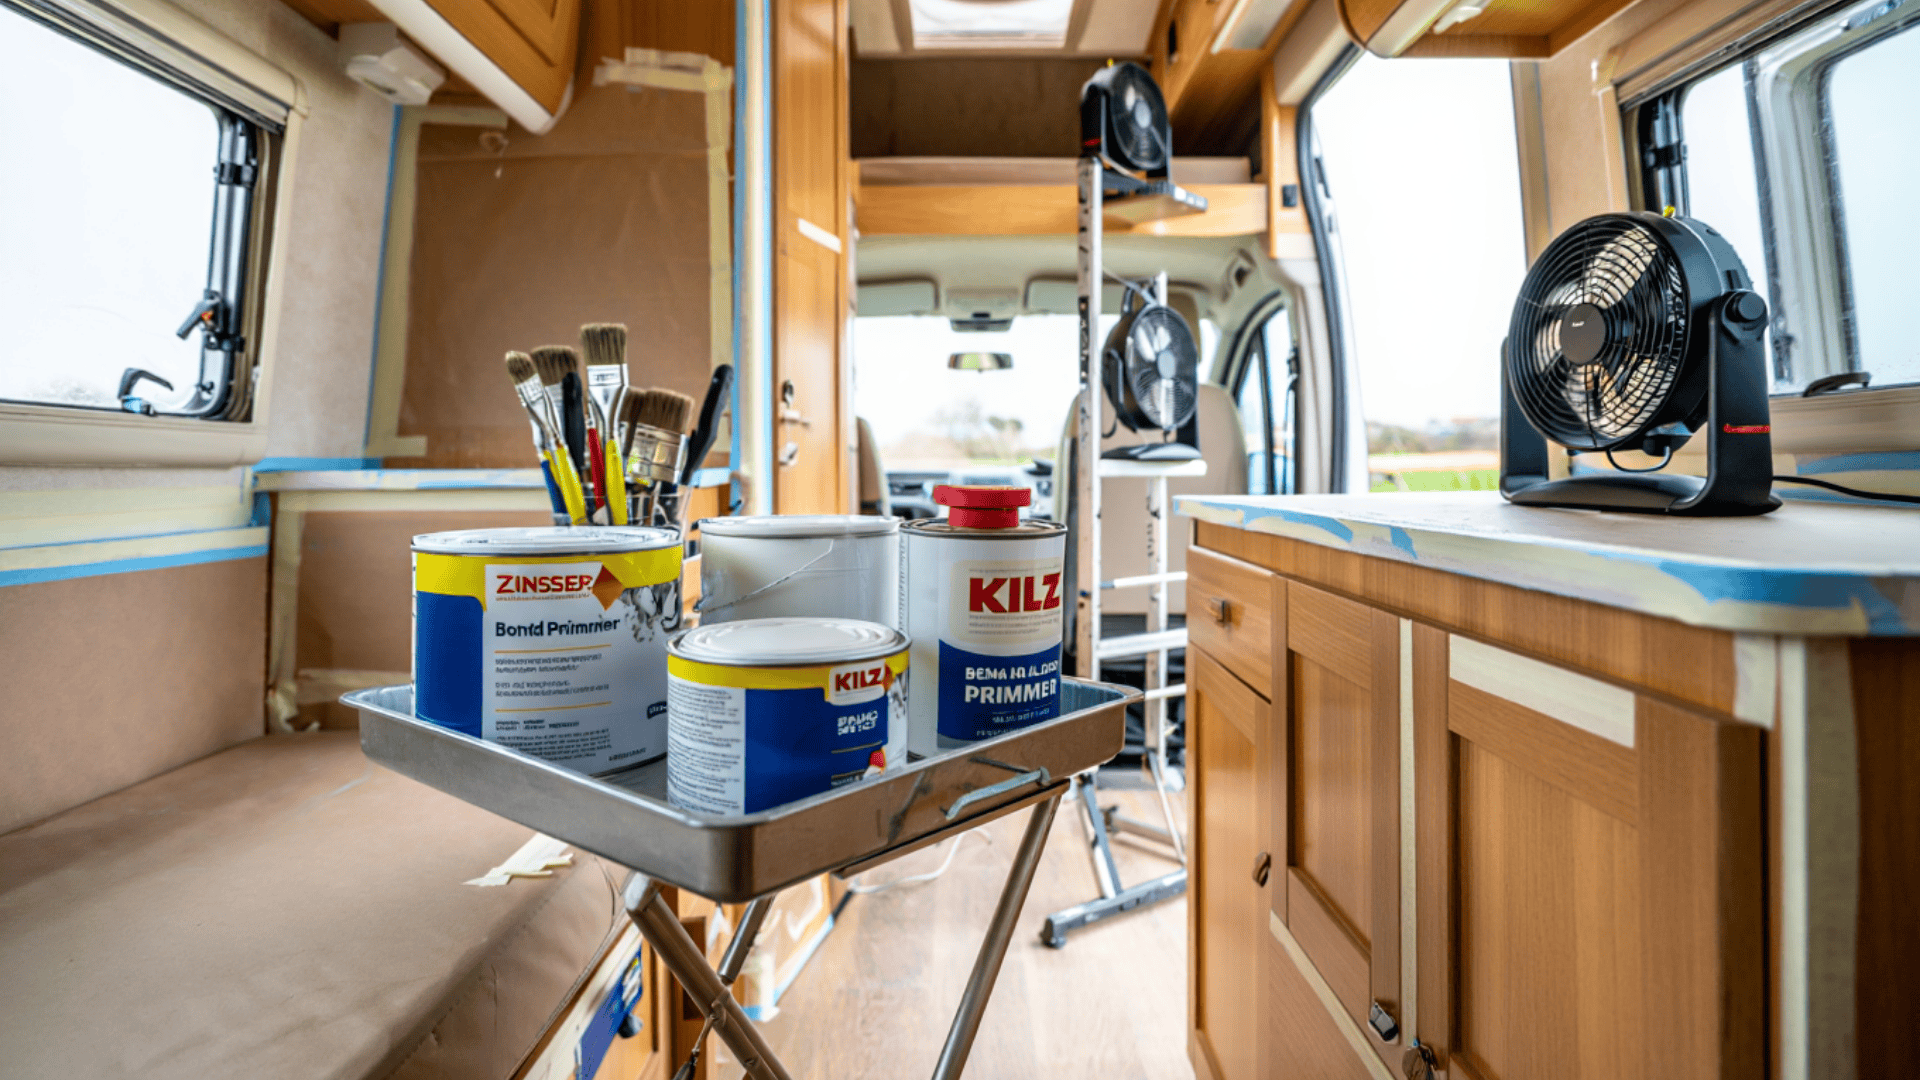
When choosing paints, opt for quality over quantity. You’ll need much less than for a house project!
Here are the keys to painting success in your camper:
- Use bonding primers like Zinsser BIN or KILZ
- Select semi-gloss or satin finishes for easy cleaning
- Apply thin coats rather than thick ones
- Allow proper drying time between coats
- Consider humidity levels when painting
Following these guidelines will ensure your paint job lasts through the rigors of road travel.
Choosing the Right Flooring For Your Lifestyle
The floor sets the foundation for your entire design. Match your choice to your camping style:
| FLOORING TYPE | BEST FOR | WATCH OUT FOR |
|---|---|---|
| Vinyl planks | All-season campers | Temperature expansion |
| Peel-and-stick | Weekend warriors | Edge lifting over time |
| Sheet vinyl | Bathroom areas | Difficult DIY installation |
Your usage patterns should guide your flooring decision – frequent campers need durability, while occasional users might prioritize ease of installation.
Budget-Smart Decor & Storage Ideas That Make a Big Impact
You don’t need deep pockets to create a stunning camper interior. Strategic choices deliver maximum impact without breaking the bank.
Removable Upgrades For Instant Style

Peel-and-stick products offer amazing versatility in camper renovations:
- Backsplashes that look like tile
- Wallpaper panels for accent walls
- Decorative trim that adheres without nails
- Faux stained glass window film for privacy
These removable products let you experiment without commitment—perfect for changing styles or rental restrictions.
Lighting Tricks To Transform Your Space
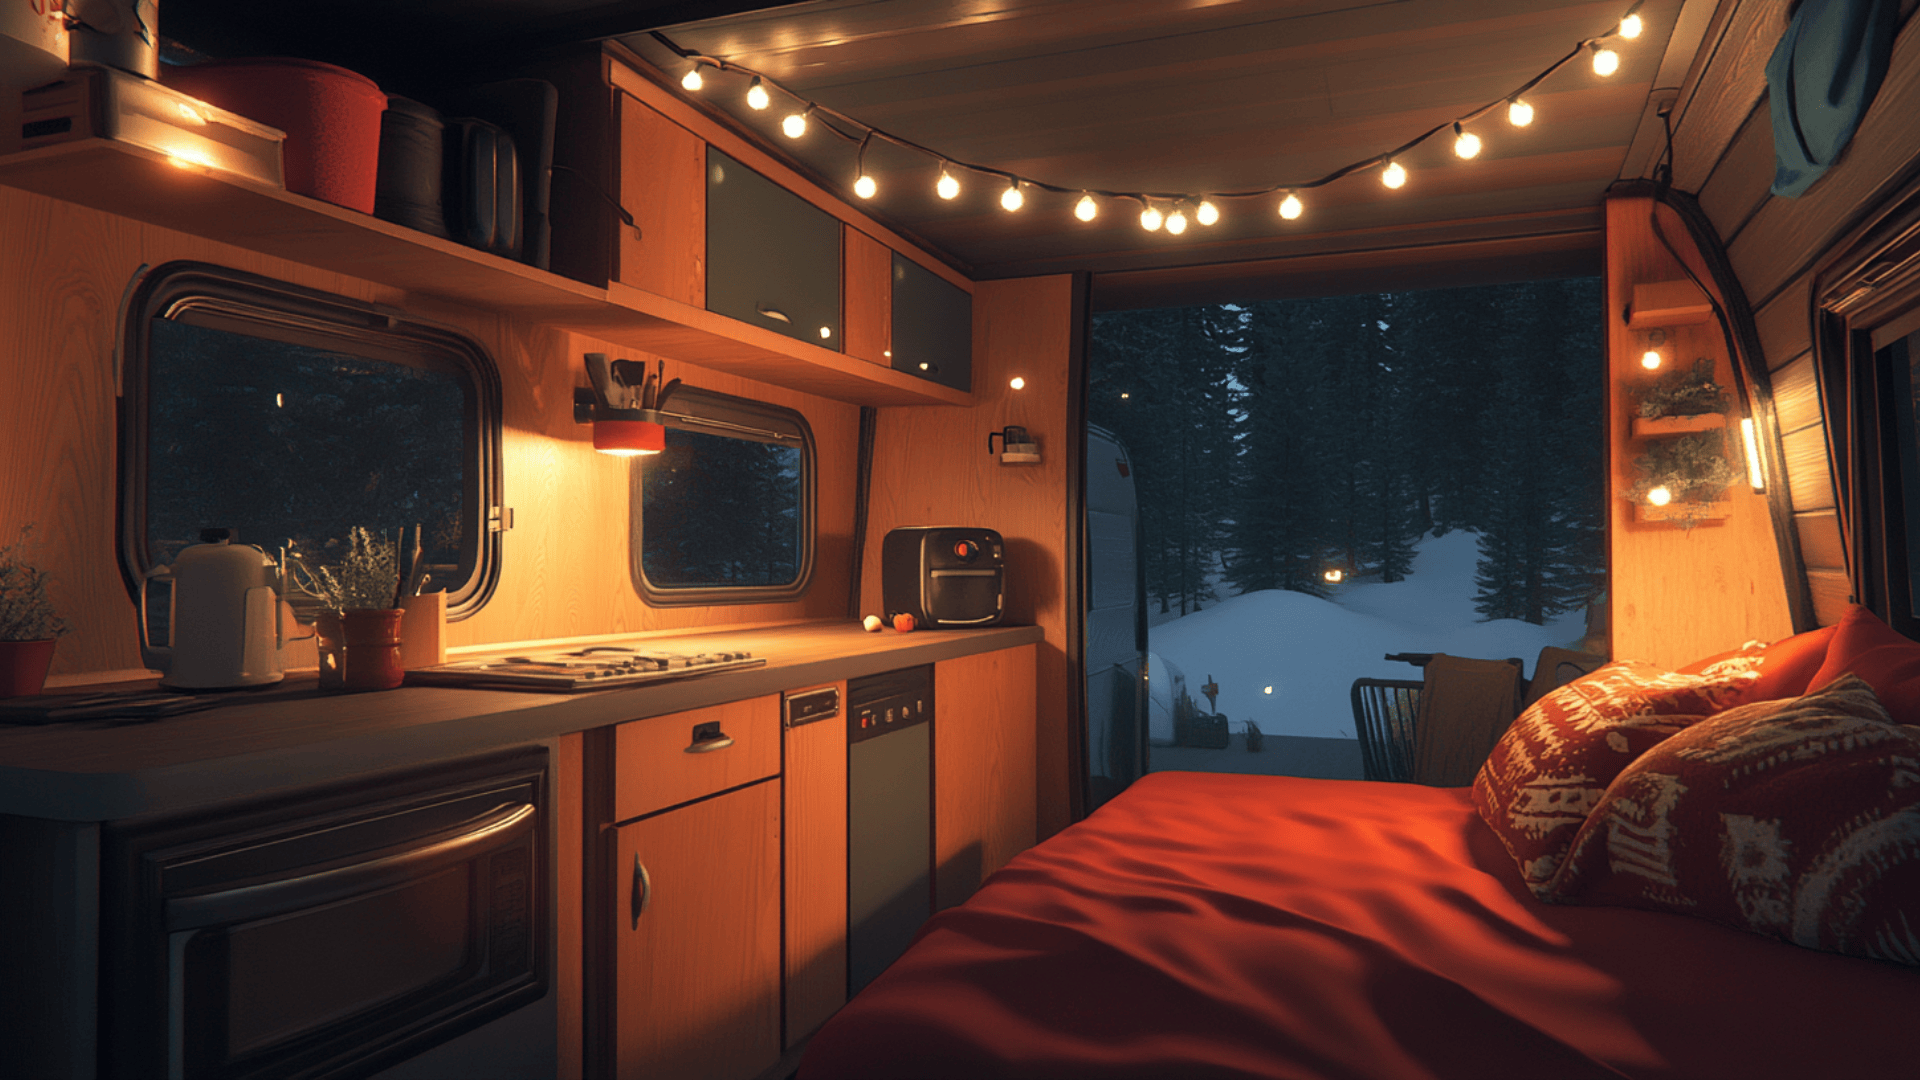
Lighting dramatically changes how spaces feel. Create different moods with:
- Warm LED strip lighting under cabinets
- Battery-powered puck lights in dark corners
- 12V-compatible reading lights in sleeping areas
- String lights for ambient evening glow
Good lighting makes small spaces feel larger and more welcoming, especially during evening hours.
No-Sew Updates For Cushions & Textiles
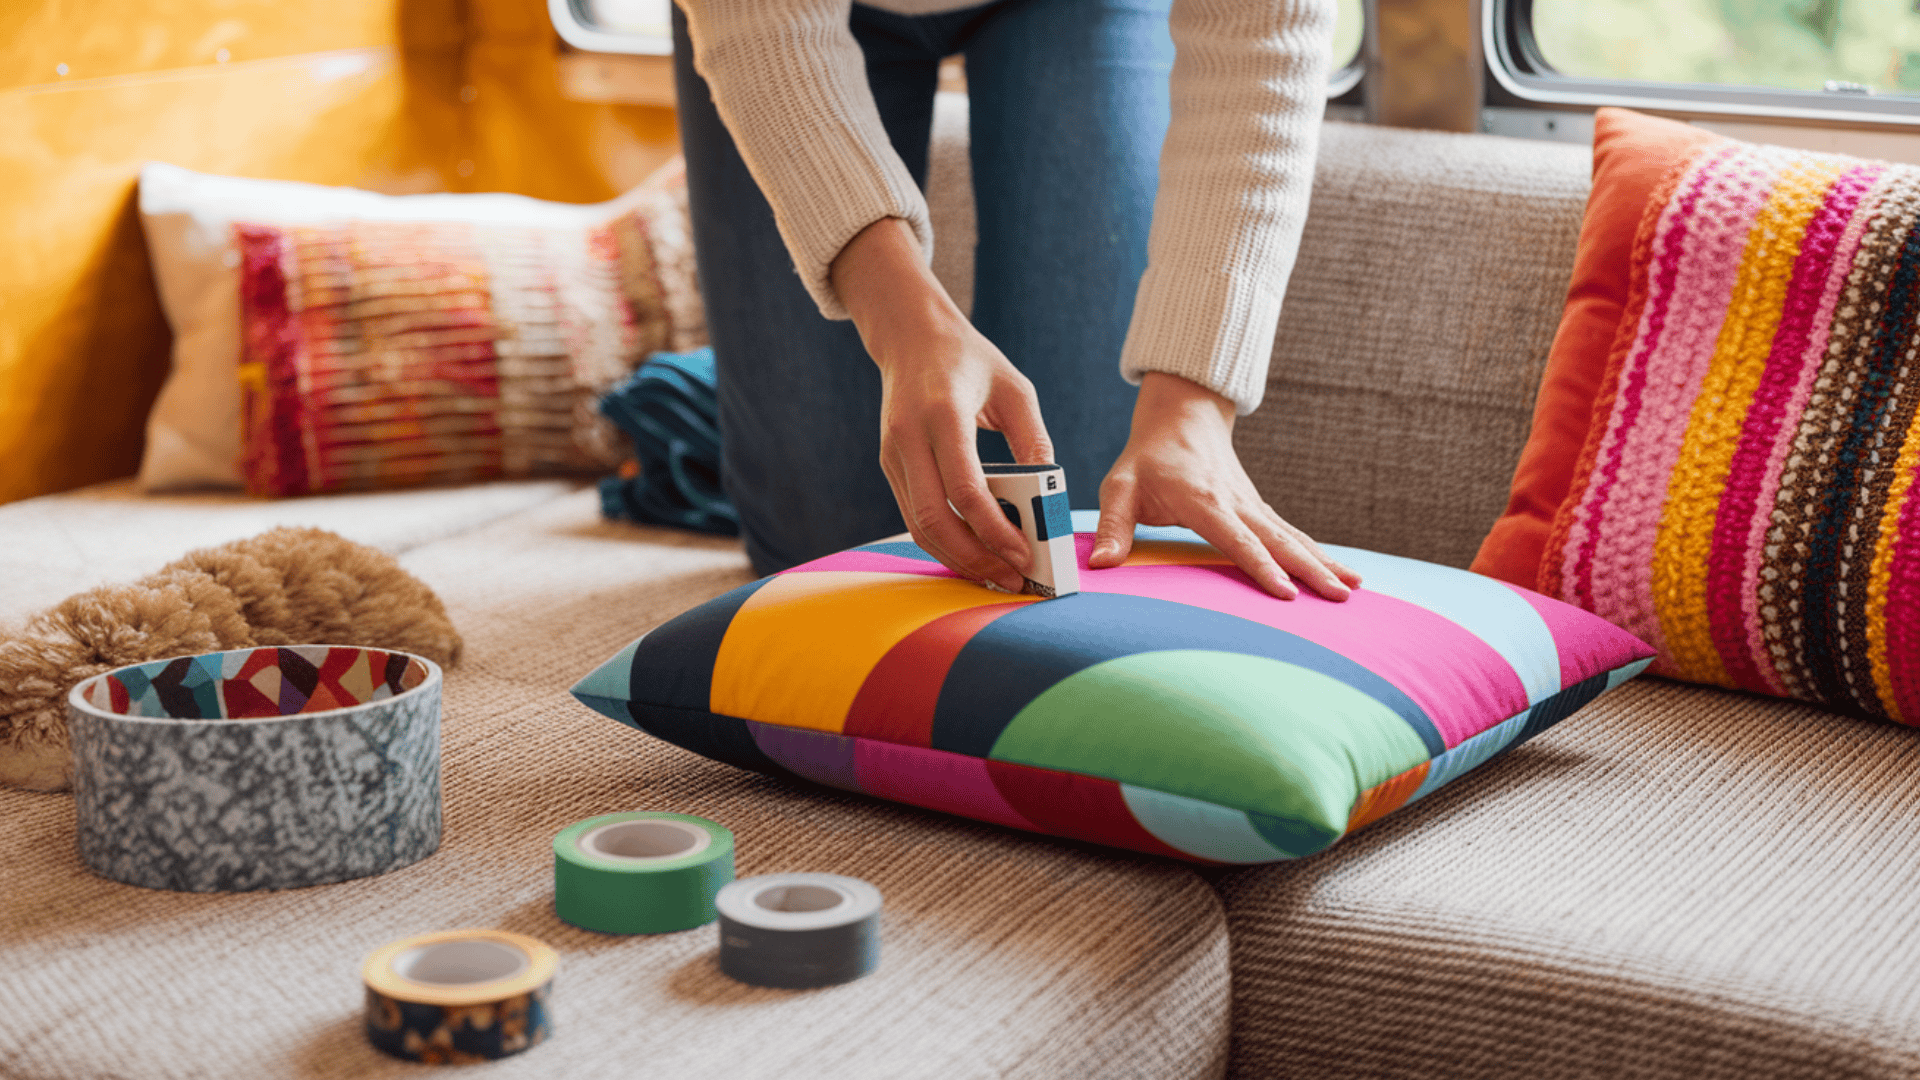
When updating seating, you don’t need sewing skills! Try these hacks:
- Wrap cushions in new fabric and secure with staples underneath
- Use iron-on hem tape to create simple “sewn” edges
- Cover dated patterns with stretch slipcovers
- Layer throws and pillows to hide worn surfaces
A fresh fabric update often makes the biggest visual impact for the least effort.
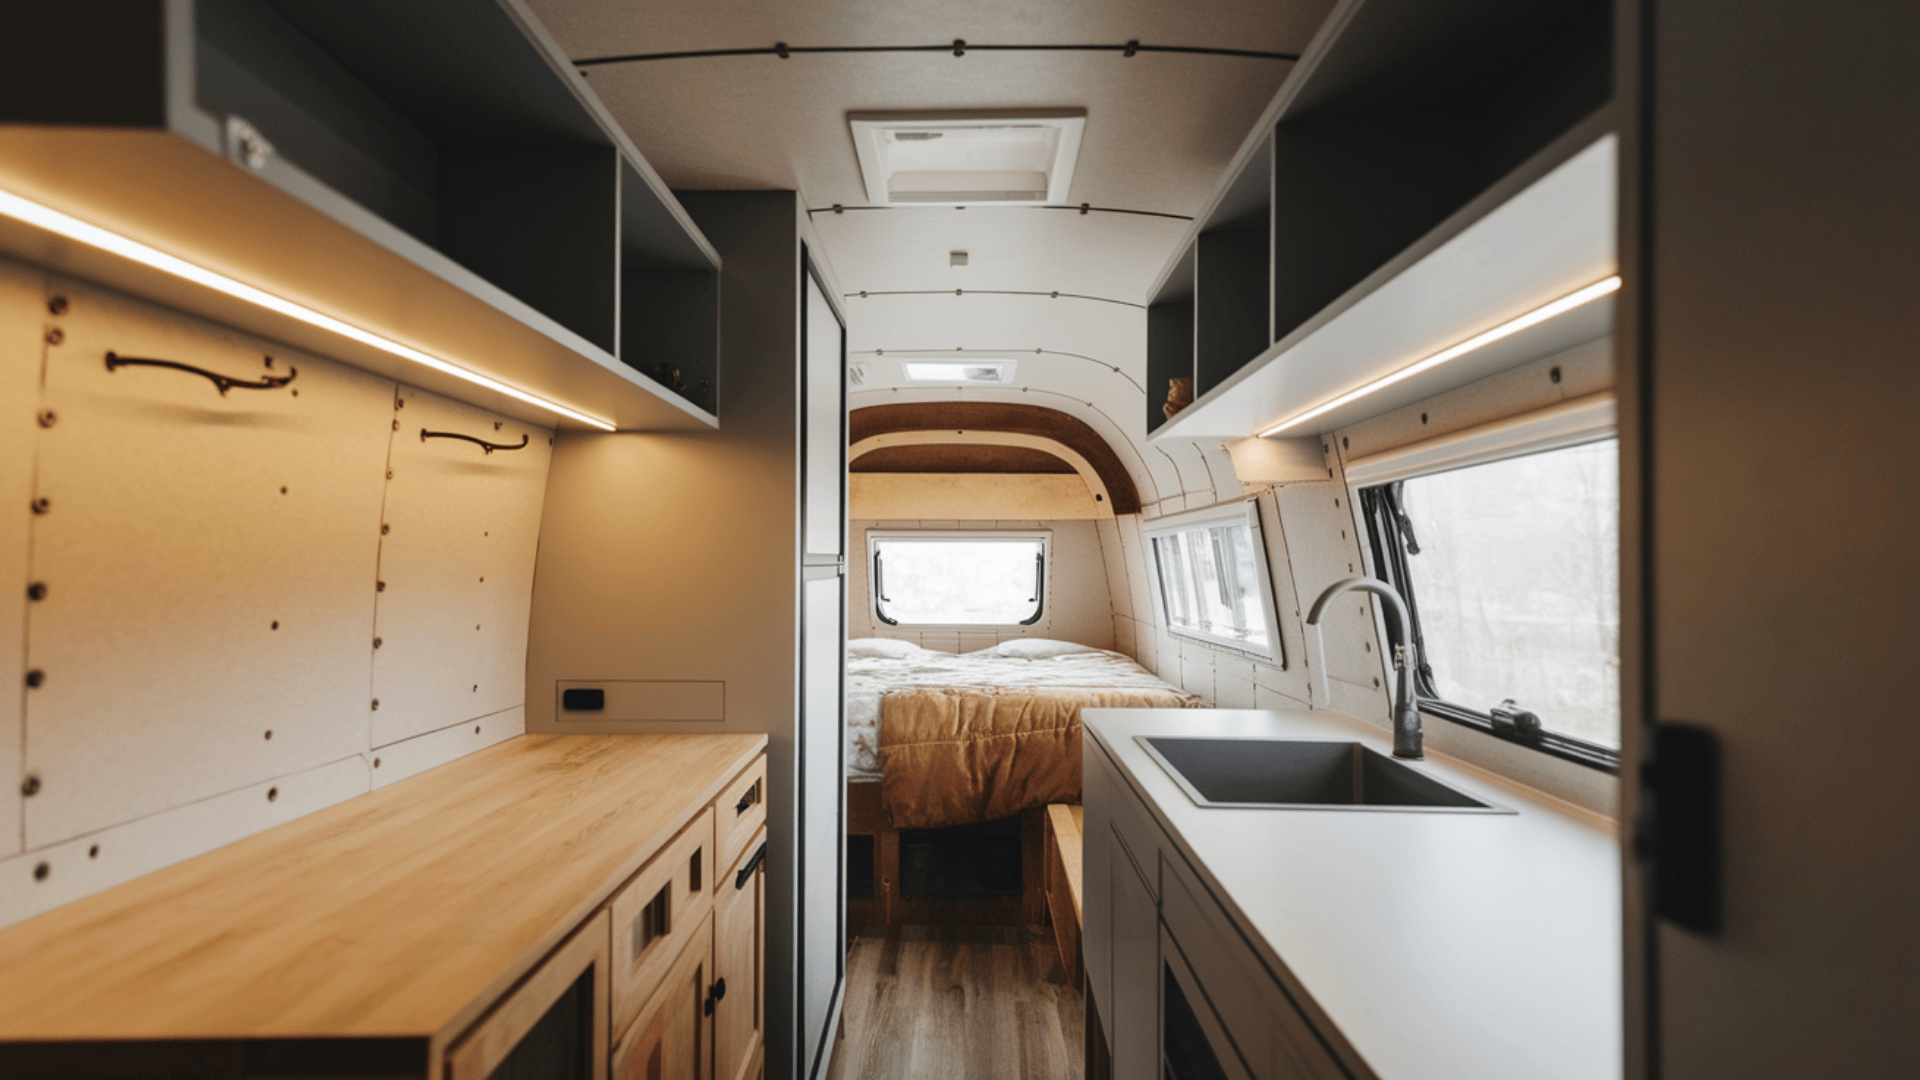
Creating a Cozy, Stylish Interior with Thoughtful Details
The charm of camper life comes from thoughtful touches that make compact spaces feel like home.
Personal Touches That Tell Your Story
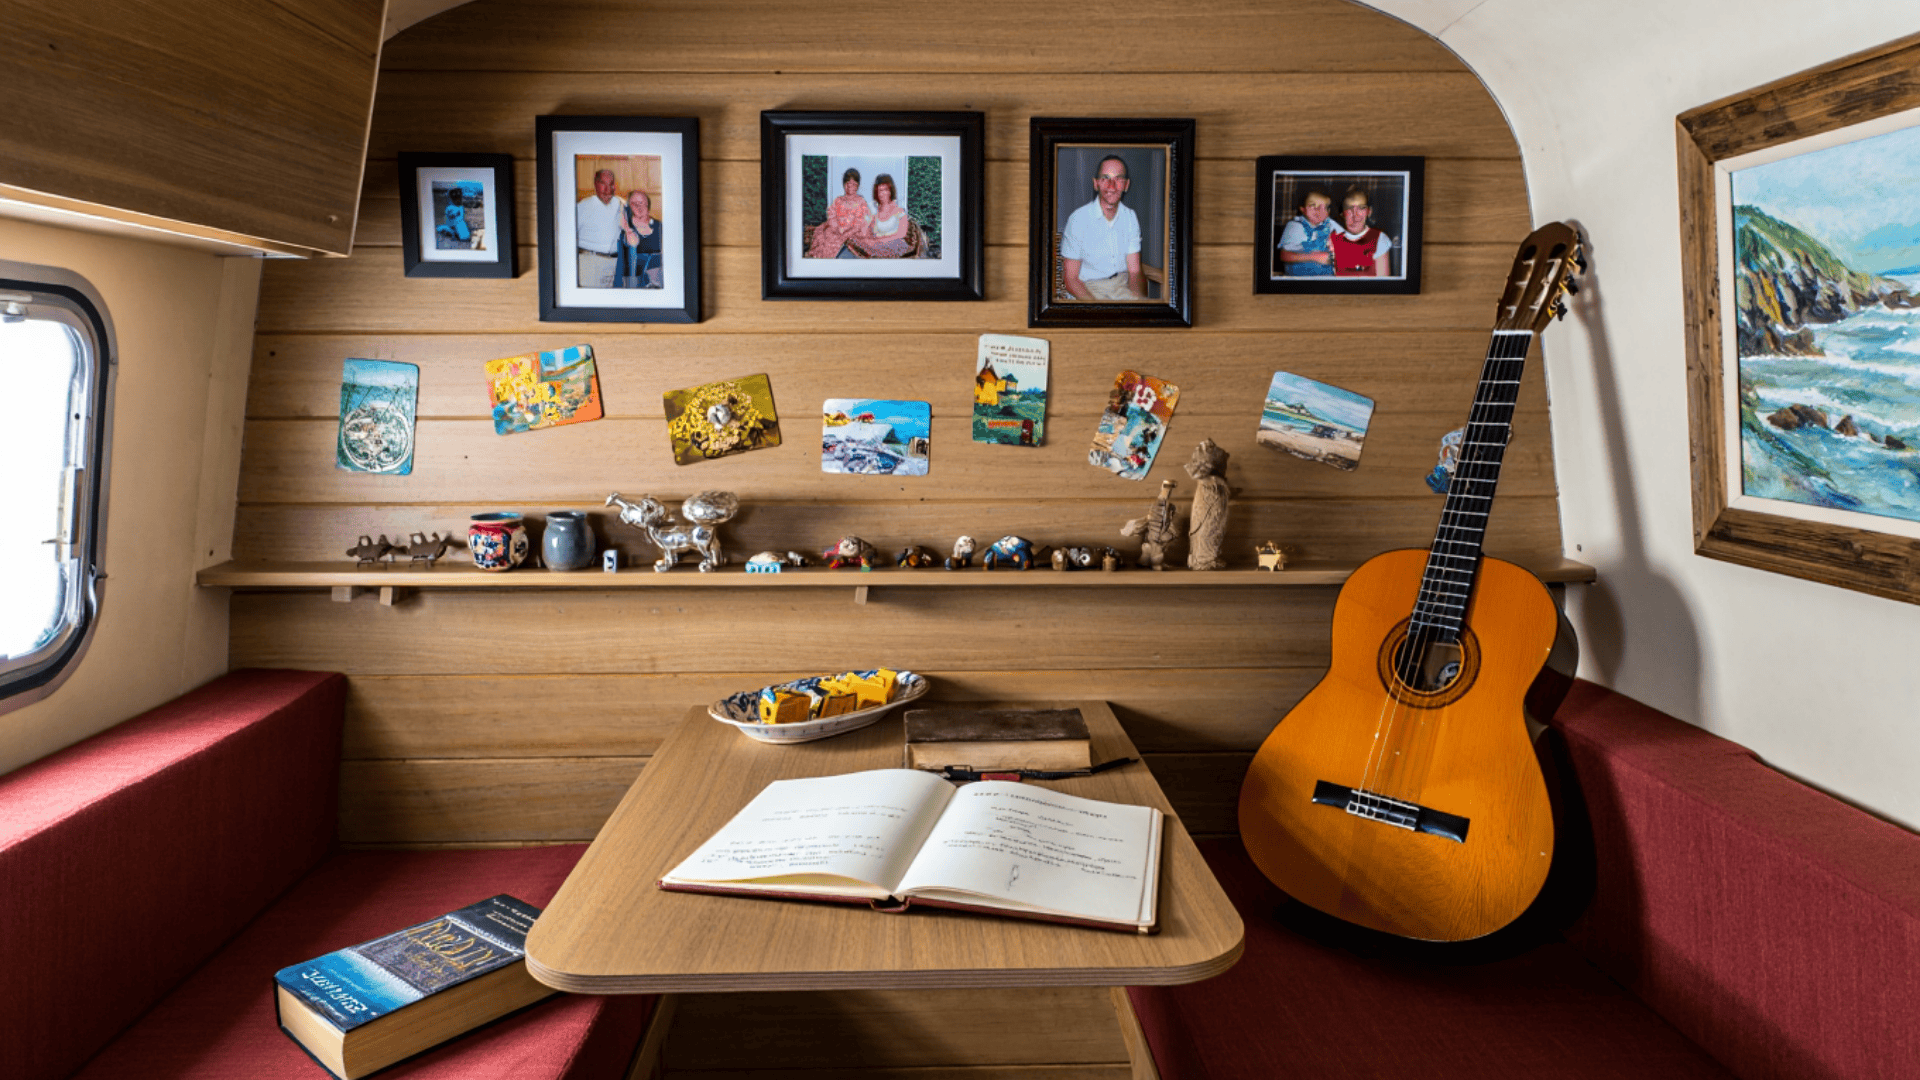
Personal items add character to your space:
- Frame small photos or postcards from favorite destinations
- Display meaningful objects as both décor and conversation starters
- Create a guest book for visitors to sign
- Include elements that reflect your interests and passions
These connections to your life make even the smallest camper feel rich with personality and warmth.
Multi-Functional Design For Limited Square Footage
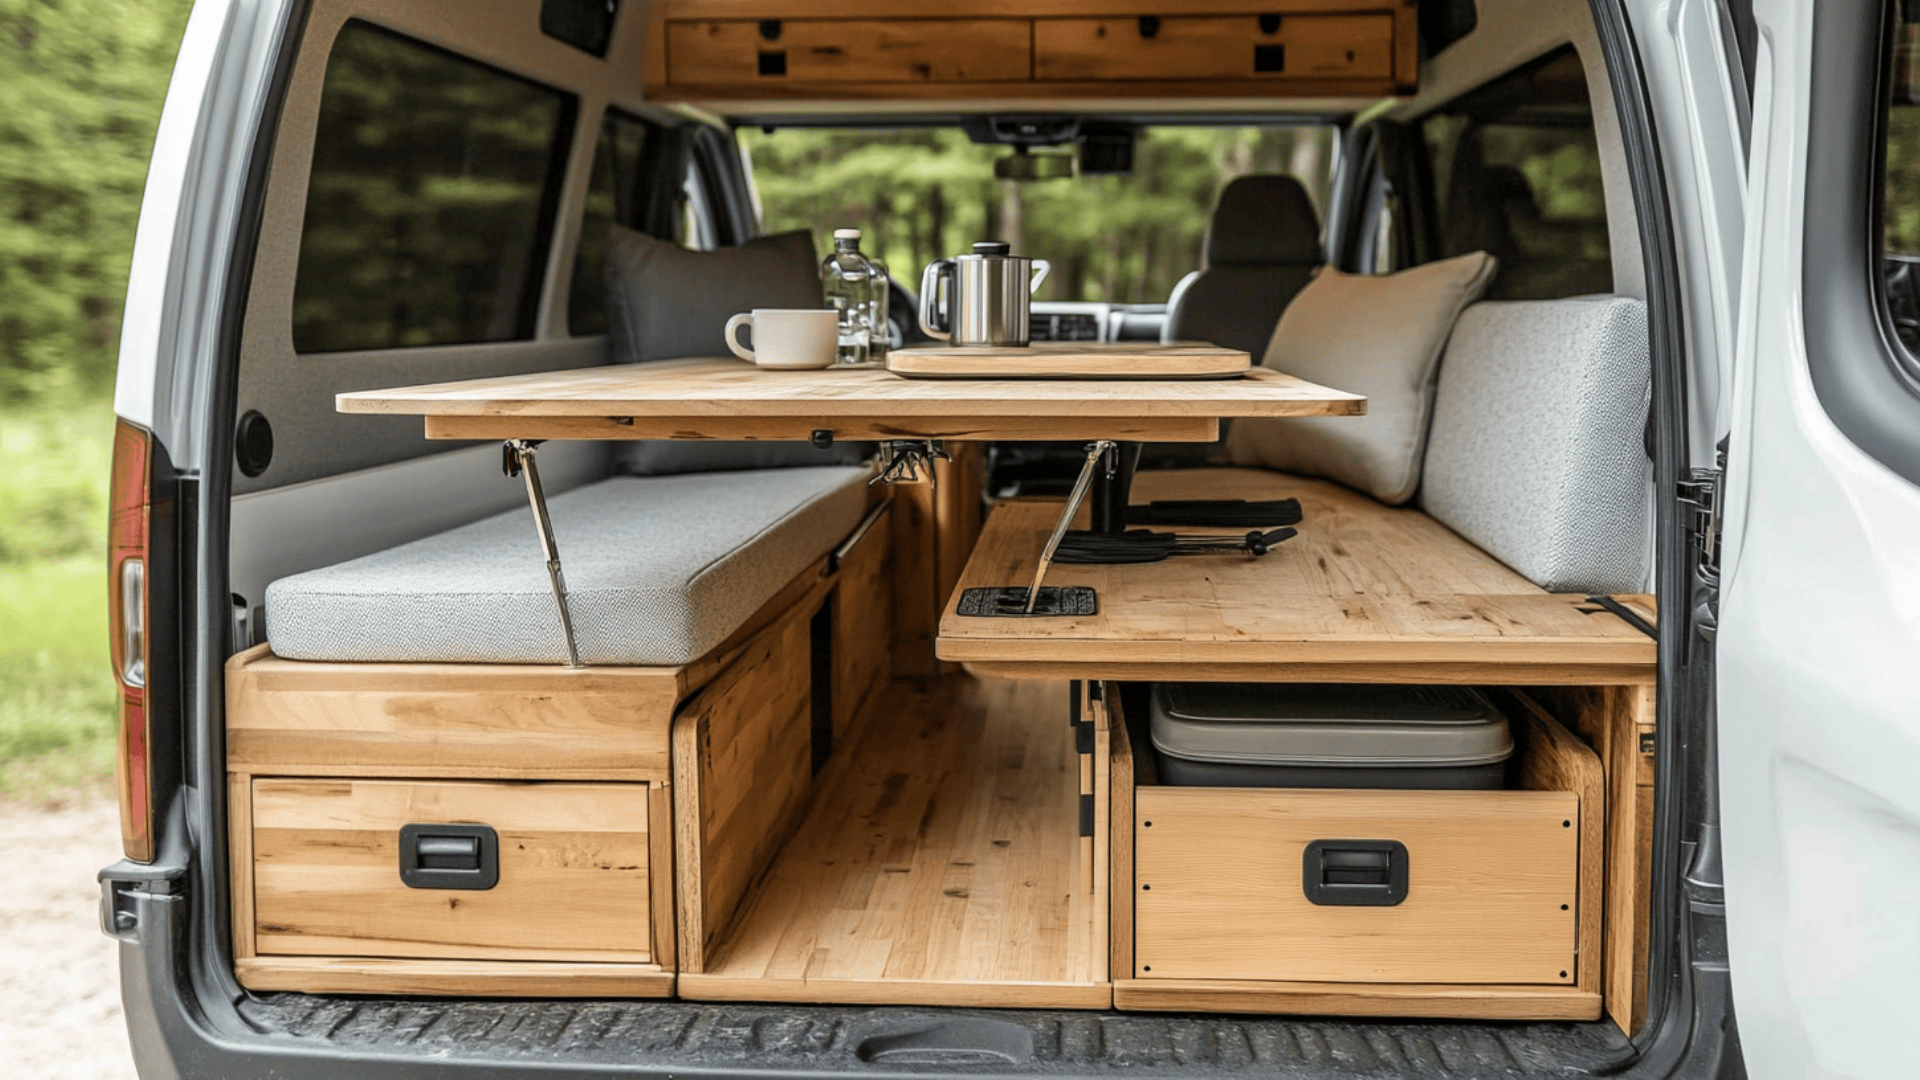
Small spaces work harder when they serve multiple purposes:
- Dining tables that convert to beds
- Bench seating with hidden storage
- Fold-down desks or countertop extensions
- Wall-mounted items that can be stowed away
Think about whether each item in your camper can serve at least two different functions to maximize your limited space.
Design Themes That Create Cohesion
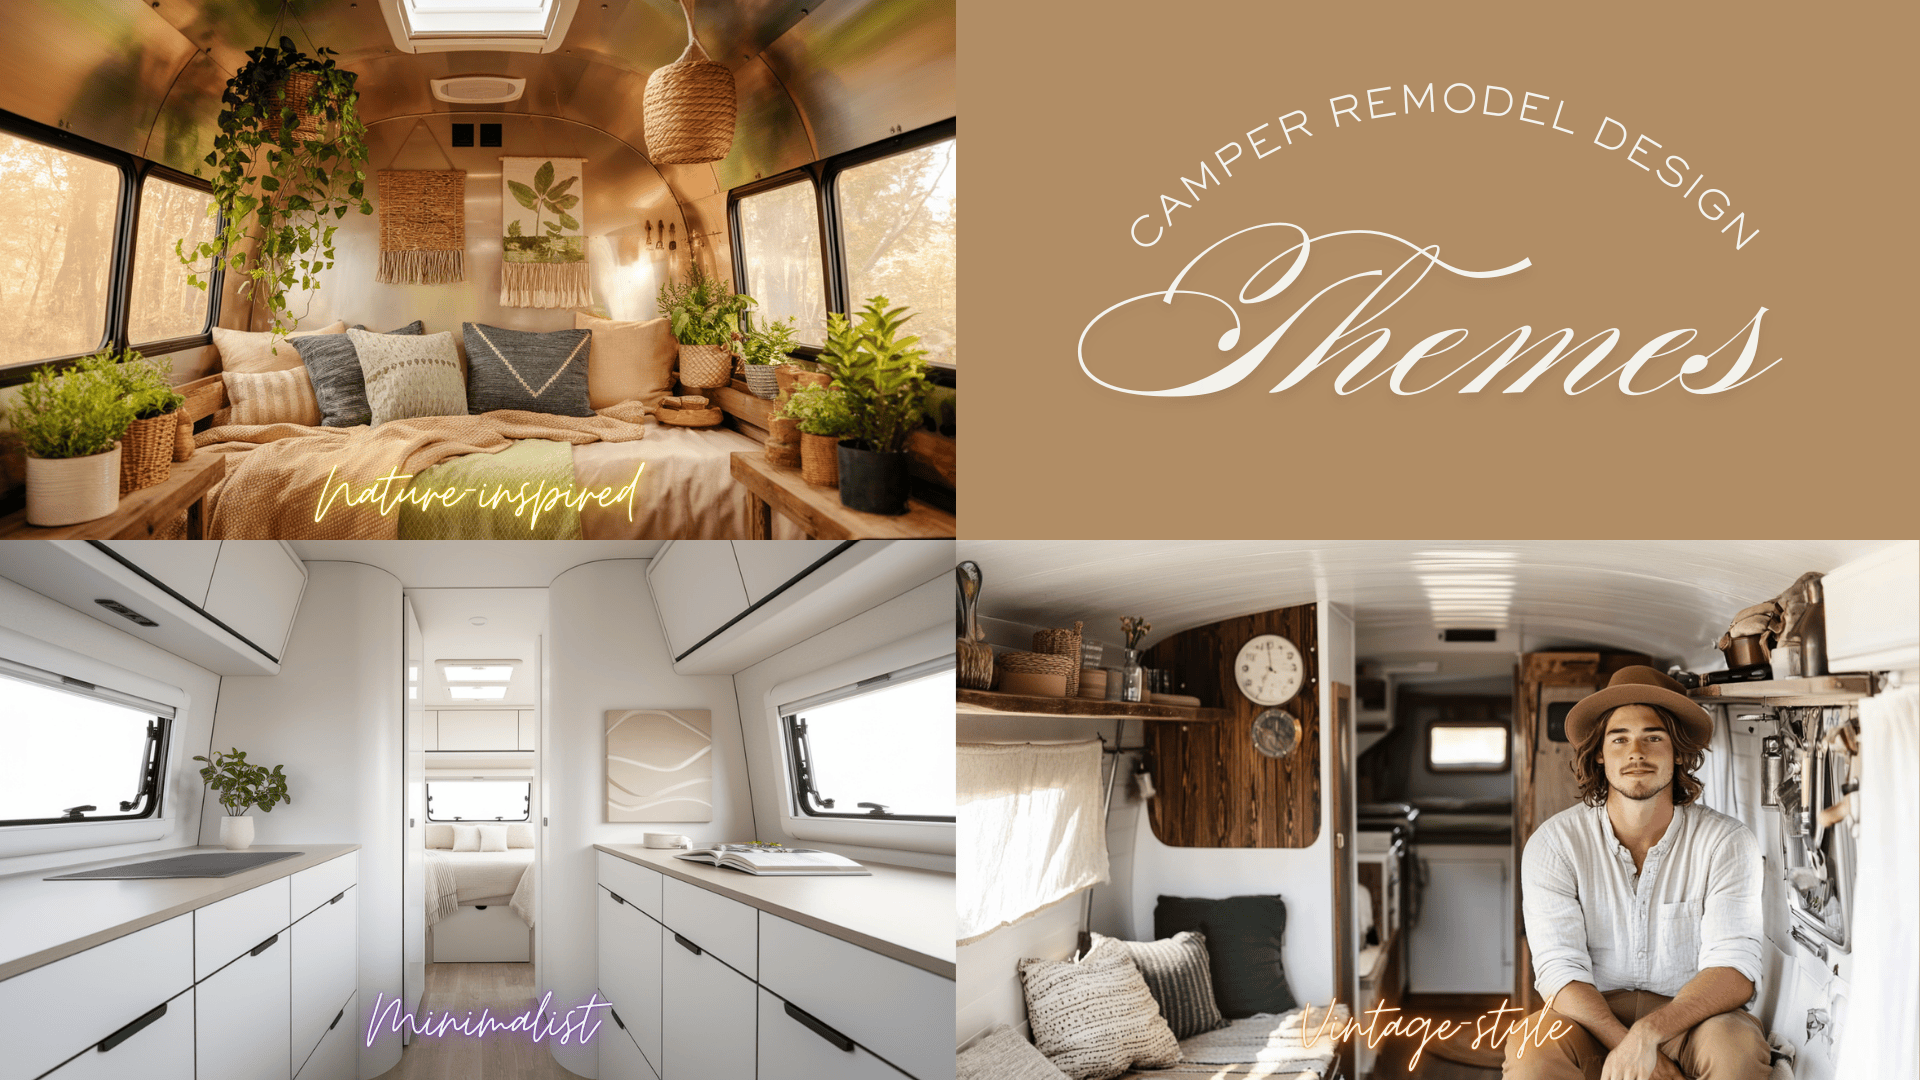
Design themes help create unity in small spaces. Popular approaches include:
Vintage Charm: Pays homage to your camper’s era with period-appropriate colors and patterns. Think warm woods, classic hardware, and fabrics that nod to the past.
Clean Modern: Creates a sense of space through light colors, minimal patterns, and hidden storage. Perfect for those who find peace in simplicity.
Outdoor Connection: Brings nature inside through plants, natural materials, and colors that echo the landscapes you’ll visit.
Choose a theme that resonates with your personal style while complementing your camper’s architecture.
Kid-Friendly Camper Zones
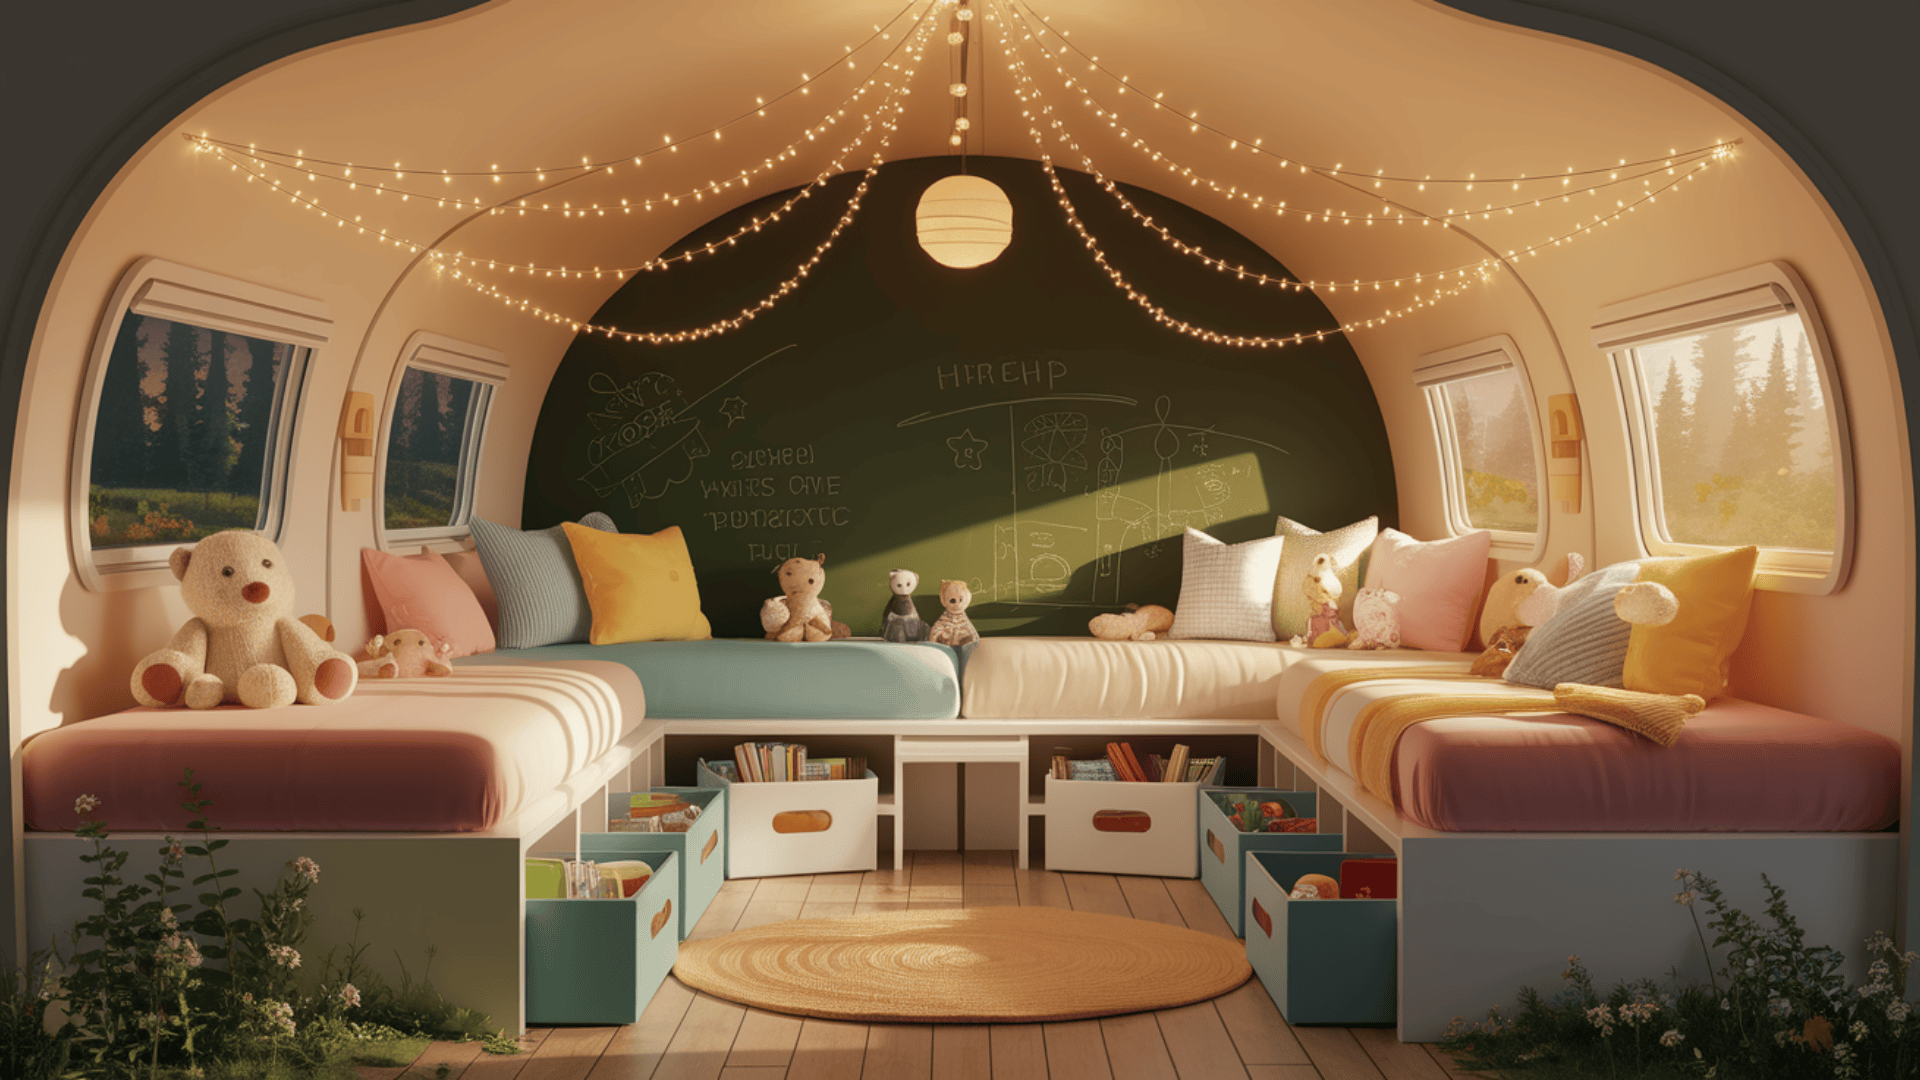
Kids’ spaces benefit from special attention:
- Bunk areas become magical with battery-powered fairy lights
- Personalized storage bins keep toys contained
- Wall pockets hold books and treasures
- Chalkboard surfaces provide entertainment without mess
Thoughtful kid spaces make family camping trips more enjoyable for everyone.
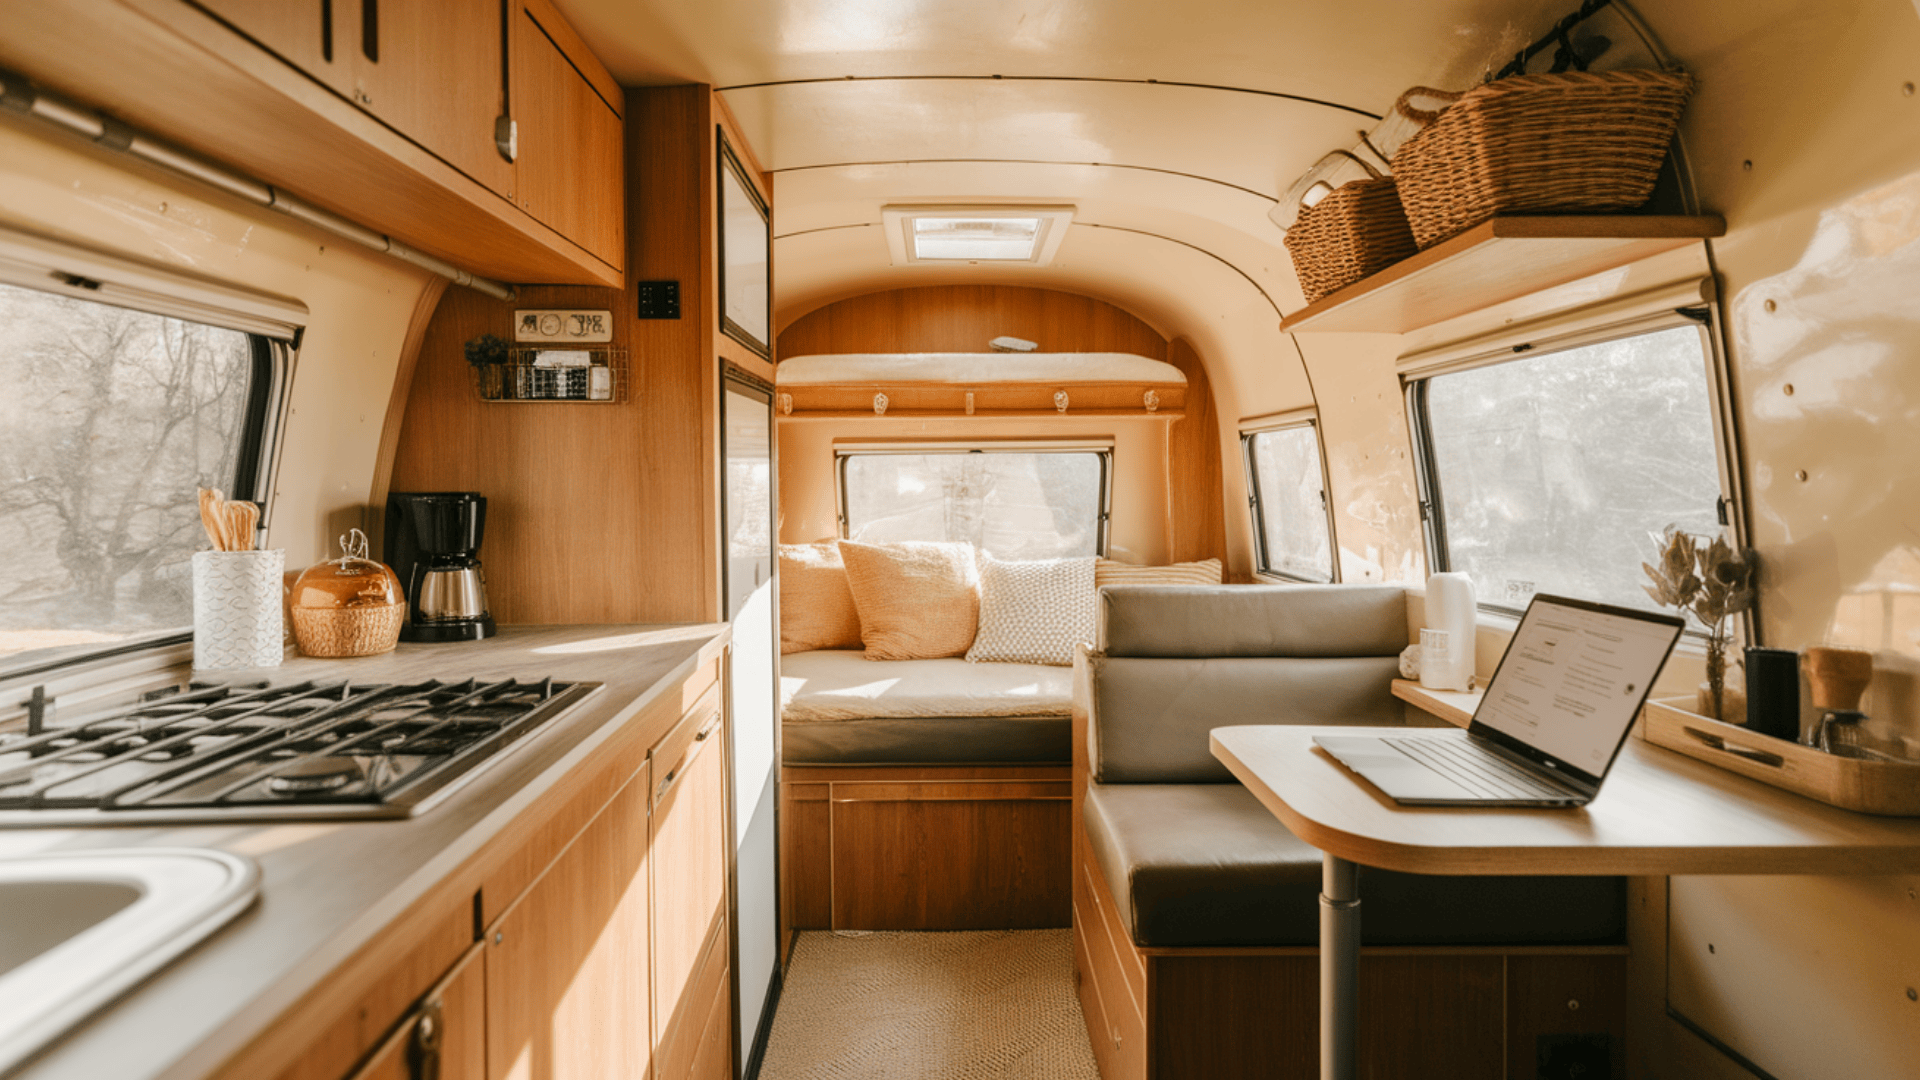
Functional Zones For Everyday Comfort
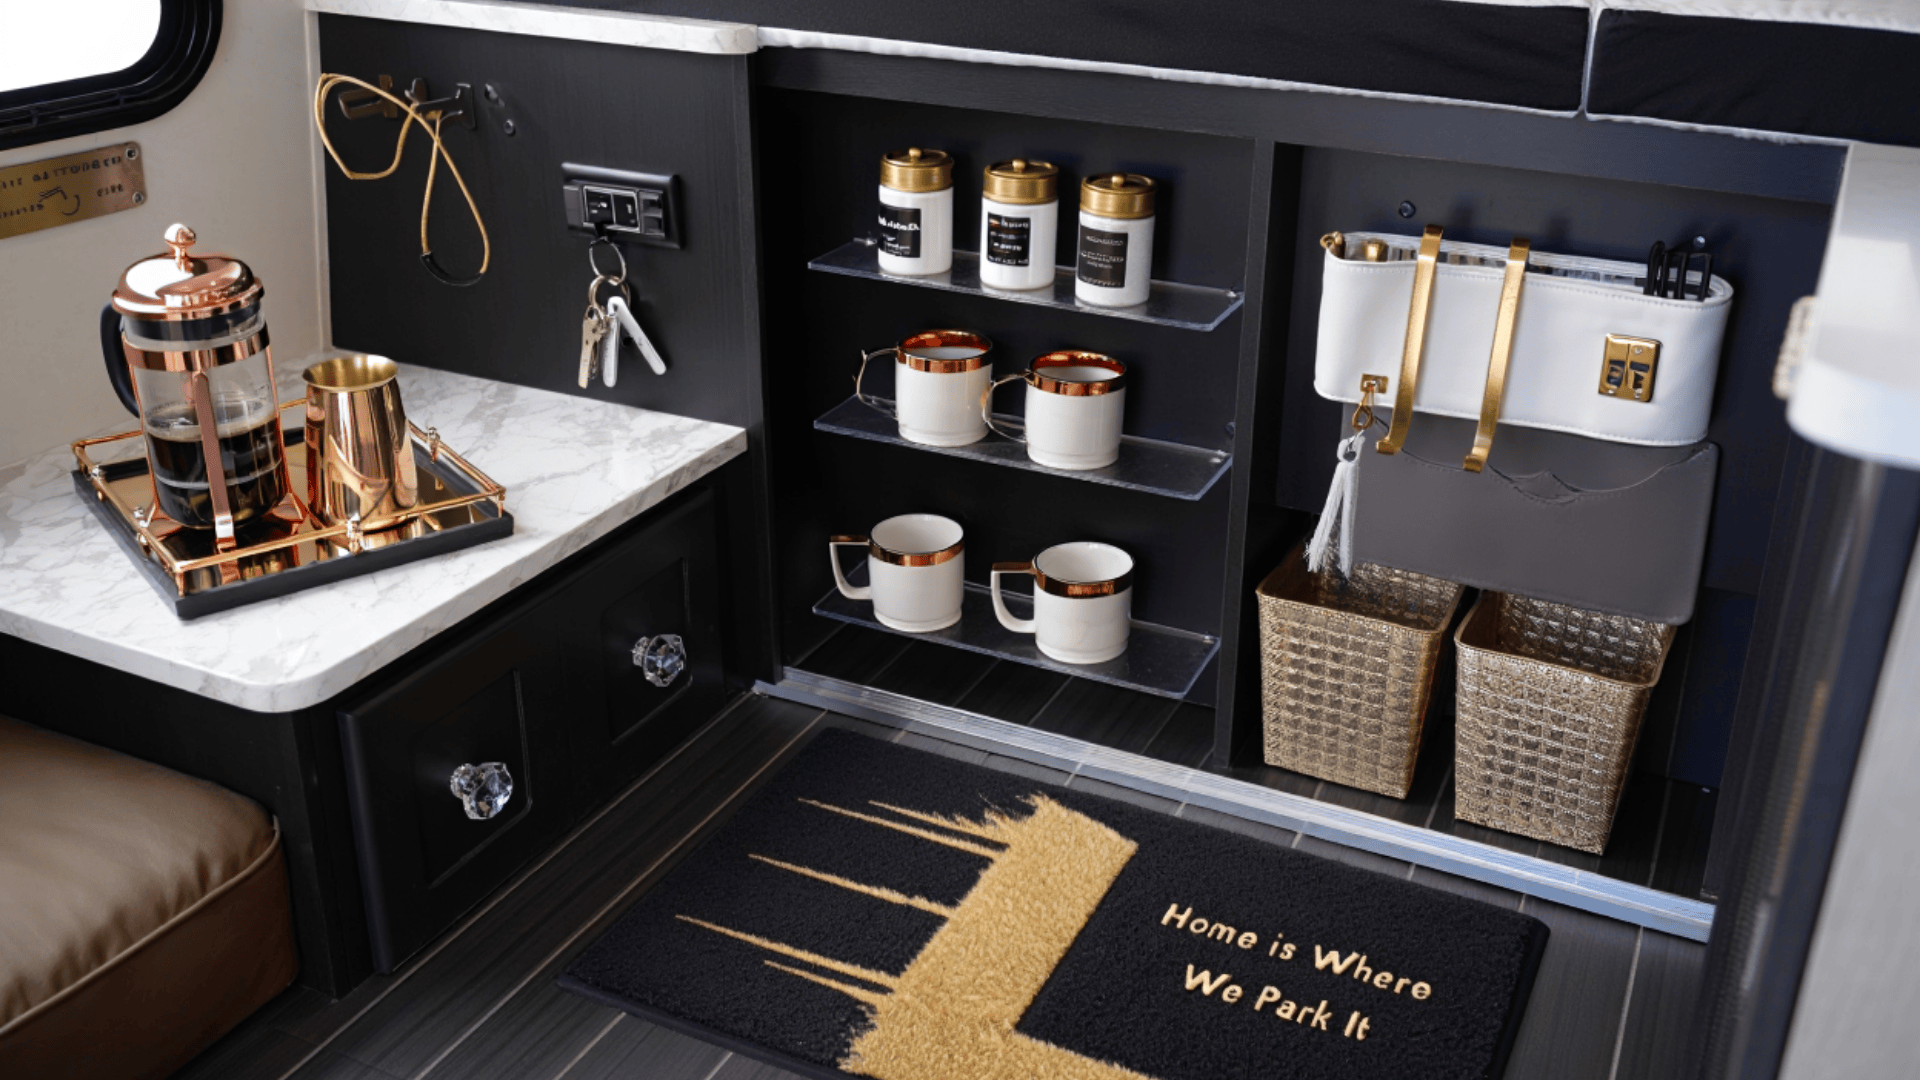
Dedicated areas for daily routines make camping feel like home:
- Coffee stations with secure mug storage
- Charging nooks for electronics
- Entryway drop zones for keys and shoes
- Spice organization in accessible locations
These functional zones elevate the camping experience from roughing it to living well.
Lessons Learned & Long-Term Use Insights from Real Remodels
Nothing teaches like experience. Here’s what seasoned renovators wish they’d known from the start:
Mobile Environment Challenges & Solutions
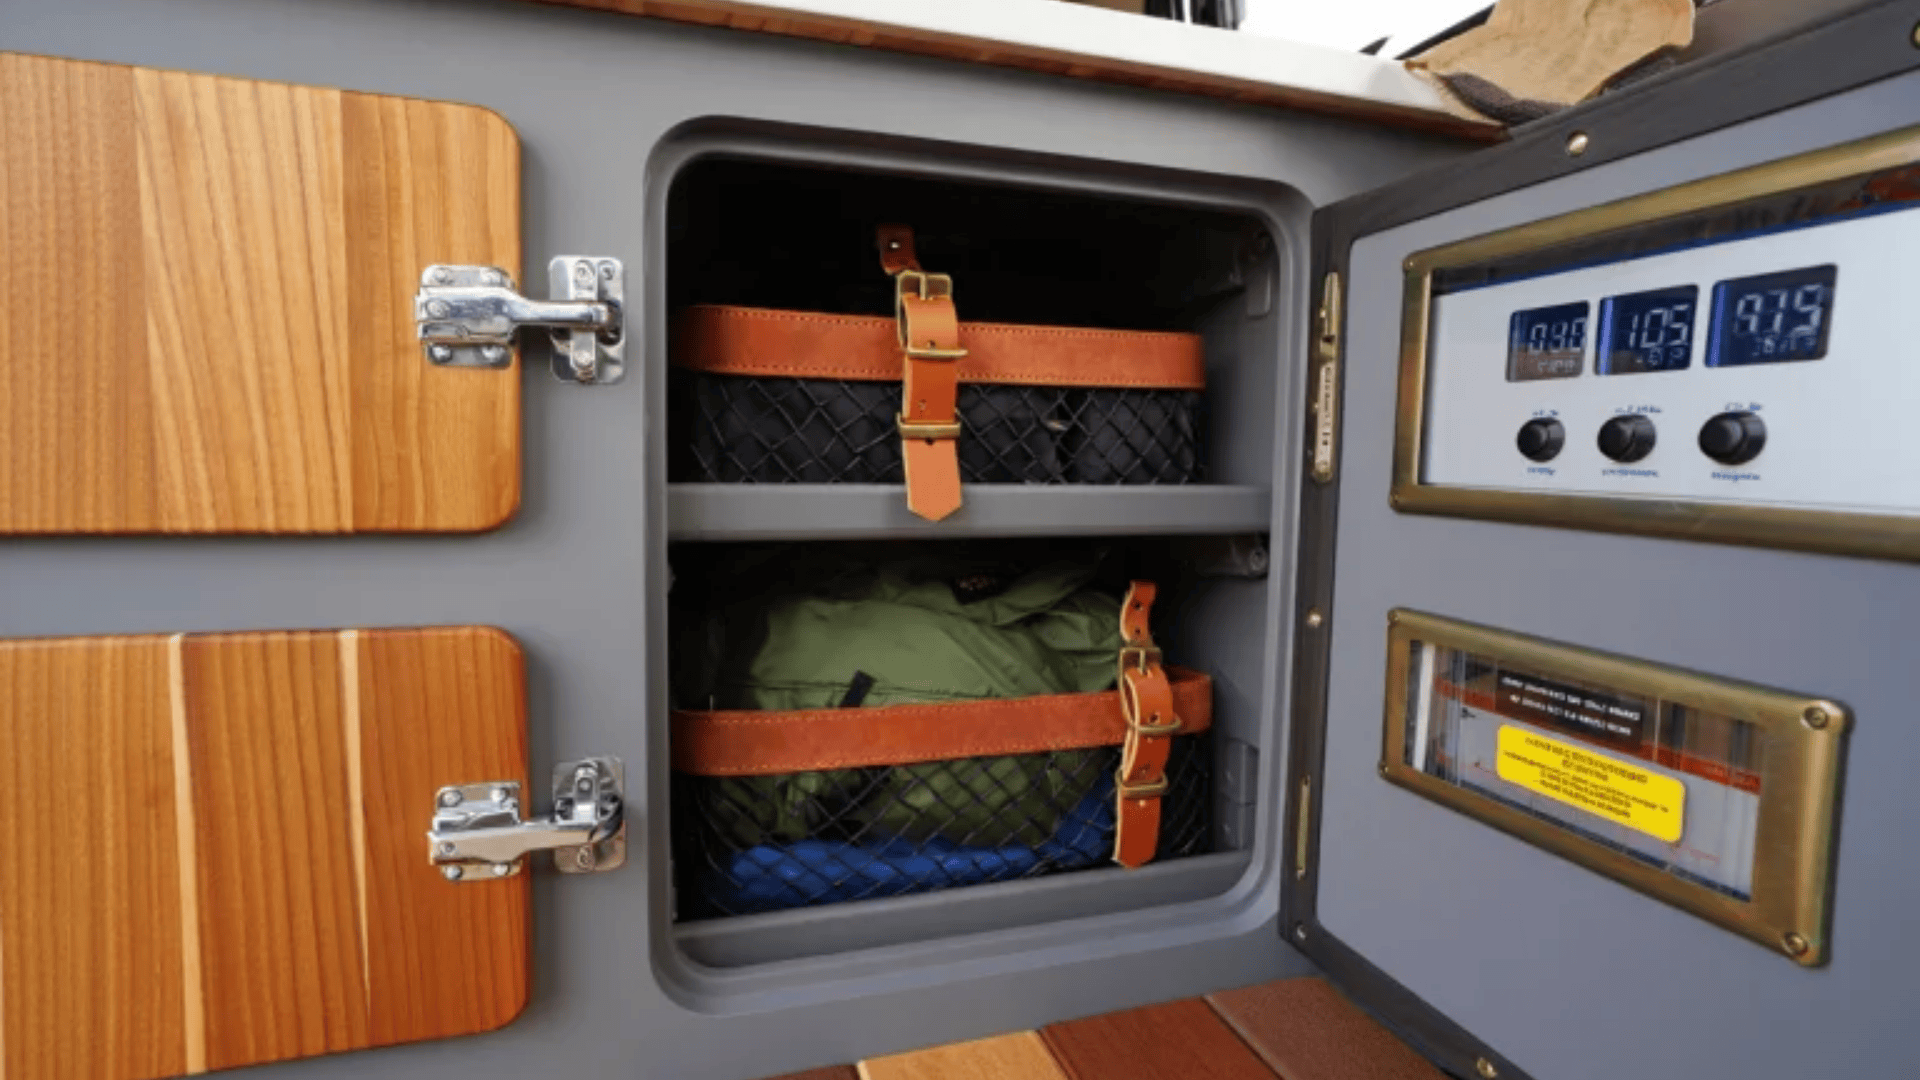
Materials behave differently in mobile environments:
- Shelf liners can shrink with temperature changes
- Regular household furniture often fails to stay put
- Vibrations loosen fixtures over time
- Humidity affects wood differently than in homes
Using marine-grade products and securing everything pays off in longevity and reduced maintenance.
Year-One Adjustments Worth Making
After months of use, most renovators notice opportunities for improvement:
- Seating comfort becomes more important than aesthetics
- Storage needs become clearer based on actual use patterns
- Weight distribution issues become apparent
- Insulation’s importance becomes obvious in extreme weather
Common adjustments after the first year include:
- Adding more secure latches to cabinets
- Installing better window coverings for privacy and temperature control
- Creating dedicated spaces for commonly used items
- Improving ventilation systems
Use your first season of camping to learn what really matters for your travel style.
Wrapping It Up!
Your camper remodel journey transforms more than just a vehicle – it creates a personal haven that moves with you through life’s adventures.
The hours spent measuring, building, and deciding between paint colors pay off with a space perfectly tailored to your needs. The beauty of an interior old camper remodel lies not just in the final photos, but in the stories you’ll create inside those walls.
So grab those tools, trust your vision, and start bringing that neglected camper back to life. The road awaits, and soon you’ll be making memories in a tiny home that showcases your creativity at every turn.
Your next adventure starts here. Bookmark us for more planning tools and travel stories.

