
Looking to make the most of your limited space? A DIY pull-out bed might be exactly what you need. This smart solution offers a comfortable place to sleep. It simply slides away when not in use.
This frees up valuable floor space. Building your own pull-out bed lets you customize dimensions, materials, and features. You can fit it to your specific needs and budget.
Unlike store-bought options, a homemade design can be customized to odd-shaped spaces. It works for unusual requirements too.
With some basic tools and materials, you can create a practical, space-saving bed. It works perfectly in camper vans, tiny homes, or small apartments. Follow these step-by-step pull-out bed plans.
Why Choose a Pull-Out Bed for Your Camper Van?
A pull-out bed is one of the smartest additions you can make to your camper van. Instead of dedicating a large portion of your limited space to a permanent bed, a pull-out design lets you have a comfortable full-sized bed only when you need it.
During the day, simply slide it away and reclaim that valuable floor area for moving around, socializing, or other activities.
This multi-functionality is perfect for van life, where every inch counts – your sleeping area can change into seating, a workspace, or extra storage with minimal effort.
The beauty of building your own pull-out bed lies in the freedom to customize it exactly to your van’s dimensions and your personal preferences. You can design it to fit awkward corners, match your height requirements, or incorporate special features like integrated storage.
With a DIY approach, your pull-out bed becomes not just a place to sleep, but a smart solution designed specifically for your mobile lifestyle.
Materials & Tools You’ll Need
Before starting your DIY pull-out bed project, gather all the necessary materials and tools. Having everything ready will make the building process much smoother and help you avoid multiple trips to the hardware store. Here’s what you’ll need:
- Wood – plywood for the bed frame and slats.
- Slats for mattress support.
- Washers about 1mm thick to ensure smooth sliding.
- Screws to secure components together.
- Circular saw or jigsaw for cutting wood.
- A measuring tape and a level to ensure accurate sizing and alignment.
- Drill and screwdriver for assembling parts.
- Wood glue for extra sturdiness, though this is optional.
- Plywood for supporting the slats and ensuring a uniform gap.
Good quality materials will make your pull-out bed last longer. Marine-grade plywood works best in damp conditions. Measure your van space carefully before buying anything. All these items are available at most hardware stores.
Step-by-Step Guide for Building a Pull-Out Bed in a Camper Van
Building a pull-out bed for your camper van isn’t as complicated as it might seem. With the right measurements and careful planning, you can create a functional sleeping space that tucks away when not in use.
Follow these steps carefully, taking your time with each phase of the project. Remember that precise measurements and smooth-sliding mechanisms are the keys to success.
Step 1: Measure and Align the Bed Frame
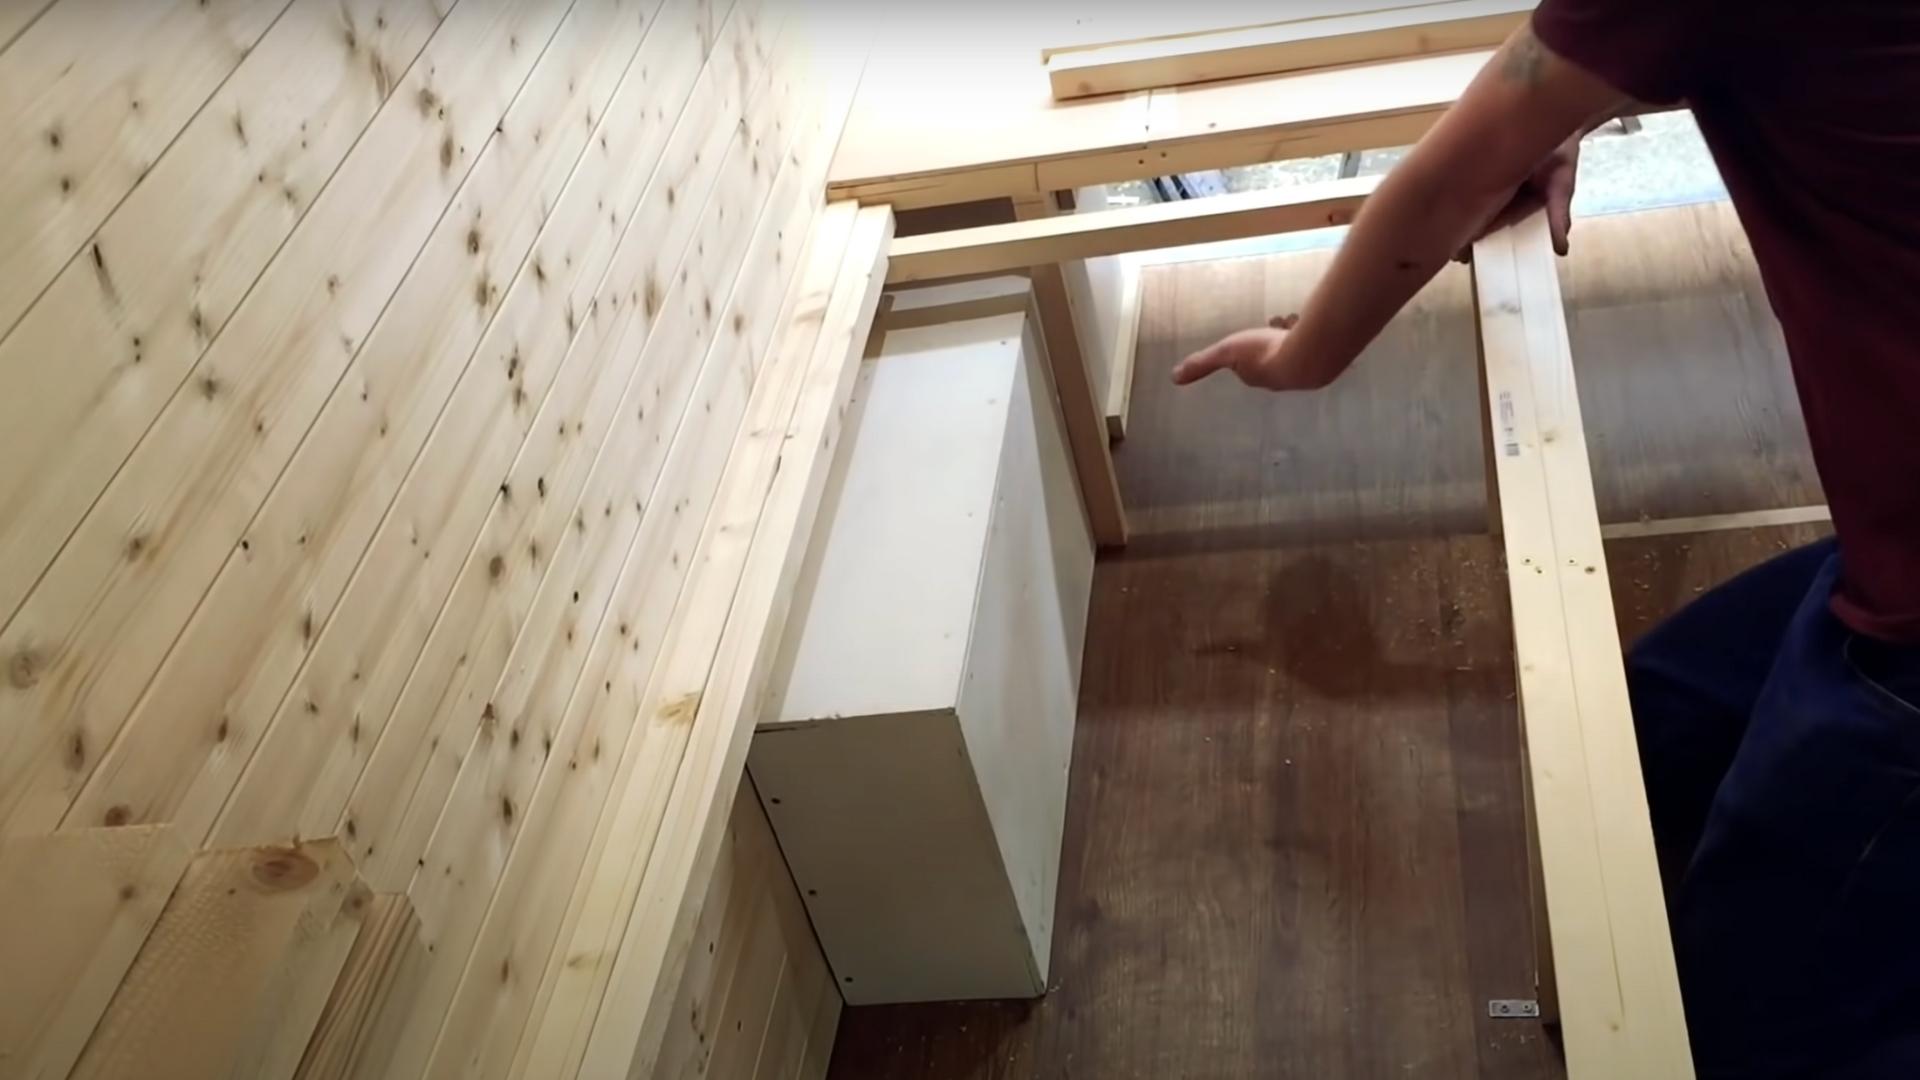
The first step in creating your pull-out bed is getting accurate measurements of your available space. Use your measuring tape to determine the maximum width and length the bed can be while still fitting in your van.
Mark these dimensions clearly on the floor and walls with a pencil. Double-check your measurements before cutting any materials to avoid costly mistakes.
Once you’re confident in your measurements, cut your plywood to create the base frame that will hold your mattress, making sure all corners are square and even for proper alignment.
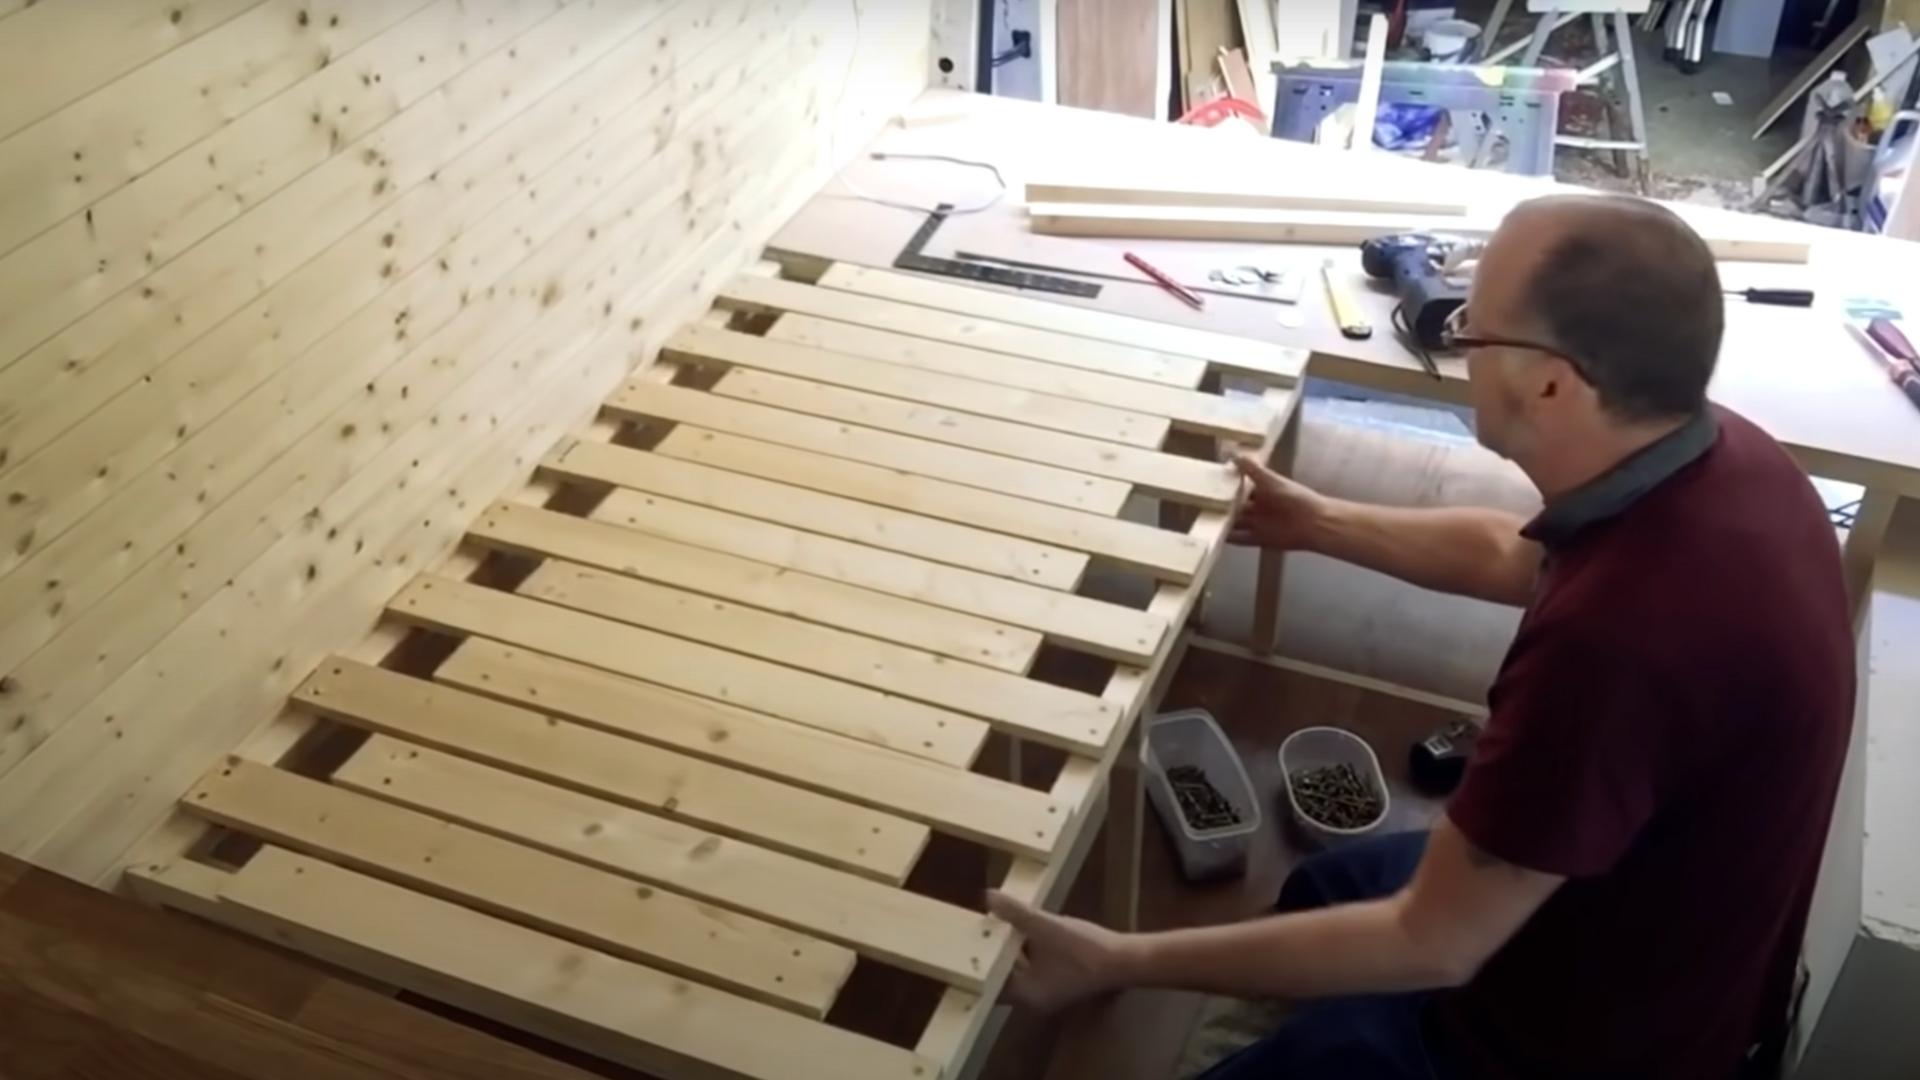
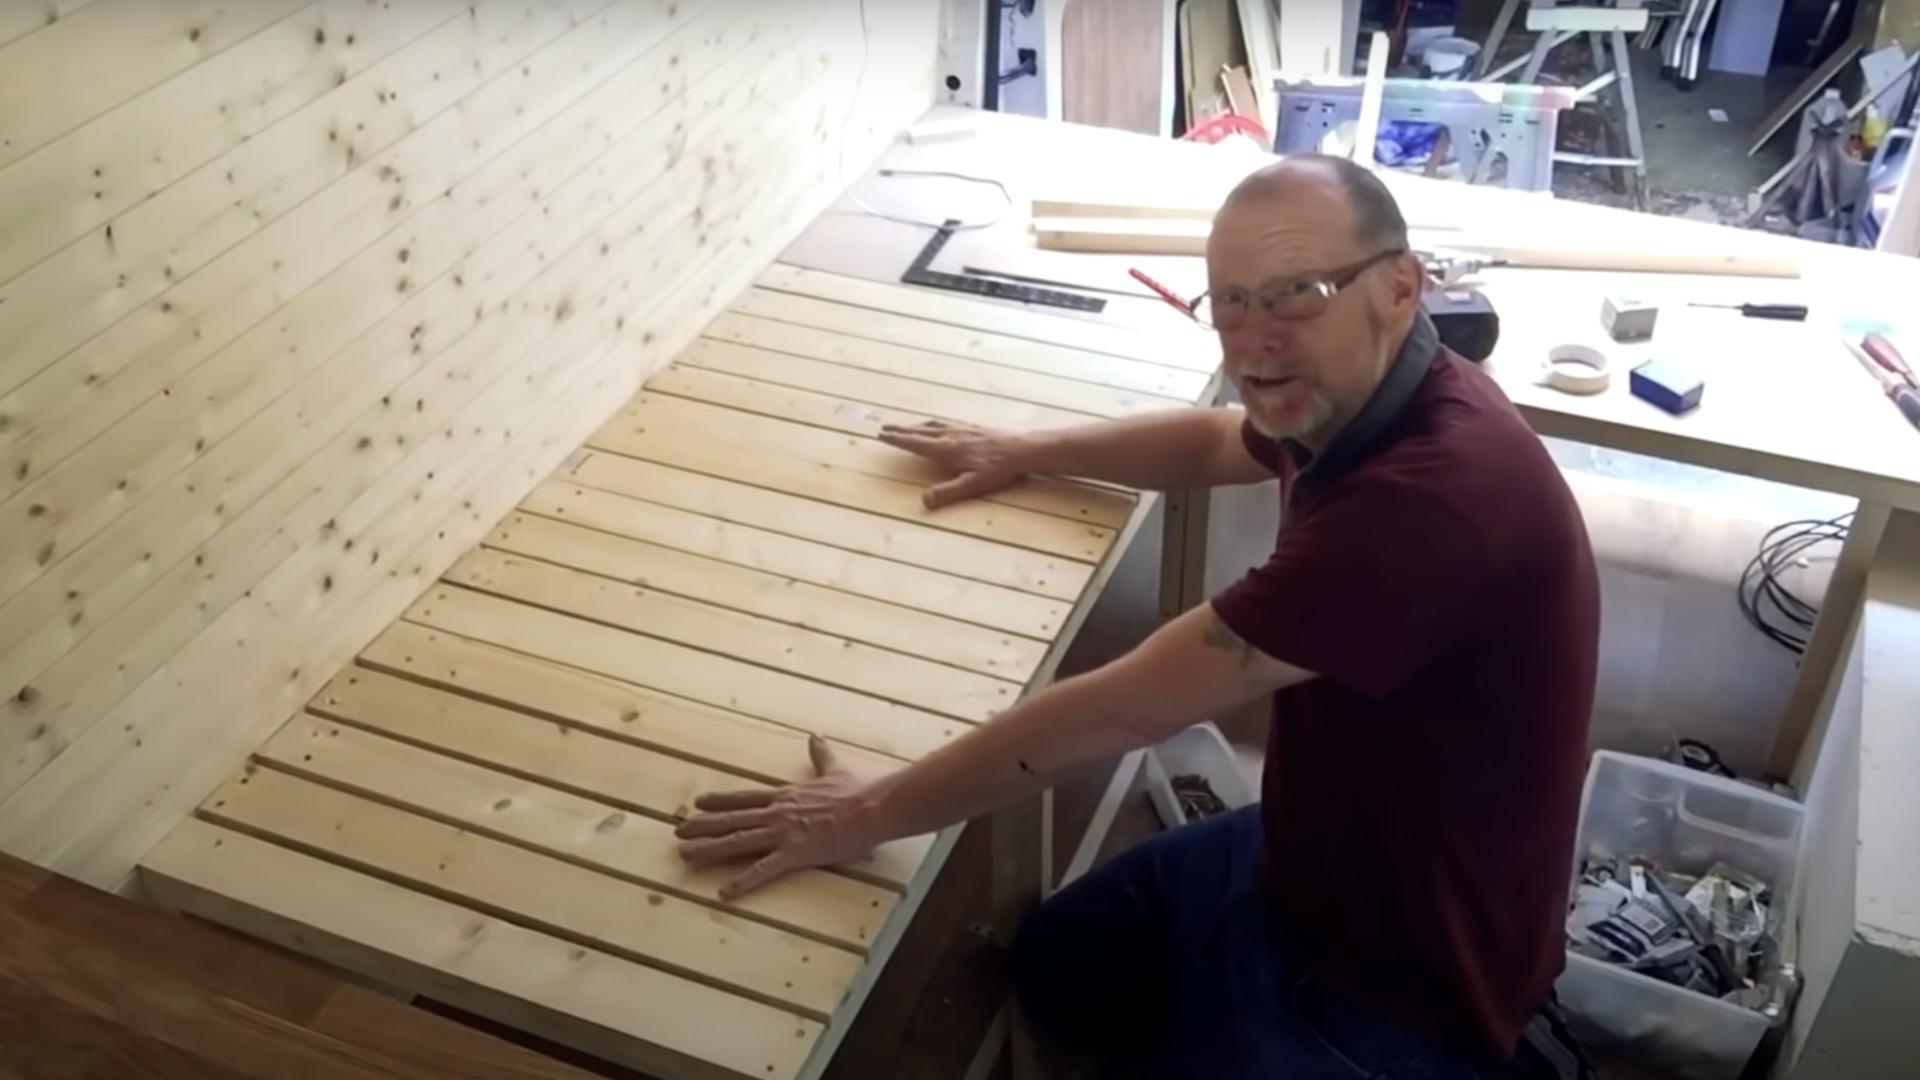
Step 2: Cut and Prepare the Slats
Slats provide essential support for your mattress and help with airflow to prevent moisture buildup. Cut your wooden slats to the width of your bed frame, leaving small gaps between each slat.
Sand all edges to prevent splinters and rough surfaces that could damage your mattress. Check that all slats are level with your bed frame by placing them in position and using your level tool.
If some slats sit higher than others, sand them down until everything is even, creating a flat surface that will give you a comfortable night’s sleep.
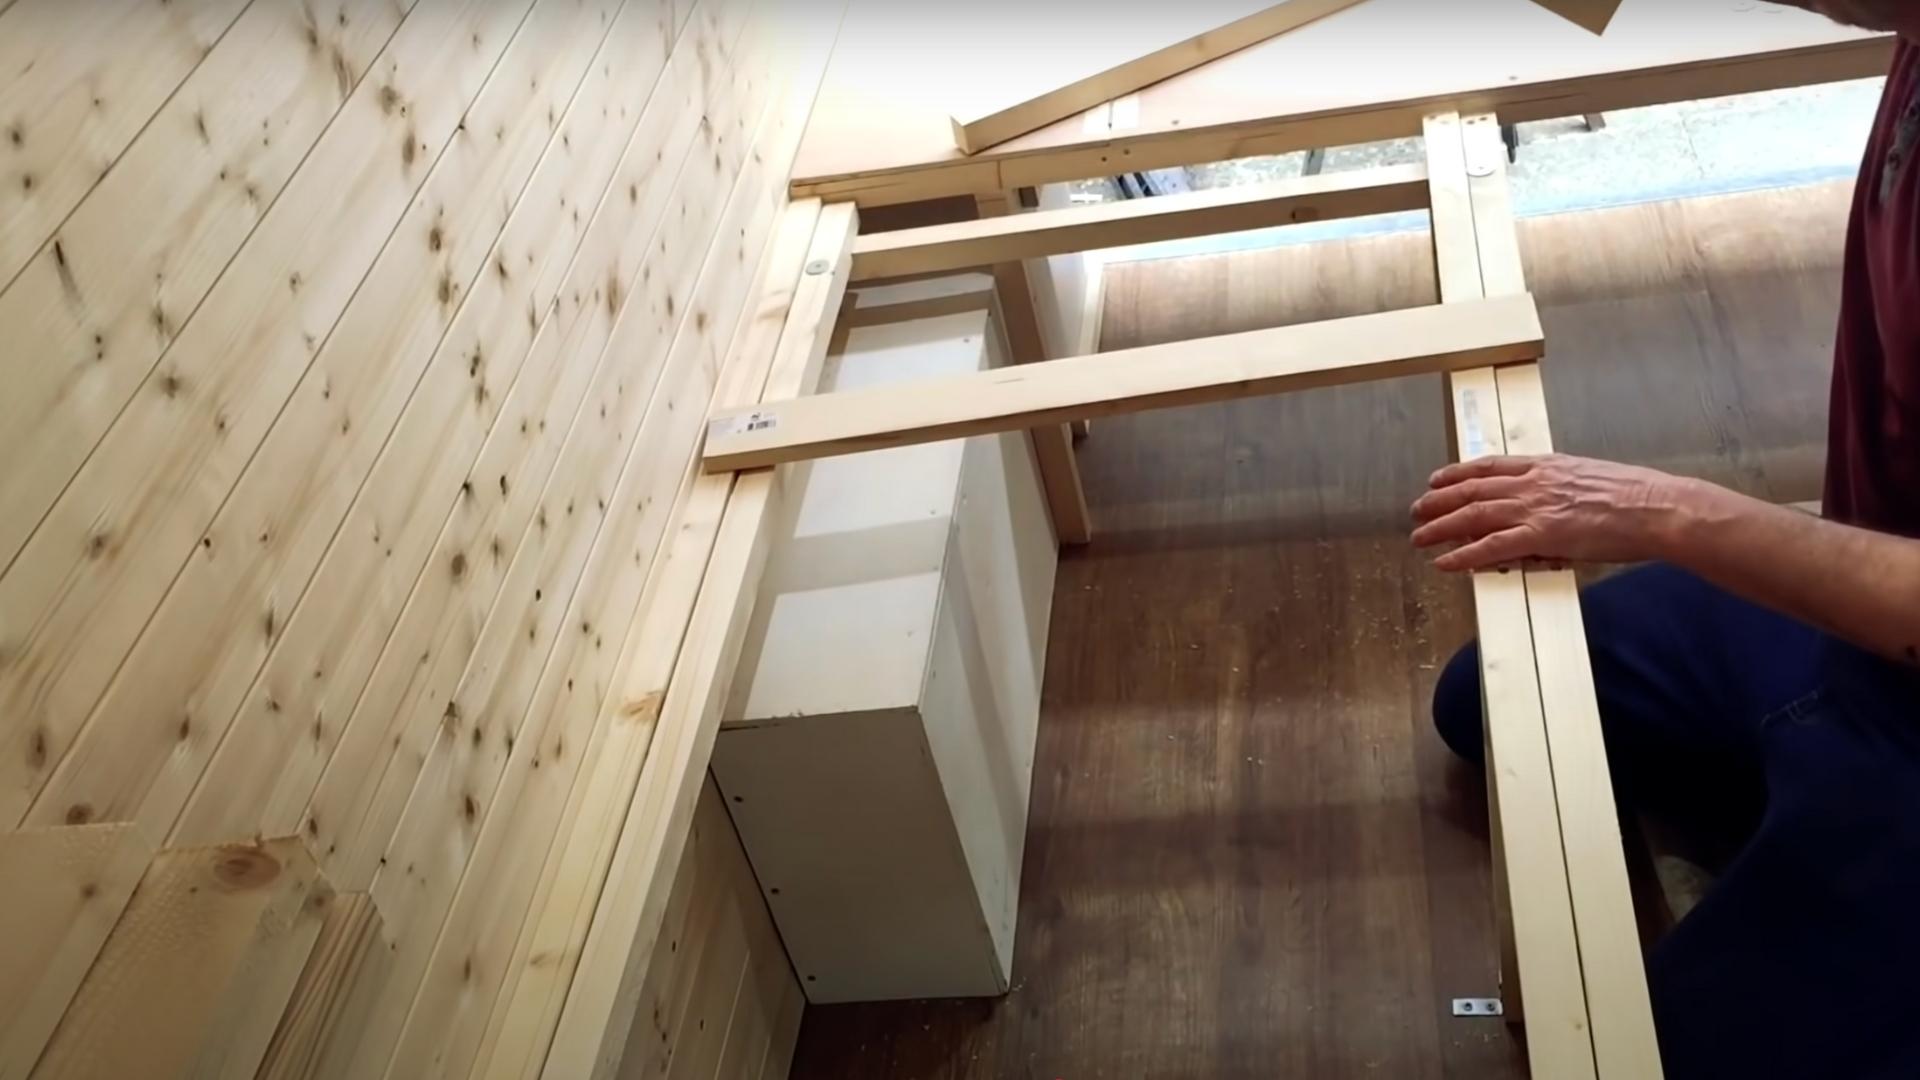
Step 3: Install the Sliding Mechanism
The sliding mechanism is what makes your pull-out bed functional. Attach drawer slides to both sides of your bed frame, making sure they’re perfectly parallel to each other for smooth operation.
Place washers between sliding components to reduce friction – this small detail makes a big difference in how easily your bed will slide in and out.
Secure all hardware with screws, being careful not to overtighten which could restrict movement. Test the sliding action several times, making adjustments as needed until the motion is smooth and consistent.
Step 4: Add a Spacer for Smooth Movement
Creating small gaps between moving parts is crucial for your bed to slide properly. Install washers as spacers between the sliding rails and cross-members of your bed frame.
These tiny spacers prevent the wood surfaces from rubbing directly against each other, which would cause sticking and make your bed difficult to pull out.
Make sure spacers are the same thickness throughout to maintain even gaps. This simple addition eliminates friction points and ensures your bed will continue to slide smoothly even after years of regular use.
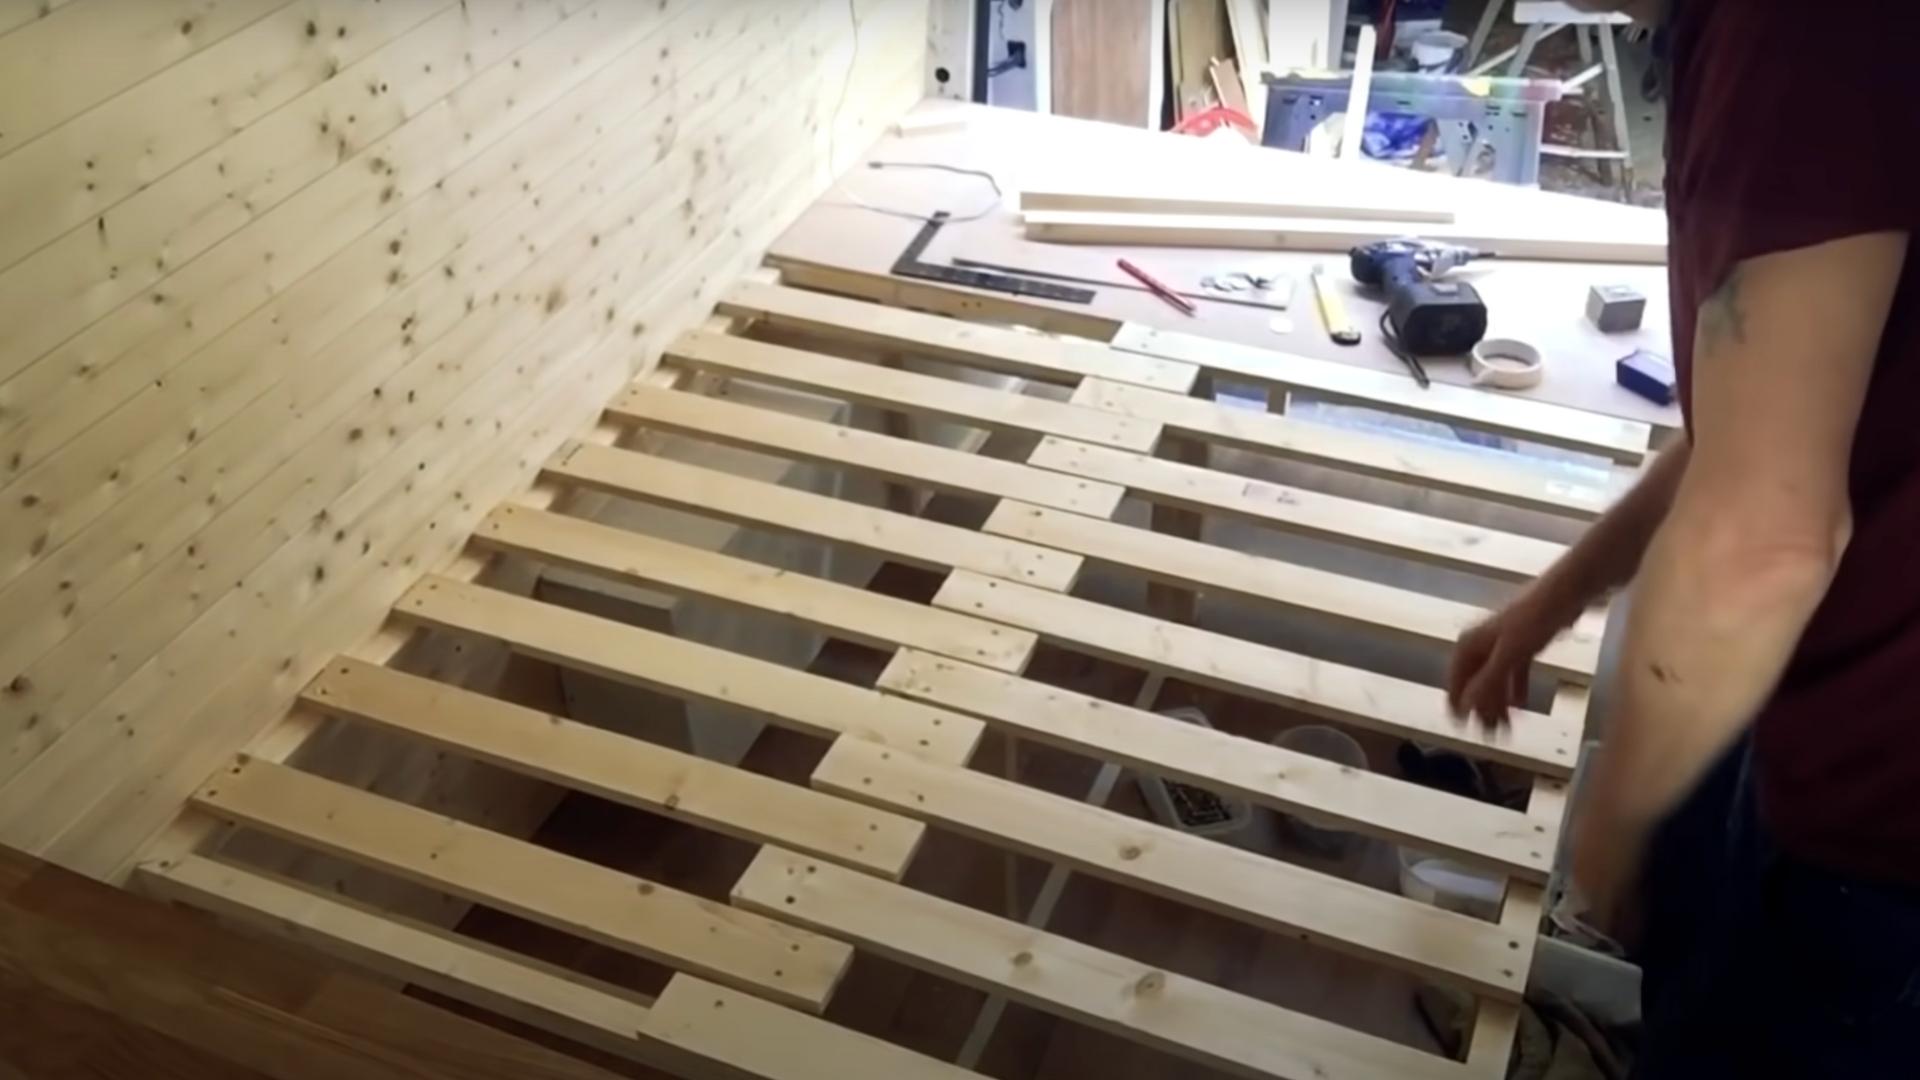
Step 5: Final Assembly and Adjustments
Once all components are properly aligned and moving smoothly, secure everything permanently with screws. Check all connections to ensure they’re tight but not restricting the movement of sliding parts.
Use sandpaper to round off any sharp corners or edges that might cause injuries when using the bed. Place your mattress on the completed frame and test the full extension and retraction of the bed several times.
Make final adjustments to any tight spots or alignment issues you notice during testing, ensuring your new pull-out bed works perfectly before considering the project complete.
Video Tutorial
For more information, check out this video tutorial by Mel’s Big Van Small World. Van Life Starts Here
Common Mistakes to Avoid
When building your pull-out bed, several common errors can cause problems down the road. Taking time to plan carefully will save you frustration and rework later. Being aware of these pitfalls before you start can make your project go much more smoothly. Here are the most frequent mistakes to watch out for:
- Take precise measurements of your available space to ensure the bed frame fits properly in your van.
- Use quality, sturdy materials that can withstand movement while respecting your vehicle’s weight limits.
- Keep the design simple and functional, avoiding unnecessary features that add complexity.
- Ensure proper ventilation under the mattress and secure all components with hardware designed for vehicles in motion.
- Always test your design thoroughly before finalizing the installation to identify any potential issues.
Remember that simple designs often work best in a van’s limited space. Take your time with each step of the process and don’t rush through important details. Your patience will be rewarded with a functional, comfortable bed that enhances your van life experience without causing headaches.
Inspiration & Ideas for Customization
Once you’ve built your basic pull-out bed, you can add personal touches to make it truly your own. Customizing your bed setup allows you to maximize functionality while expressing your personal style.
The beauty of DIY projects is that you can adjust and modify as your needs change over time. Here are some ways to enhance your pull-out bed design:
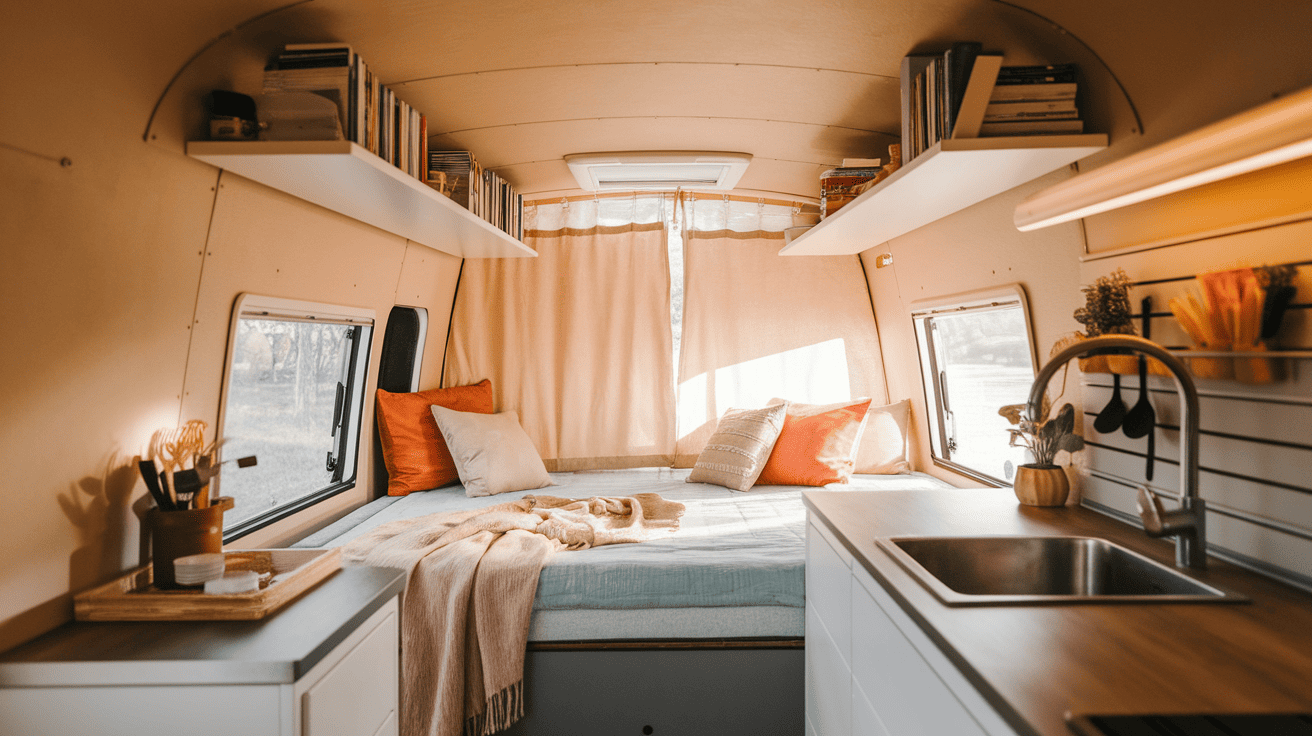
1. Decorative Ideas

Convert your pull-out bed into a cozy retreat with simple decorative elements that make it feel like home. Choose bedding in colors and patterns that bring you joy – earthy tones or bright colors that lift your mood.
Add a couple of small pillows that can double as seating support during the day. Consider a lightweight duvet with a washable cover that’s easy to maintain on the road.
String lights mounted above the bed create a warm atmosphere while using minimal power. These small touches make a big difference in comfort.
2. Storage Solutions
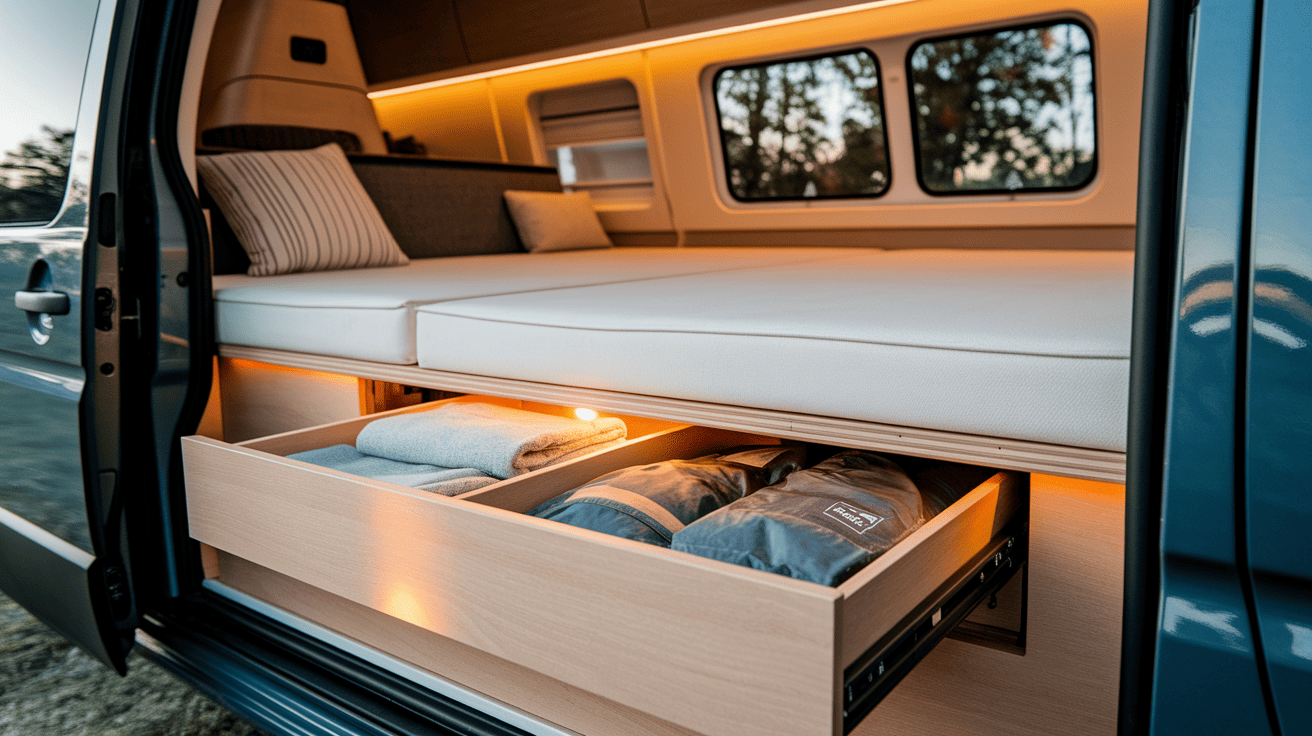
Make the most of the space beneath your pull-out bed by adding smart storage options. Build shallow drawers that slide under the bed frame when it’s extended.
Install dividers to keep smaller items organized and prevent them from shifting while driving. Consider using vacuum storage bags for clothes and bedding to minimize bulk.
If possible, create a hinged section of the bed platform that lifts to reveal storage compartments underneath. This hidden storage is perfect for items you don’t need daily but want to keep accessible.
3. Space-Saving Hacks
Beyond your pull-out bed, look for other ways to maximize every inch of your van. Install fold-down tables that attach to your wall and can be tucked away when not in use.
Consider mounting slim shelves high on the walls for books and personal items. Use tension rods with curtains to divide spaces and create privacy without permanent walls.
Magnetic strips attached to walls can hold metal kitchen tools or other small items. Look into collapsible versions of everyday items like dish racks and laundry baskets.
The Bottom Line
Creating your own DIY pull-out bed is a rewarding project that adds functionality without sacrificing space. By following these pull-out bed plans, you’ve learned how to build a practical sleeping solution that disappears when not needed.
The beauty of this design lies in its simplicity and effectiveness – a comfortable bed that doesn’t permanently take up valuable floor space. Remember to test your sliding mechanism regularly and make small adjustments as needed to keep everything working smoothly.
With your new pull-out bed installed, you’ll enjoy the perfect balance of comfort and space efficiency.
Your clever home improvement project proves that with some planning and basic woodworking skills, you can create practical solutions for even the smallest spaces.
Come back for more helpful travel tips, gear recommendations, and campsite reviews.

